6 Rooftop Steps to Prepare a Garden for Urban Production
The wind at roof level carries twice the velocity of ground-level air, pulling moisture from soil faster than most novice growers anticipate. The substrate temperature on a rooftop can reach 140°F in full summer sun, and winter freezes penetrate containers from all sides. Learning how to prepare a garden for a rooftop vegetable garden requires accounting for these extremes before the first seed enters soil. The difference between harvesting ninety days of tomatoes and watching plants collapse by July lies in structural preparation, substrate engineering, and microbial establishment.
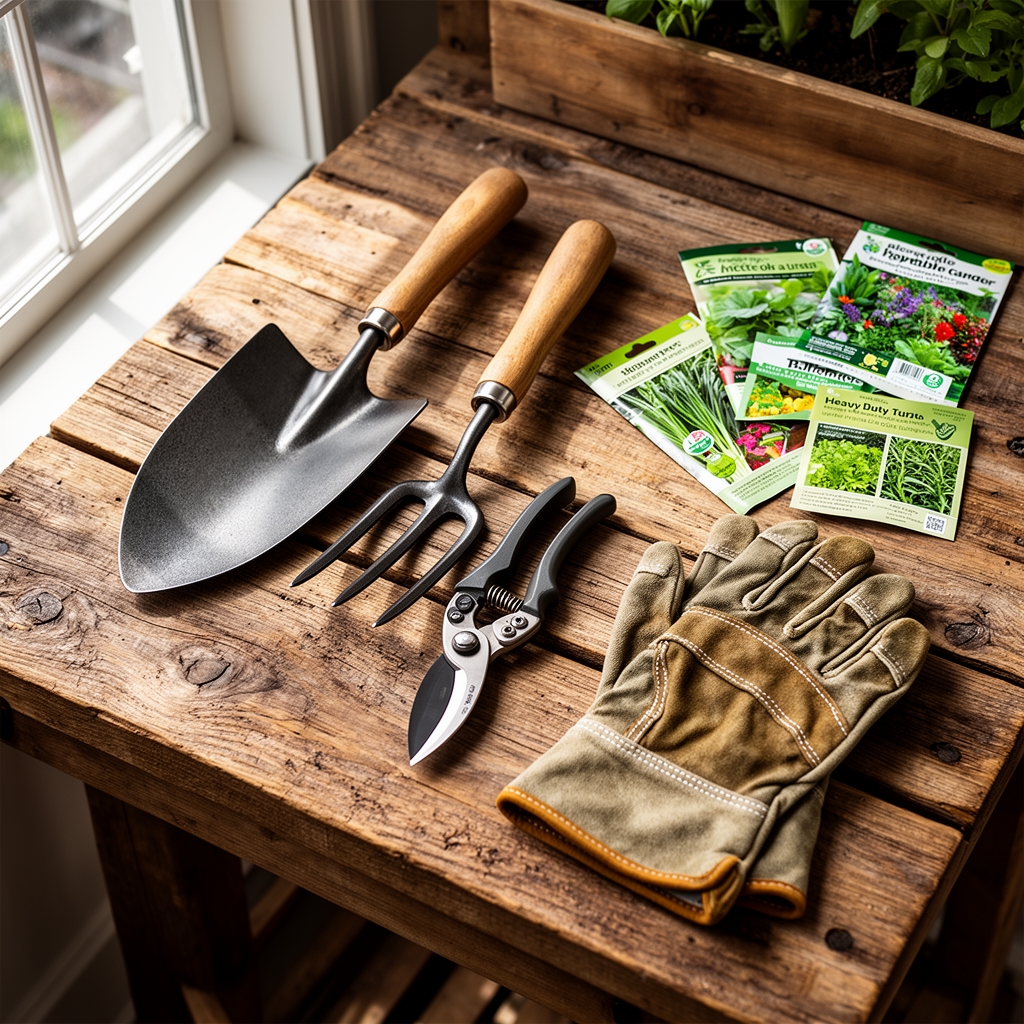
Materials
Every rooftop garden begins with a structural load assessment. Consult a structural engineer to determine your roof's load-bearing capacity, measured in pounds per square foot (psf). Most residential flat roofs support 40-60 psf live load. Saturated growing media weighs approximately 100 pounds per cubic foot.
Select containers with drainage and insulation properties. Fabric grow bags (15-30 gallon) provide superior aeration and root pruning. Alternatively, food-grade HDPE containers offer longevity and UV resistance.
The growing medium must balance water retention with drainage. A proven ratio combines 40% coconut coir, 30% perlite, 20% vermicompost, and 10% biochar. This blend maintains a cation exchange capacity (CEC) of 25-35 meq/100g and achieves a pH of 6.2-6.8.
Amend substrate with balanced organic fertilizer at a 4-4-4 NPK ratio, applied at 2 pounds per cubic yard. Incorporate mycorrhizal fungi inoculant (Glomus intraradices) at 0.1 ounce per 5 gallons of media. This fungal network extends root reach by 10-100x and improves phosphorus uptake by 35-50%.
Install windbreaks using 30-50% shade cloth mounted on galvanized pipe framing. Position windbreaks on prevailing wind sides, elevated 6 inches above container rims. Add drip irrigation with pressure-compensating emitters rated at 0.5-1.0 gallons per hour.
Timing
Rooftop microclimates exist 1-2 hardiness zones warmer than ground level. In USDA Zone 6b (at ground level), a rooftop functions as Zone 7a-7b due to reflected heat and reduced frost exposure.
Begin cold-hardy crops (kale, spinach, peas) 3-4 weeks before the last spring frost date. The substrate temperature at 2-inch depth should reach 40°F for germination.
Transplant warm-season crops (tomatoes, peppers, eggplant) when nighttime air temperatures remain above 55°F for seven consecutive nights. This typically occurs 1-2 weeks after the last frost date.
Summer heat requires strategic timing. Plant heat-sensitive crops (lettuce, cilantro, brassicas) to mature before daytime highs exceed 85°F, or delay planting until late summer for fall harvest.
Fall crops benefit from rooftop warmth. Transplant broccoli, cauliflower, and cabbage 85-100 days before the first expected hard freeze (28°F or lower).
Phases
Sowing Phase
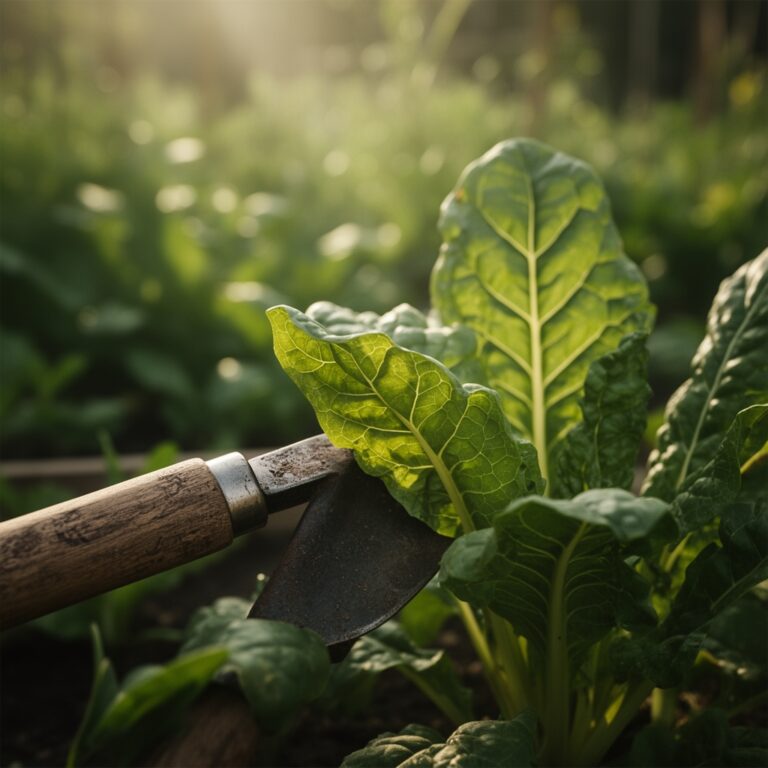
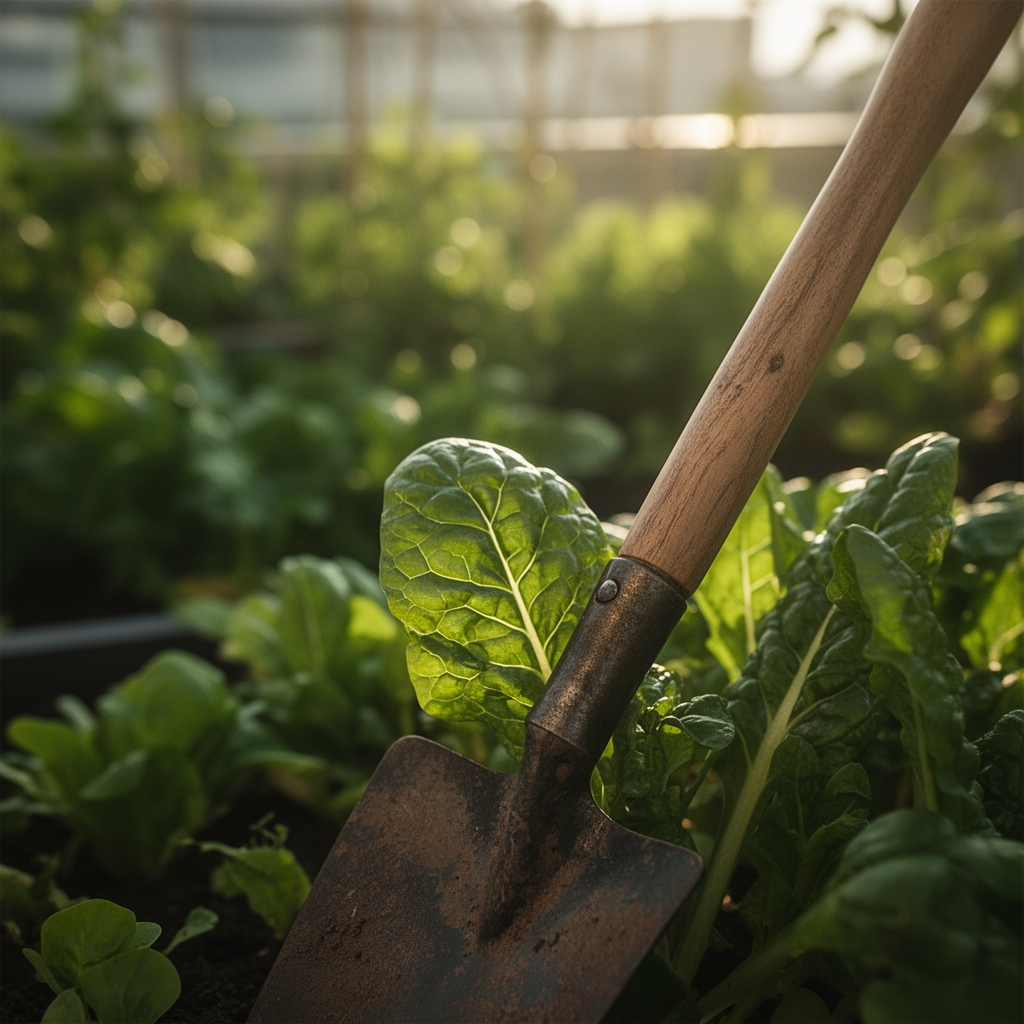
Direct-seed large-seeded crops (beans, peas, squash) at twice the seed diameter depth. Small seeds (carrots, lettuce) require surface sowing with light vermiculite coverage (1/8 inch).
Maintain substrate moisture at field capacity. The squeeze test confirms proper moisture: a handful of media should form a loose ball that crumbles when poked.
Pro-Tip: Coat large seeds with Rhizobium inoculant (for legumes) or Trichoderma harzianum (for cucurbits) before sowing. These microbes colonize roots within 48-72 hours and suppress damping-off pathogens by 60-80%.
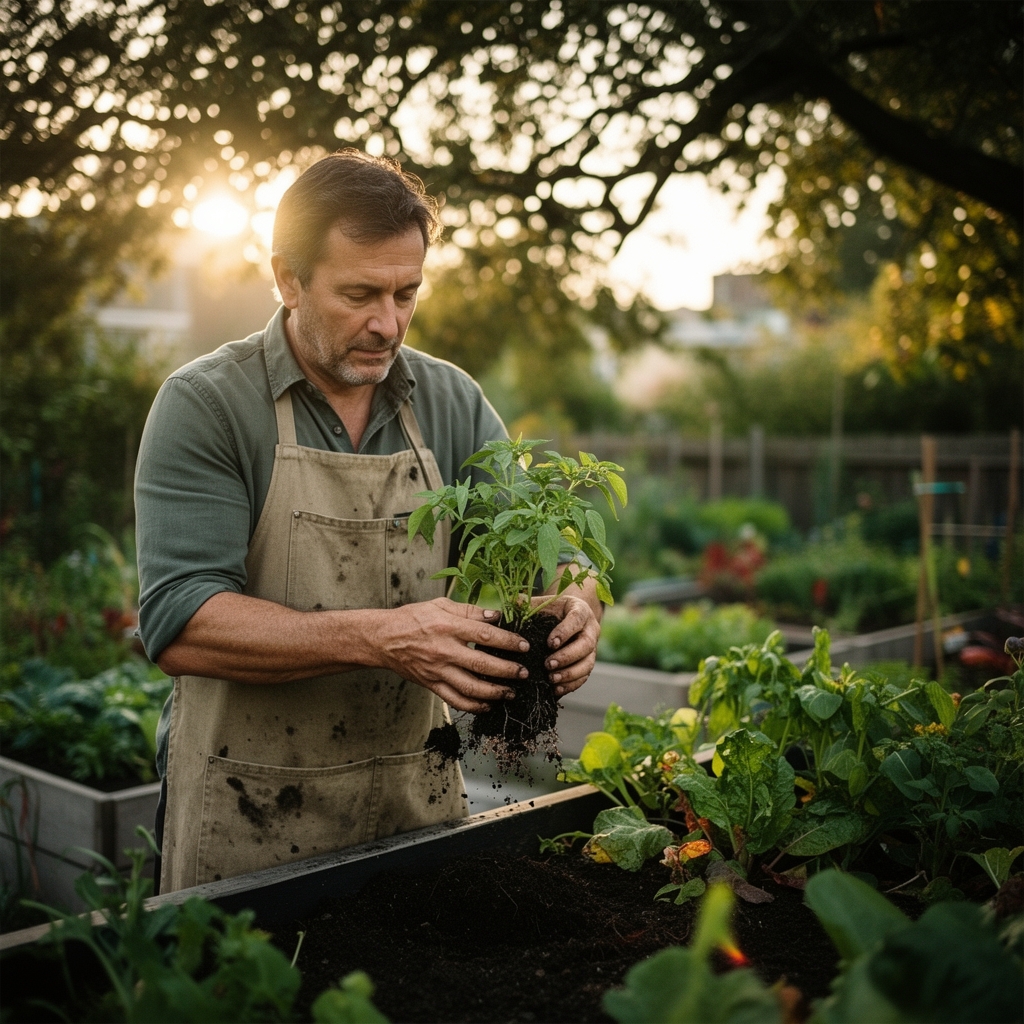
Transplanting Phase
Harden off greenhouse-started seedlings over 7-10 days. Increase wind and sun exposure incrementally: 1 hour on day one, 2 hours on day two, doubling exposure daily.
Transplant during overcast conditions or late afternoon to minimize transplant shock. Dig holes 1.5x the root ball diameter.
Remove seedlings from containers by inverting and supporting the stem base between fingers. Never pull plants by stems. Position transplants at the same depth as in their original containers, except tomatoes, which benefit from burial up to the first true leaves.
Water immediately with a kelp solution (1 tablespoon liquid kelp per gallon) to supply auxins and cytokinins that promote root hair development.
Pro-Tip: Prune tomato transplants by removing the bottom two sets of leaves and burying the stem horizontally in a 3-inch trench before angling upward. This technique generates adventitious roots along 6-8 inches of stem and increases total root mass by 40-60%.
Establishing Phase
Monitor daily for the first two weeks. Rooftop conditions desiccate transplants rapidly. Substrate should remain consistently moist but not saturated.
Apply a 2-inch layer of shredded hardwood mulch around plants, keeping mulch 2 inches away from stems. Mulch reduces substrate temperature by 10-15°F and cuts evaporation by 30-50%.
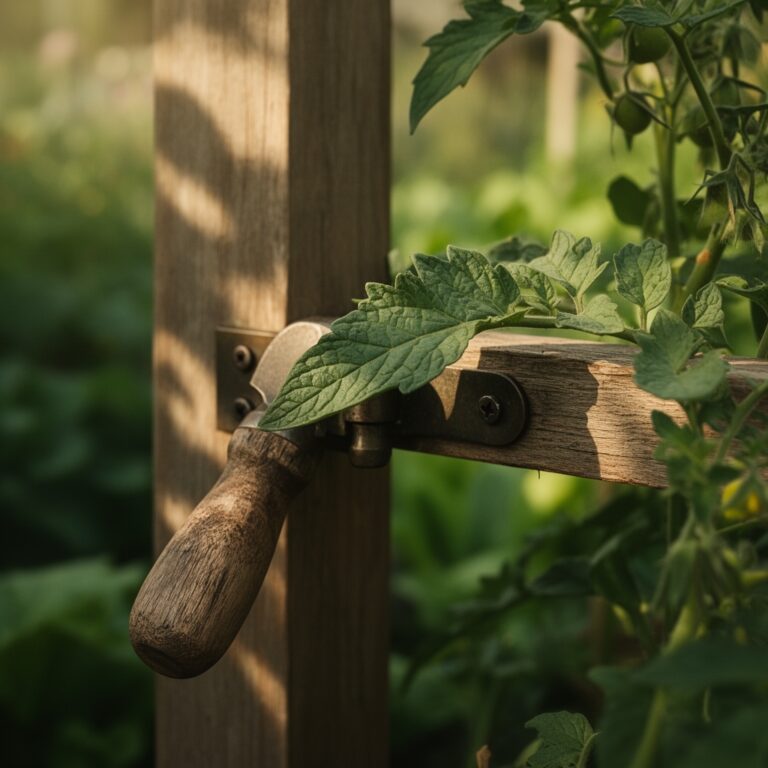
Install support structures immediately. Indeterminate tomatoes require 6-foot stakes or 5-foot cages. Pole beans need 7-foot trellises. Wind loads at roof level can topple unsupported plants within hours.
Pro-Tip: Irrigate deeply but infrequently during establishment. Apply 1-1.5 inches of water (measure with rain gauge) twice weekly rather than daily light watering. Deep watering trains roots downward and improves drought tolerance.
Troubleshooting
Symptom: Leaf margins turn brown and crispy, starting with older leaves.
Solution: Potassium deficiency compounded by wind desiccation. Dissolve 1 tablespoon sulfate of potash (0-0-50) per gallon of water and apply as soil drench. Increase windbreak coverage.
Symptom: Interveinal chlorosis on new growth; leaf veins remain green.
Solution: Iron deficiency induced by alkaline pH (above 7.2) or poor root aeration. Test substrate pH. If above 7.0, apply sulfur at 1/4 cup per 10 gallons of media to lower pH by 0.5-1.0 units over 4-6 weeks. If pH is acceptable, drench with chelated iron (Fe-EDDHA) at 1 teaspoon per gallon.
Symptom: Blossom end rot: dark, sunken lesions on fruit bottoms (tomatoes, peppers, squash).
Solution: Calcium uptake disruption from inconsistent watering. Maintain even soil moisture. Apply gypsum (calcium sulfate) at 2 tablespoons per plant, scratched into the top 2 inches of substrate. Avoid high-nitrogen fertilizers that promote excessive vegetative growth at the expense of calcium transport.
Symptom: Aphid colonies on new growth and undersides of leaves.
Solution: Release lacewing larvae (1,000 per 200 square feet) or apply insecticidal soap (potassium salts of fatty acids) at 2% concentration, spraying until runoff. Repeat every 5-7 days for three applications.
Symptom: Powdery white coating on leaf surfaces, starting on lower leaves.
Solution: Powdery mildew thrives in high humidity with poor air circulation. Prune plants to increase airflow. Apply sulfur dust at 3-5 pounds per 1,000 square feet every 7-10 days. For established infections, spray with potassium bicarbonate solution (1 tablespoon per gallon with 1 teaspoon horticultural oil).
Maintenance
Water rooftop gardens when substrate moisture drops to 50% of field capacity. Install a tensiometer or use a moisture meter to measure accurately. Most vegetable crops require 1-1.5 inches of water weekly, delivered in 2-3 sessions.
Fertilize every 14-21 days once plants enter active growth. Use a complete liquid fertilizer at 5-5-5 NPK ratio, applied at 1 tablespoon per gallon. For fruiting crops (tomatoes, peppers, eggplant), switch to 2-4-4 NPK ratio at flowering to promote fruit development over foliage.
Monitor substrate salinity monthly using an EC meter. Leach containers when electrical conductivity exceeds 2.5 mS/cm by applying water equal to 2x the container volume, allowing it to drain completely.
Prune indeterminate tomatoes weekly. Remove all suckers (shoots emerging from leaf axils) when they reach 2-4 inches. Remove lower leaves up to the first fruit cluster once plants reach 24 inches tall to improve airflow and reduce disease pressure.
Scout for pests twice weekly. Inspect leaf undersides, stem joints, and growing tips. Early detection allows non-chemical intervention.
Rotate crop families annually in the same containers. Follow heavy feeders (tomatoes, squash) with nitrogen-fixers (beans, peas), then light feeders (carrots, beets). This rotation breaks pest cycles and balances nutrient depletion.
FAQ
What weight can my rooftop support?
Most residential roofs support 40-60 psf live load. A 20-gallon container with saturated media and plant weighs approximately 150 pounds. Distribute weight over structural beams and consult an engineer before installation.
How deep should rooftop garden containers be?
Leafy greens require 6-8 inches. Root vegetables need 10-12 inches. Tomatoes, peppers, and eggplant perform best in 15-18 inch depth. Depth directly correlates with root zone buffering against temperature and moisture extremes.
Can I use native soil on a rooftop?
No. Native soil compacts under irrigation, reducing aeration and increasing weight. Engineered soilless media provides optimal drainage, aeration, and weight-to-volume ratio.
How do I protect plants from extreme wind?
Install windbreaks using 30-50% shade cloth positioned perpendicular to prevailing winds. Solid barriers create turbulence; permeable windbreaks reduce wind speed by 50-70% for a distance of 5-10x the barrier height.
What is the best irrigation system for rooftop gardens?
Drip irrigation with pressure-compensating emitters delivers water directly to root zones, reducing wind-driven evaporation by 40-60%. Install a timer and backflow preventer. Add a fertilizer injector for automated fertigation at 0.5-1.0 EC.