7 Defining Steps to Build a Simple Edible Space Fence
The morning sun catches droplets of dew clinging to runner bean tendrils as they spiral around vertical posts, transforming bare fence lines into cascading walls of food. Properly executed steps for building a vegetable garden fence merge physical barrier construction with edible plant architecture, creating dual-purpose structures that exclude deer while producing forty pounds of harvest per linear meter. The integration of climbing crops into fence design requires understanding both structural engineering and plant physiology. Stakes driven eighteen inches deep resist frost heave. Wire mesh gauge must accommodate both tendril diameters and human fingers during harvest. These parameters separate functional edible barriers from decorative failures.
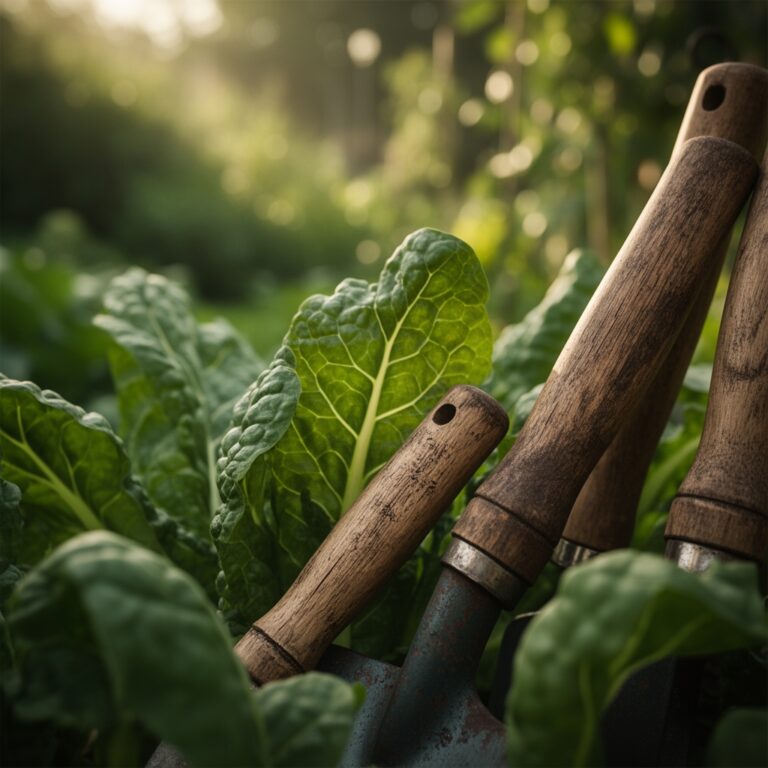
Materials
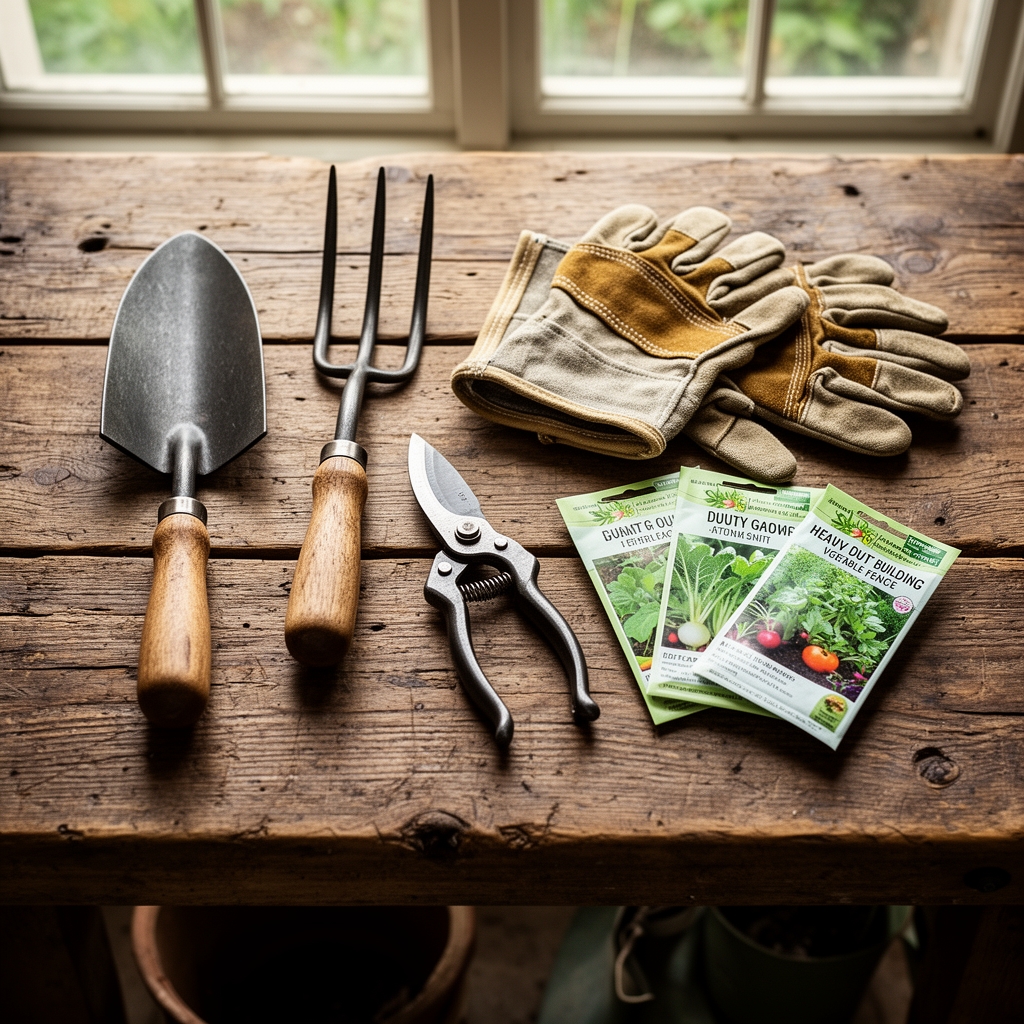
Cedar or black locust posts provide fifteen-year rot resistance without chemical treatment. Each corner post should measure four inches diameter, while line posts may taper to three inches. Galvanized wire with two-by-four-inch mesh creates climbing substrate for pea tendrils while blocking cottontail rabbits.
Soil amendment along the fence line demands specific attention to cation exchange capacity. Apply composted manure at 5-4-3 NPK analysis, incorporating two cubic feet per eight linear feet of fence base. This nitrogen-rich foundation supports vigorous vine growth through the 120-day growing season. For alkaline soils above pH 7.2, sulfur addition at one pound per ten square feet brings the rhizosphere to optimal 6.5 pH for nutrient chelation.
Rock phosphate (0-3-0) added at planting stimulates root establishment in the disturbed fence-line soil. The slow-release phosphorus feeds mycorrhizal fungi colonization over eighteen months. Kelp meal (1-0.5-2.5) supplies trace minerals and natural auxins that regulate climbing behavior.
Hardware cloth with half-inch mesh wraps the bottom eighteen inches to exclude voles. Staple placement every six inches prevents gap formation during seasonal wood expansion.
Timing
Zone 5 gardeners initiate fence construction during the March thaw window, when soil temperatures reach 45°F at twelve-inch depth but before spring ephemerals break dormancy. This timing allows post-hole digging in workable soil while avoiding root disturbance of established perennials.
Direct-sow peas along the fence line when forsythia blooms, typically April 10-25 in Zone 6. Soil temperatures of 45°F trigger germination within fourteen days. Beans require 60°F soil, correlating with apple blossom drop in late May.
Zone 7 climates support fall construction during September, with immediate planting of cold-hardy climbers like sugar snap peas. These establish root systems through mild winters, producing March harvests.
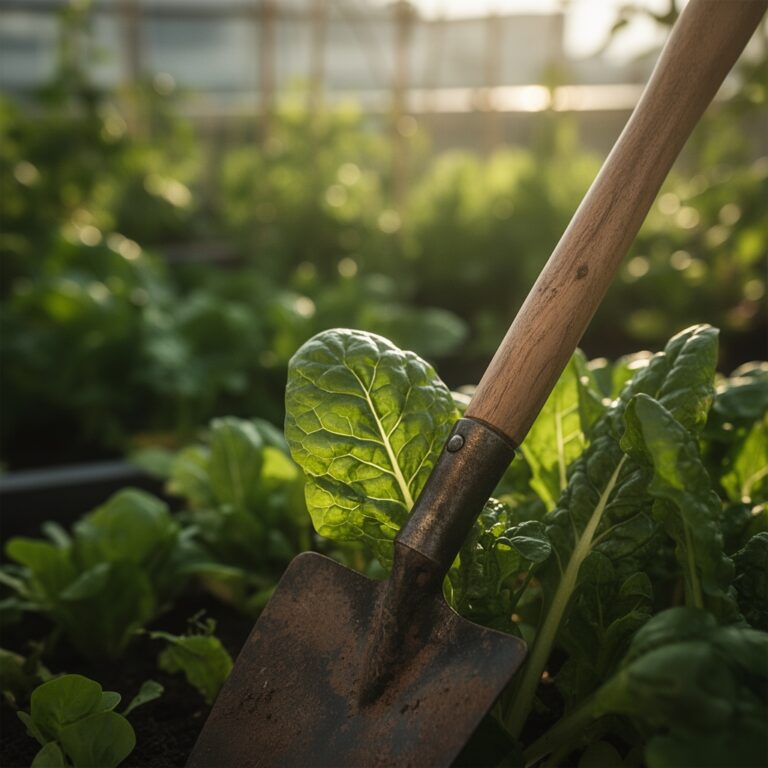
Phases

Sowing Phase
Drive posts thirty inches deep using a manual post-hole digger or gas-powered auger. Space posts eight feet apart for wire tension distribution. Pack excavated soil in six-inch lifts, tamping each layer to eliminate air pockets that cause settling.
String wire at twelve, twenty-four, and forty-eight-inch heights. Tension each strand to 50-pound pull force using fence stretchers. This tautness supports mature bean vines carrying twelve pounds per plant without sagging.
Pro-Tip: Inoculate legume seeds with Rhizobium bacteria specific to your crop species. Pisum sativum requires different inoculant than Phaseolus vulgaris. Mix one teaspoon of powder per four ounces of seed, coating thoroughly before planting.
Transplanting Phase
For determinate crops like cucumbers, start transplants indoors six weeks before last frost. Harden plants over ten days, gradually increasing UV exposure and reducing irrigation frequency. This stimulates epicuticular wax production that prevents transplant shock.
Set transplants at eighteen-inch spacing, burying stems up to the cotyledon leaves. Adventitious roots emerge from buried nodes within five days, doubling root mass.
Pro-Tip: Train the primary stem at a 60-degree angle toward the fence during the first week. This auxin redistribution triggers lateral branching at the base, creating bushier plants with greater yield per square foot.
Establishing Phase
Monitor tendril attachment daily during weeks two through four. Peas exhibit thigmotropism, coiling within twenty minutes of contact. Guide wayward stems manually before lignification occurs at day thirty.
Side-dress with blood meal (12-0-0) at four weeks post-germination, applying one-quarter cup per plant in a six-inch radius. Scratch into the top two inches of soil to minimize nitrogen volatilization.
Pro-Tip: Remove the lowest six inches of foliage once plants reach thirty-six inches tall. This airflow modification reduces powdery mildew incidence by forty percent while concentrating carbohydrate allocation to developing pods.
Troubleshooting
Symptom: Yellow interveinal chlorosis on new growth. Solution: Iron deficiency from alkaline soil. Foliar spray chelated iron (Fe-EDDHA) at 0.5 ounce per gallon weekly for three applications.
Symptom: Blossom drop without pod set. Solution: Calcium deficiency during peak flowering. Apply gypsum (calcium sulfate) at two pounds per ten linear feet, watering deeply to move calcium into the root zone.
Symptom: Pinhole damage with silvery trails. Solution: Pea weevil feeding. Apply spinosad spray at dusk when pollinators are inactive. Reapply every seven days for three cycles.
Symptom: Black sooty mold on leaves. Solution: Aphid honeydew substrate. Release ladybird beetles at fifty individuals per ten feet. Larvae consume eighty aphids daily during their fourteen-day development.
Symptom: Wilting despite adequate soil moisture. Solution: Fusarium root rot from poor drainage. Improve soil structure with perlite incorporation at twenty percent by volume.
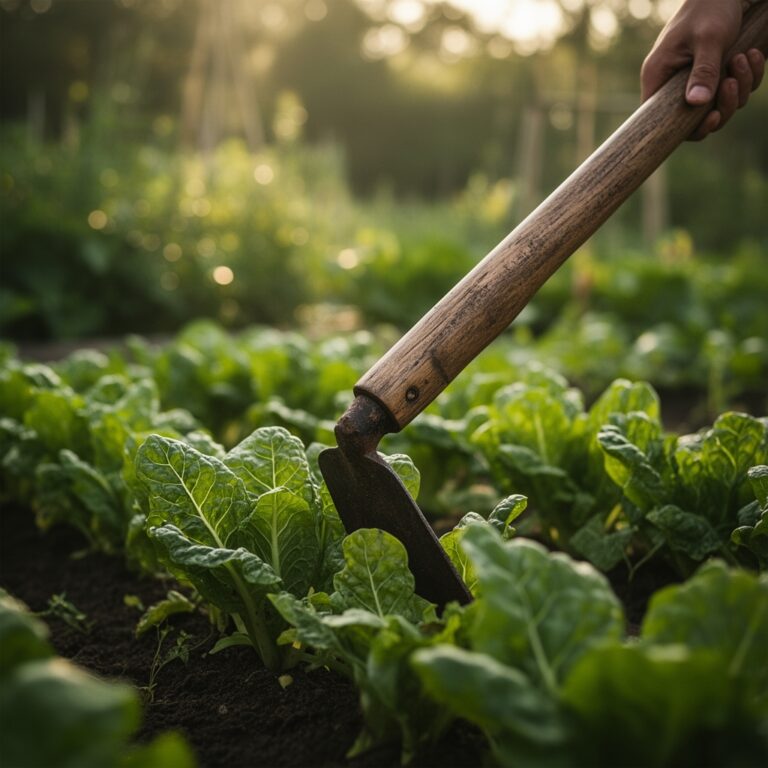
Maintenance
Irrigate with one inch of water per week, delivered in a single deep session rather than daily sprinkling. This watering pattern drives roots eighteen inches deep, accessing stable moisture reservoirs during heat stress.
Mulch with two inches of straw after plants reach twelve inches tall. This layer moderates soil temperature swings of fifteen degrees, maintaining optimal 68°F root zone temperature.
Scout for pest damage twice weekly during early morning hours when feeding activity peaks. Cucumber beetles congregate on new growth, requiring manual removal into soapy water.
Harvest pods every forty-eight hours once production begins. Mature pods left on vines trigger ethylene production that halts flowering, reducing total yield by thirty percent.
FAQ
How deep should fence posts be for climbing vegetables?
Install posts one-third their total length underground, with a minimum depth of thirty inches. This ratio prevents toppling under fifteen-pound vine loads during wind events.
Can I grow perennial climbers on vegetable fences?
Hardy kiwi and hops survive Zone 4 winters but require eight-gauge wire for their fifty-pound mature weight. Annual vegetables need only fourteen-gauge wire.
What spacing prevents overcrowding on edible fences?
Plant pole beans eighteen inches apart, peas four inches apart. Cucumbers demand thirty-six-inch spacing for adequate light penetration to lower leaves.
Do nitrogen-fixing legumes eliminate fertilizer needs?
Peas and beans fix atmospheric nitrogen but require phosphorus and potassium supplementation. Apply 0-10-10 fertilizer at half the label rate during pod formation.
How do I winterize an edible fence structure?
Remove all annual plant material to eliminate overwintering pest habitat. Inspect wire for rust, treating affected areas with cold galvanizing compound. Leave posts in place for immediate spring planting.