8 Prep Steps to Build a DIY Year-Round Vegetable Workshop
The scent of freshly turned soil mixed with sawdust and mineral amendments marks the beginning of something practical and enduring. A dedicated workshop for year-round vegetable production transforms scattered gardening efforts into a systematic operation where propagation, soil mixing, tool maintenance, and harvest processing occur under one roof. The steps for building a vegetable garden workshop demand attention to thermal mass, ventilation dynamics, and workflow efficiency rather than aesthetic concerns. This structure becomes the command center where seedlings germinate under controlled light spectrums, where compost analysis happens on dedicated benches, and where the entire growing season extends beyond what open ground permits.
Materials
Foundation materials require treated lumber rated for ground contact or concrete block on compacted gravel. The subfloor must resist moisture migration. Use pressure-treated 2×6 joists on 16-inch centers.
Wall framing demands standard 2×4 studs with R-15 fiberglass batt insulation minimum. For year-round climate control, upgrade to R-21. Exterior sheathing should be 7/16-inch OSB with Tyvek wrap, then fiber cement board or metal siding.
Roofing begins with 30-pound felt over 1/2-inch plywood sheathing, then architectural shingles or standing seam metal. Include ridge vents paired with soffit vents for passive airflow at a 1:300 ratio of vent area to floor area.
Interior requires moisture-resistant drywall or marine-grade plywood. Benchtops need 3/4-inch Baltic birch plywood sealed with polyurethane or stainless steel sheeting over plywood substrate.
Electrical systems must provide 20-amp dedicated circuits for grow lights, typically requiring 200 watts per 4-square-foot propagation zone. Install GFCI outlets every 4 feet along benches.
Soil amendment storage bins should hold 50-pound increments. Stock feather meal (12-0-0), bone meal (3-15-0), kelp meal (1-0.5-2.5), and alfalfa meal (2-1-2). Maintain dolomitic lime to adjust pH from acidic 5.5 ranges to neutral 6.8 levels. Keep gypsum (calcium sulfate) separate for sodium displacement without pH alteration.
Mycorrhizal fungi inoculant requires cool, dry storage below 75°F. Rhizophagus irregularis strains colonize 90% of vegetable root systems, increasing phosphorus uptake by 300%.
Timing
Construction timing aligns with hardiness zones and intended use periods. Zones 3-5 demand insulated floors with vapor barriers by September to cure before first hard freeze. Zones 6-8 allow October starts. Zones 9-11 require shade cloth installation and ventilation priority over insulation.
Foundation work requires soil temperatures above 50°F for proper concrete curing. Pour footings in May through September for northern zones, year-round for southern regions.
Interior fitting occurs after wall sheathing achieves moisture equilibrium, typically 14 days post-construction. Electrical rough-in happens before insulation. Drywall follows insulation by 48 hours minimum.
Equip the workshop with heating capacity by your last average frost date minus 8 weeks. This allows early brassica starts. For zone 5 (last frost May 15), heating must be operational by March 20.
Phases

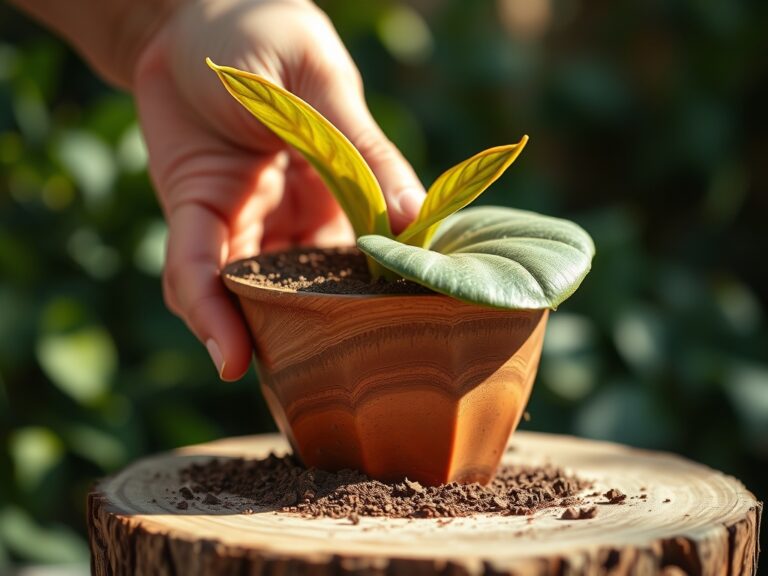
Sowing Phase
Germination chambers require 72-78°F substrate temperature. Use seedling heat mats rated at 20 watts per square foot. Sow into 1.5-inch cell trays filled with peat-perlite mix (70:30) amended with worm castings at 10% volume. Light requirements begin at 200 foot-candles for 14 hours daily using T5 fluorescent or LED strips positioned 2 inches above soil surface.
Pro-Tip: Inoculate solanaceous seedlings (tomatoes, peppers, eggplants) at cotyledon stage with Trichoderma harzianum at 1×10^6 colony-forming units per cubic inch of growing medium to prevent damping-off by 85%.
Transplanting Phase
Transplant occurs when true leaves outnumber cotyledons 2:1 and root systems show white tips emerging from drain holes. Move seedlings to 4-inch pots using soil-based mix with cation exchange capacity above 15 meq/100g. Incorporate controlled-release 14-14-14 at 1 teaspoon per gallon of medium.
Hardening occupies the final 7 days before field placement. Reduce temperature by 10°F and increase air circulation to 50 linear feet per minute. Expose to direct sun in 90-minute increments, adding 90 minutes daily.
Pro-Tip: Prune tomato transplants at 45-degree angles 1/4 inch above the third true leaf node to promote auxin distribution into lateral branches, increasing fruiting sites by 30%.
Establishing Phase
Workspace organization determines efficiency. Position potting bench at 36 inches height for standing work. Install overhead storage 18 inches above bench surface for daily-use items. Create zones: propagation (east-facing for morning light), soil mixing (near exterior door for amendment delivery), tool maintenance (west wall with pegboard), and processing (north side with wash station).
Pro-Tip: Install a 20-gallon wash sink with 1.5-inch drain and spray nozzle for root washing and produce cleaning. Slope the floor 1/4 inch per linear foot toward the drain to prevent standing water that encourages fungal spore concentration.
Troubleshooting
Symptom: Leggy seedlings with pale stems and excessive internode spacing.
Solution: Lower ambient temperature to 65°F, increase light intensity to 400 foot-candles, and position fixtures 1 inch from leaf canopy. Add supplemental blue spectrum LEDs (450-495 nanometers).
Symptom: Damping-off fungus causing stem collapse at soil line.
Solution: Reduce irrigation frequency, increase air circulation to 75 linear feet per minute, apply Bacillus subtilis drench at label rate (typically 1 tablespoon per gallon), and bottom-water to keep foliage dry.
Symptom: Chlorotic leaves with green veins (interveinal chlorosis).
Solution: Iron deficiency from high pH. Drench with chelated iron (Fe-EDDHA) at 1 ounce per 10 gallons water. Adjust future soil batches to pH 6.2 using sulfur at 1 pound per 100 square feet.
Symptom: Edema (raised corky lesions) on lower leaves.
Solution: Reduce relative humidity below 60%, ensure soil drainage with 30% perlite addition, and decrease irrigation volume by 25%.
Symptom: Spider mite stippling (tiny yellow dots on leaf surface).
Solution: Maintain 50-60% relative humidity, release Phytoseiulus persimilis predatory mites at 2 per square foot, or apply neem oil at 2 tablespoons per gallon weekly for 3 weeks.
Maintenance
Water seedlings with 1/4 cup per 4-inch pot every 2-3 days, adjusting for 50% soil moisture as measured by tensiometer at 20-30 centibars of tension.
Clean benches weekly with 10% bleach solution (1 part bleach to 9 parts water) to eliminate algae and fungal spores. Rinse thoroughly after 10-minute contact time.
Replace grow light bulbs every 10,000 hours for fluorescent systems or 50,000 hours for LEDs. Light intensity degrades 30% before visible dimming occurs.
Calibrate pH and EC meters monthly using buffer solutions at 4.0, 7.0, and 10.0 pH standards and 1413 microsiemens conductivity solution.
Inspect heating and cooling systems before each season. Clean or replace HVAC filters monthly during operation. Maintain temperature within 5°F of target using programmable thermostats with night setback to 60°F.
FAQ
What size workshop serves a 2,000-square-foot garden?
A 120-square-foot structure (10×12 feet) provides adequate space for propagation benches, tool storage, and soil mixing for intensive vegetable production on 2,000 square feet.
Which foundation type works for uneven terrain?
Helical pier foundations adjust for slopes up to 15 degrees without excavation. They require professional installation but eliminate frost heave issues in zones 3-6.
How much electrical capacity does propagation lighting require?
Calculate 40 watts per square foot of propagation area for LED systems or 60 watts per square foot for T5 fluorescent. A 20-square-foot seedling bench needs an 800-watt LED array on a dedicated 15-amp circuit.
What insulation R-value suits zone 6?
Walls need R-19 and ceiling R-30 minimum for year-round 55°F maintenance without excessive heating costs. Add vapor barrier on warm side of insulation.
How do you prevent condensation on workshop windows?
Install double-pane windows with low-E coating and maintain indoor relative humidity at 40-50% using exhaust fans triggered by hygrostat controllers set at 55% RH threshold.