9 Decorative Steps to Install a Vegetable Patch Garden Gate
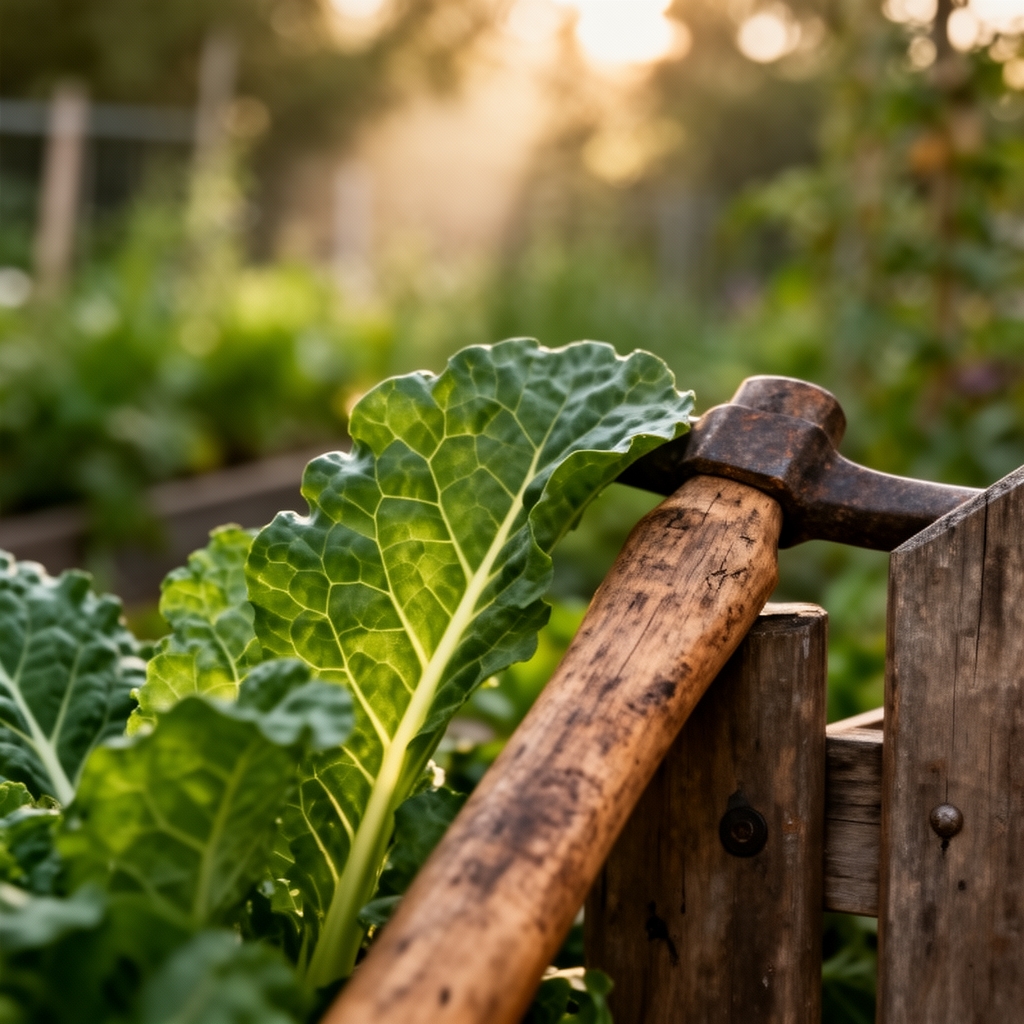
The afternoon sun filters through wood slats as soil collects under your fingernails, and the rhythmic tap of hammer on nail punctuates the garden's quiet hum. Installing a proper gate for your vegetable patch transforms chaotic access into structured flow, and the steps for installing a vegetable garden gate demand both aesthetic precision and structural integrity. A well-designed gate protects crops from deer browse, channels foot traffic away from fragile root zones, and creates a visual anchor that draws the eye through raised beds and trellised rows.
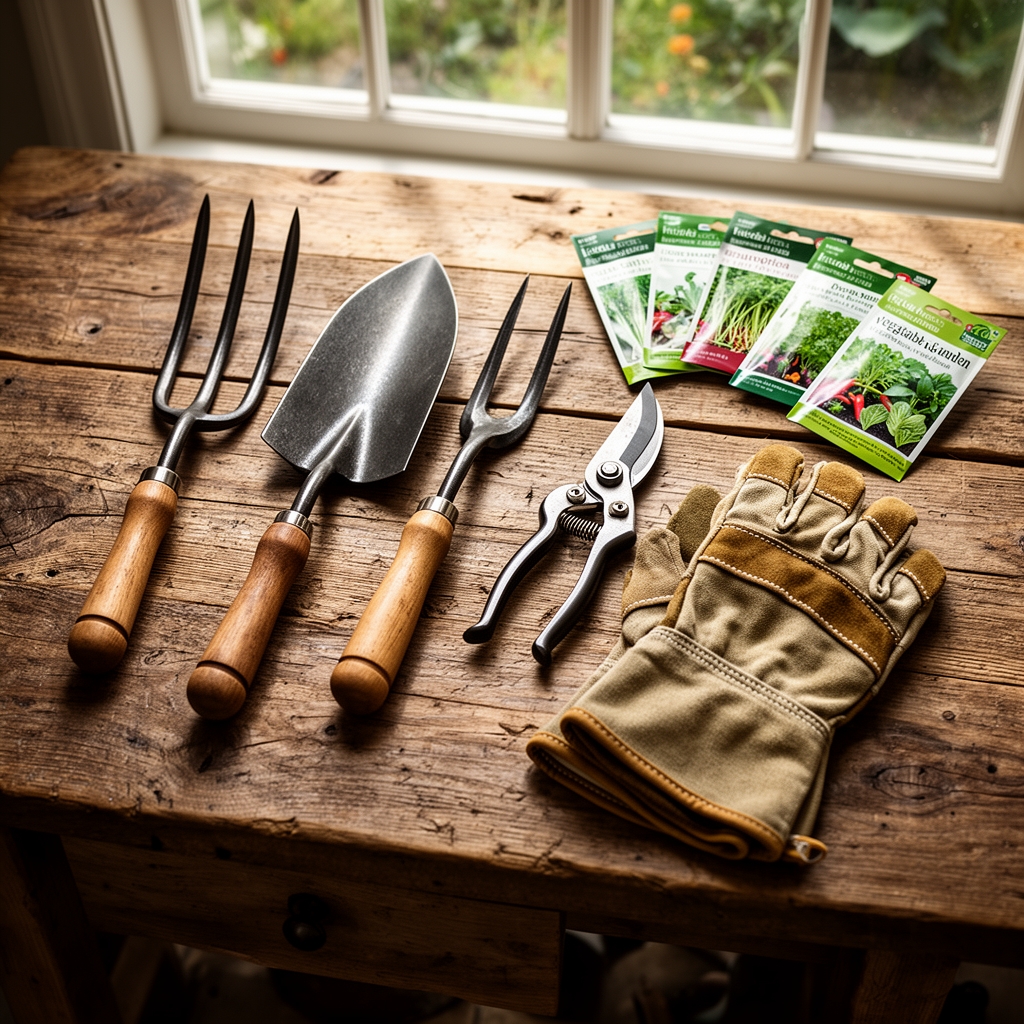
Materials
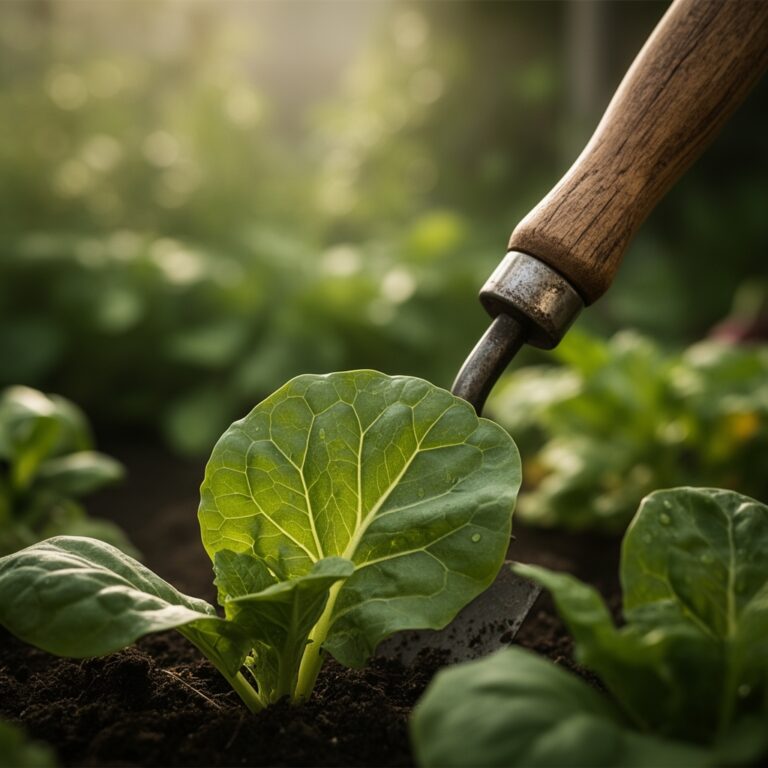
Gather materials based on functional load and environmental exposure. Cedar posts (4×4 inches, 8 feet long) resist decay for 15-20 years without chemical treatment due to natural thujaplicins. Galvanized hardware (3-inch hinges, 5/16-inch carriage bolts) withstands moisture and prevents rust bleed that stains adjacent wood. For soil amendment around post footings, mix compost with a balanced 4-4-4 organic meal to feed microbial populations without scorching young roots. Pea gravel (3/8-inch grade) provides drainage in the post hole base. Hardware cloth (1/4-inch mesh, 36 inches tall) excludes rabbits while maintaining airflow. Linseed oil finish penetrates grain without forming a surface film that traps moisture.
Select gate lumber milled from rot-resistant species. Western red cedar contains natural fungicides. Black locust offers superior hardness (Janka rating 1,700 lbf). Avoid pressure-treated lumber near edible crops, as copper-based preservatives leach into soil, disrupting mycorrhizal fungi colonization and elevating heavy metal content in leafy greens.
Timing
Install gates during dormant seasons when soil moisture levels stabilize. In Zones 5-7, schedule installation from late October through March before spring thaw destabilizes post footings. Zones 8-10 permit year-round installation, but avoid monsoon periods when saturated clay soils exhibit poor bearing capacity. Frost heave displaces posts set above the frost line. In Zone 5, dig footings to 42 inches. Zone 7 requires 24-inch depth. Sandy loam soils drain faster and reduce frost penetration compared to heavy clay.
Spring installation before late-April allows posts to settle before climbing peas and pole beans require trellising adjacent to gate structures. Fall installation after first frost ensures deer pressure increases, making functional barriers immediately useful.
Phases

Phase 1: Layout and Foundation
Mark post locations 42 inches apart for a 36-inch gate swing. Excavate post holes using a clamshell digger to preserve hole wall integrity. Augers smear clay particles, reducing drainage. Pour 6 inches of pea gravel at hole base. This layer dissipates hydrostatic pressure during freeze-thaw cycles. Set posts plumb using a 48-inch level on two adjacent faces. Backfill with native soil mixed 3:1 with compost. Tamp every 4 inches to eliminate voids that collect water.
Pro-Tip: Innoculate backfill soil with endomycorrhizal fungi spores (Glomus intraradices) at 2 ounces per cubic foot. These symbiotic relationships extend effective root surface area by 100-1,000x, improving drought resistance in perimeter plantings.
Phase 2: Frame Assembly
Build gate frame using mortise-and-tenon joints or pocket screws at 15-degree angles to resist racking. Cross-bracing from top hinge-side to bottom latch-side distributes load along compression vectors. Apply waterproof wood glue (Type II minimum) before fastening. Clamp assembly square using diagonal measurements. Discrepancies over 1/8 inch cause binding.
Pro-Tip: Pre-drill hinge screw holes 1/64 inch undersized. This creates mechanical grip without splitting grain, especially in cedar's soft late-growth rings. Beeswax on screw threads reduces insertion torque by 40%.
Phase 3: Hanging and Hardware
Mount hinges 8 inches from top and bottom rails. This spacing prevents sagging in gates under 48 inches tall. Shim gate bottom 1 inch above grade to prevent soil contact and rot. Install spring-loaded latch at 36 inches height for ergonomic access. Test swing arc for clearance. Gates require 1/4-inch gap on latch side to accommodate wood expansion during humid summer months when cellulose fibers absorb atmospheric moisture.
Pro-Tip: Apply auxin-blocking paste to cut ends before installation. This prevents sprouting in locust posts that retain cambial vitality after milling.
Troubleshooting
Symptom: Gate sags after six months.
Solution: Hinges placed too close together concentrate stress. Add third central hinge or install turnbuckle diagonal brace. Tension cable until frame returns to square.
Symptom: Post heaves 2-3 inches each spring.
Solution: Footing set above frost line. Re-excavate to proper depth. Install gravel collar extending 12 inches radially from post to interrupt capillary moisture rise that feeds ice lens formation.
Symptom: Wood splits along hinge mounting.
Solution: Insufficient pilot hole diameter. Replace with through-bolts using backing plates that distribute load across 4 square inches.
Symptom: Latch no longer aligns.
Solution: Posts rotated due to insufficient backfill compaction. Reset latch 1/4 inch higher. Add stabilizing knee braces from post to adjacent fencing.
Maintenance
Inspect hinges quarterly. Apply lithium grease to pivot points. Tighten hardware after first year as wood compresses. Reapply linseed oil annually at 100 square feet per pint coverage rate. Check post plumb each spring. Deviations over 1 inch indicate footing failure. Brush accumulated soil from gate bottom to prevent constant moisture contact. Replace hardware cloth when rust perforates 20% of surface area, typically after 8-10 years in humid climates.
Water perimeter plantings with 1 inch per week during establishment. Mulch 3 inches deep around posts using shredded hardwood bark to moderate soil temperature fluctuations and reduce freeze-thaw frequency.
FAQ
How deep should fence posts be for vegetable garden gates?
Depth equals one-third total post length, minimum 24 inches in Zone 7, 42 inches in Zone 5 to prevent frost heave.
What wood resists rot without chemicals near vegetables?
Cedar, black locust, and white oak contain natural extractives that inhibit fungal decay for 15-25 years.
Should I use concrete for gate post footings?
Concrete traps moisture against wood, accelerating rot at the collar. Gravel and compacted native soil allow drainage while providing lateral support.
How wide should a vegetable garden gate open?
Minimum 36 inches accommodates wheelbarrows. Forty-two inches allows comfortable passage with harvest baskets.
When do I oil the gate wood?
Apply linseed oil in dry weather above 50°F, allowing 24 hours to penetrate before rain exposure. Repeat annually each spring after inspecting for winter damage.