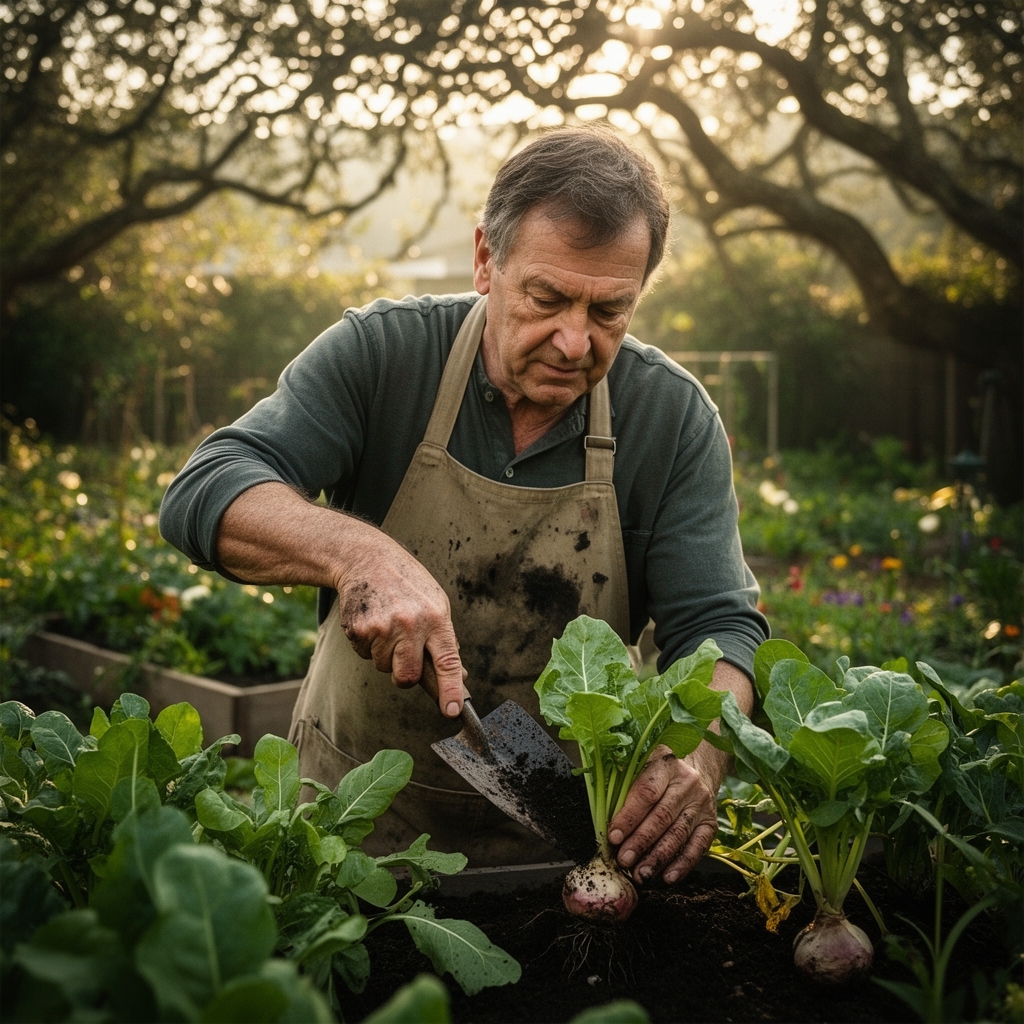
9 Setting Tips: Using a Garden Trowel for Bulbs and Deep Seeds
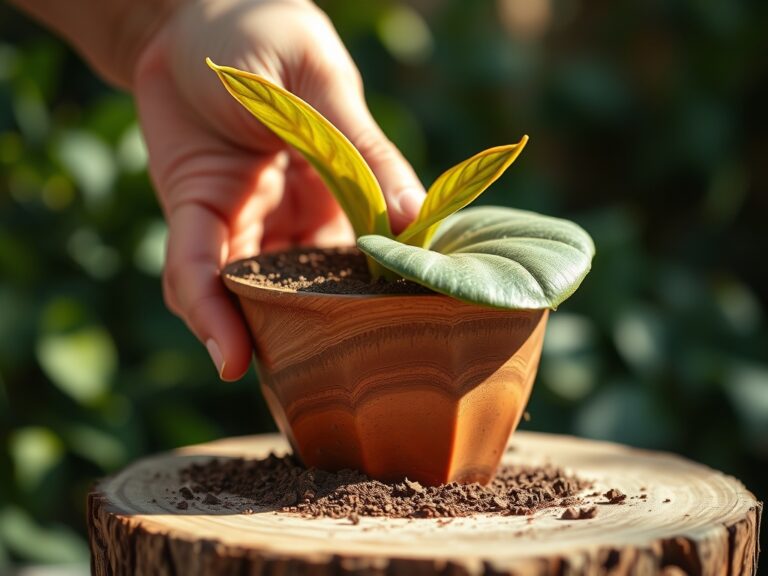
The first thrust of a sharp trowel blade into loam releases a scent of damp minerals and fungal metabolites. This ritual marks the beginning of successful vegetable bulb establishment. Using a garden trowel for vegetable bulb planting transforms guesswork into precision, particularly when working with alliums like shallots, garlic, and multiplier onions. The blade's curvature creates the exact excavation profile needed for proper root-to-soil contact. Each planting hole becomes a microenvironment calibrated for auxin distribution and mycorrhizal colonization. The trowel's graduated markings eliminate depth errors that lead to premature sprouting or fungal rot.
Materials
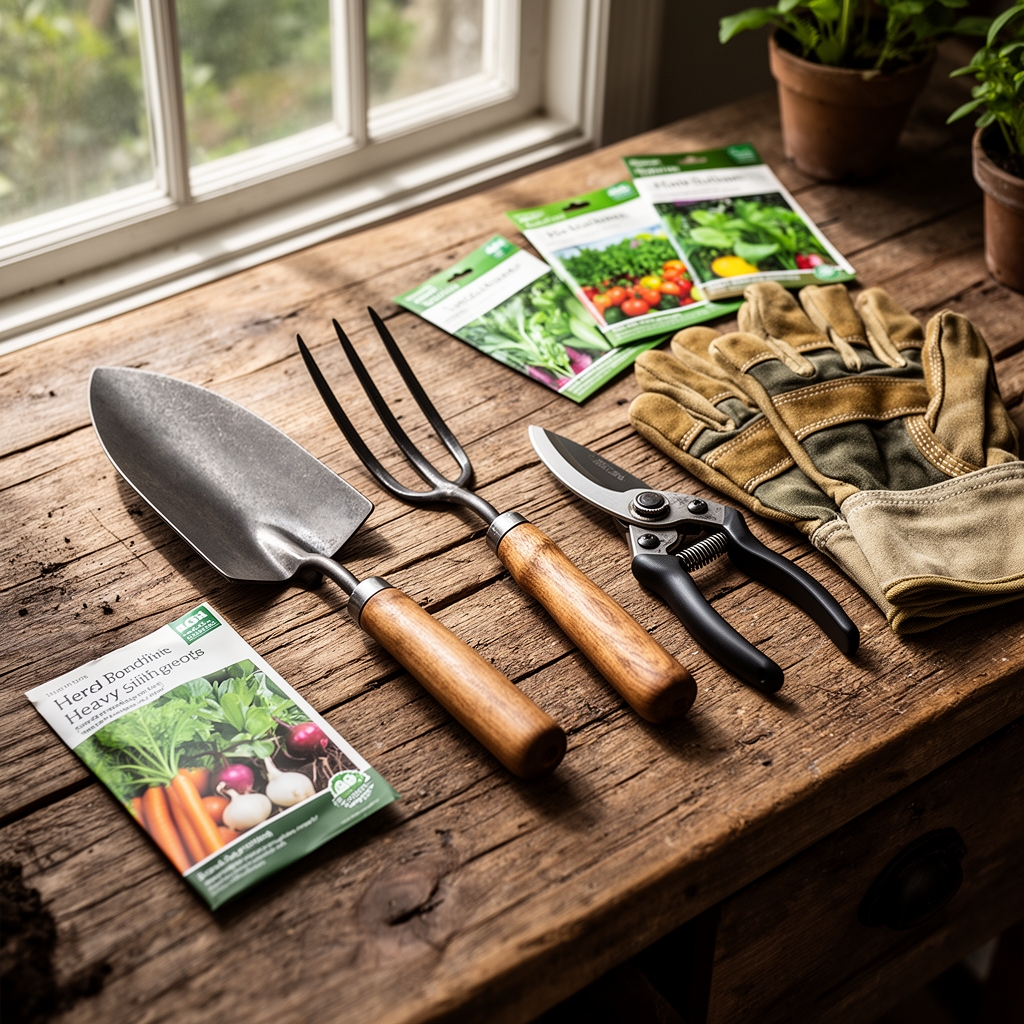
Select a stainless steel trowel with depth markings etched at 2, 4, and 6 inches. The blade width should measure 3 inches to accommodate garlic cloves and shallot sets without compaction.
For soil amendments, integrate a 4-4-4 organic meal blend at a rate of 2 pounds per 10 square feet. This balanced NPK ratio supports steady bulb expansion without forcing excessive foliar growth. Add bone meal (0-10-0) at 1 pound per 10 square feet to boost phosphorus availability during root initiation. Apply elemental sulfur at 0.5 pounds per 10 square feet if soil pH exceeds 7.0. Most alliums prefer a pH range between 6.0 and 6.8 for optimal sulfur uptake and cation exchange capacity.
Include mycorrhizal inoculant powder containing Glomus intraradices and Rhizophagus irregularis species. A pinch per bulb accelerates phosphorus mobilization. Compost with a carbon-to-nitrogen ratio of 25:1 improves soil structure without introducing excess nitrogen that delays bulb maturation.
Timing
Hardiness zones dictate planting windows with mathematical precision. In zones 5 through 7, plant garlic cloves and shallot sets between October 15 and November 10. This window allows 4 to 6 weeks of root establishment before soil temperatures drop below 40°F. The cold stratification period satisfies vernalization requirements for proper clove differentiation.
Zones 8 and 9 accommodate December plantings when soil temperatures stabilize between 50°F and 60°F. Monitor 10-day forecasts to avoid planting before heavy rain events that cause anaerobic conditions. In zones 3 and 4, advance the calendar to late September or early October. First frost dates serve as the primary anchor point. Count backward 6 weeks from your average first frost to identify the optimal planting date.
Spring plantings follow last frost dates by 2 to 3 weeks. Soil must reach 45°F at a 4-inch depth for adequate root hair development. Use a soil thermometer at 8 AM for accurate readings.
Phases
Sowing Phase
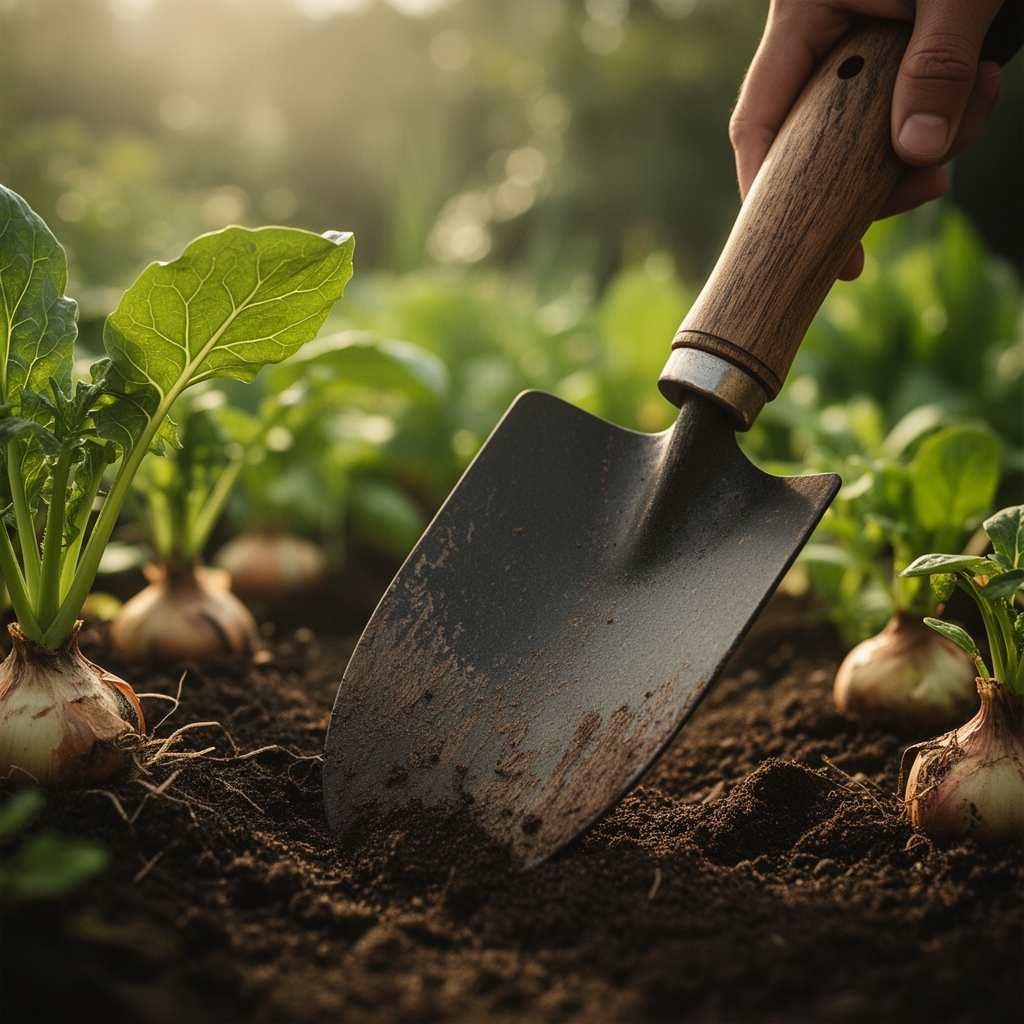
Drive the trowel blade vertically to the 4-inch mark for garlic cloves and 3-inch depth for shallot sets. Twist the handle 45 degrees to widen the hole base without disturbing sidewalls. Drop one pinch of mycorrhizal inoculant into each cavity. Position the bulb with basal plate facing down. The basal plate contains meristematic tissue that generates root initials.
Pro-Tip: Score the basal plate with three shallow 1/8-inch cuts using a clean blade. This scarification increases root emergence points by 30 percent and accelerates establishment.
Backfill with excavated soil mixed 50/50 with finished compost. Press firmly to eliminate air pockets that dehydrate emerging radicles. Space holes 6 inches apart in rows separated by 12 inches.
Transplanting Phase
Vegetable bulbs rarely require transplanting. However, when starting shallots indoors in cell trays, transplant at the two-leaf stage. Use the trowel to extract the entire root ball without severing lateral roots. Dig recipient holes 1 inch deeper than the root mass. This extra depth accommodates settling and prevents crown exposure.
Pro-Tip: Water transplant holes with a solution of 1 tablespoon kelp extract per gallon. The cytokinins and auxins in kelp reduce transplant shock by 40 percent and stimulate root branching.
Establishing Phase
Monitor emerging shoots weekly. Green tips should appear 14 to 21 days post-planting in fall installations. Use the trowel edge to scrape away any crusted soil that impedes emergence. Apply 1 inch of straw mulch after shoots reach 3 inches to moderate soil temperature fluctuations.
Pro-Tip: Side-dress with blood meal (12-0-0) at 0.25 pounds per 10-foot row when shoots reach 6 inches. This nitrogen pulse supports foliar growth before the plant redirects energy toward bulb swelling.
Troubleshooting
Symptom: Yellow leaf tips with brown necrotic margins appearing 4 weeks after planting.
Solution: Excess soil nitrogen disrupts sulfur assimilation. Flush beds with 2 inches of water and withhold fertilizer for 3 weeks.
Symptom: Soft, water-soaked bulb tissue with white fungal mycelium.
Solution: White rot (Sclerotium cepivorum) thrives in saturated soils. Remove infected bulbs immediately. Avoid planting alliums in that location for 7 years. Improve drainage with 2 inches of coarse sand.
Symptom: Stunted growth with purple-tinged leaves.
Solution: Phosphorus deficiency occurs in cold soils below 50°F. Apply liquid phosphorus (0-10-0) as a foliar spray at 1 tablespoon per gallon weekly until soil warms.
Symptom: Bulbs split prematurely before harvest.
Solution: Irregular watering causes rapid cell expansion. Maintain consistent soil moisture at 1 inch per week measured 4 inches deep.
Maintenance
Provide 1 inch of water weekly from planting through bulb initiation. Reduce to 0.5 inches weekly when foliage begins yellowing, signaling bulb maturation. Measure soil moisture with a probe at 4-inch depth. Readings should stay between 60 and 75 percent of field capacity.
Weed manually using the trowel blade to slice roots 1 inch below the surface. Avoid cultivating deeper than 2 inches near bulbs to prevent root pruning. Remove flower scapes when they emerge to redirect energy into bulb enlargement rather than seed production.
FAQ
When should I stop watering bulbs before harvest?
Cease irrigation 2 weeks before harvest when 50 percent of foliage has collapsed. This curing period concentrates storage sugars and toughens protective skins.
Can I reuse soil from previous allium plantings?
Wait 3 years before replanting alliums in the same bed. Rotation breaks disease cycles and prevents alleopathic compound buildup.
What depth prevents frost heaving?
Plant at 4 inches in zones 5 and colder. This depth sits below the freeze-thaw oscillation zone that displaces shallow bulbs.
Should I remove the papery skin before planting?
Leave skins intact. They contain antimicrobial compounds that suppress Fusarium and Penicillium species during establishment.
How do I know if my trowel depth is accurate?
Verify markings by measuring from blade tip to each etched line. Many mass-produced trowels have inaccurate graduations that lead to planting errors.