7 Balcony Steps to Prepare a Garden for Potted Veggies
Growing food on a balcony requires understanding how to prepare a garden for a balcony vegetable garden with precision. The process begins with assessing structural load limits, light exposure angles, and microclimate patterns unique to elevated spaces. Most balconies receive 6-8 hours of direct sunlight along south-facing orientations, sufficient for fruiting crops like tomatoes and peppers. Wind speeds increase by 15-20% for every story above ground level, accelerating transpiration rates and demanding more frequent irrigation. Container selection drives root zone temperature stability and cation exchange capacity, the soil's ability to retain nutrients. How to prepare a garden for a balcony vegetable garden means engineering a self-contained ecosystem that compensates for the absence of ground contact and natural water tables.
Materials
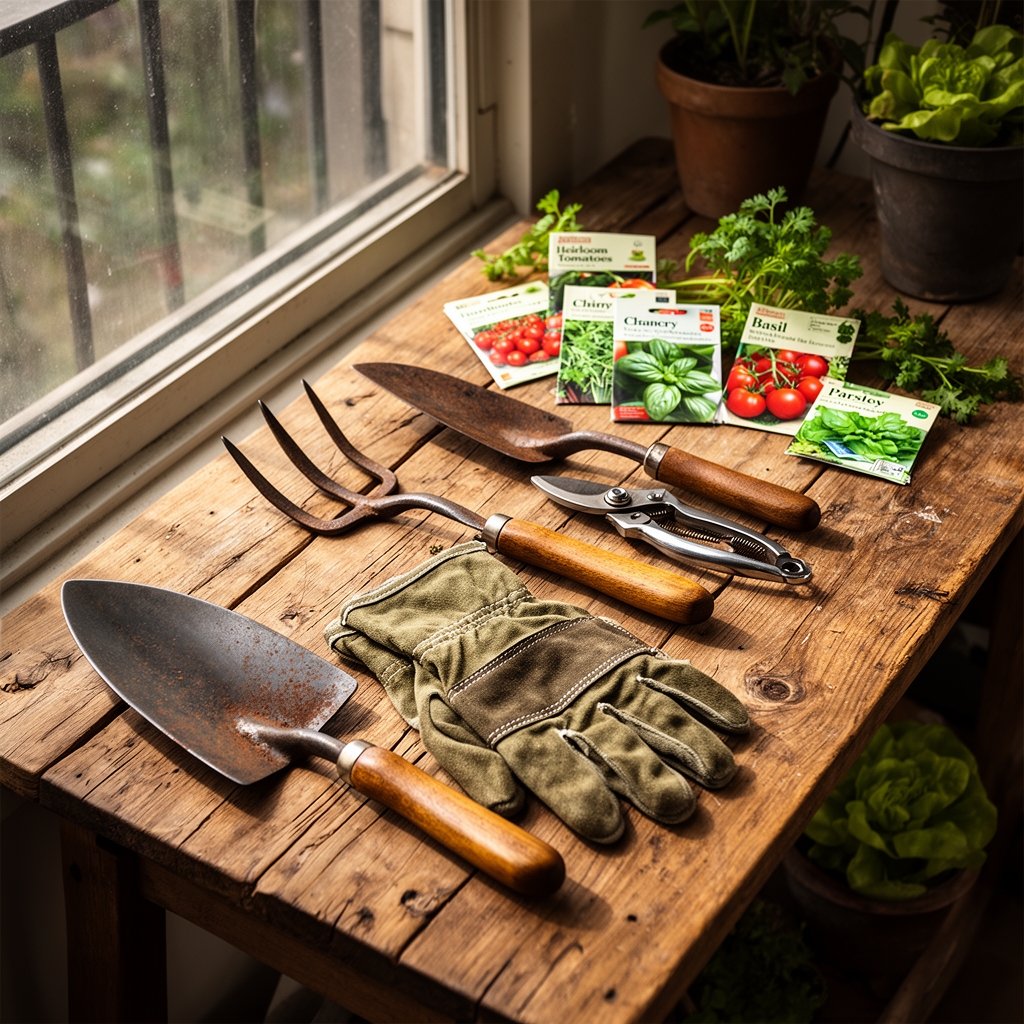
Select containers with drainage holes measuring 0.5 inches in diameter, spaced every 4-6 inches. Fifteen-gallon fabric pots provide adequate volume for tomatoes and eggplants, while 5-gallon containers suit peppers and dwarf varieties. Use a potting mix with pH 6.2-6.8, blending 40% peat moss or coir, 30% perlite, 20% compost, and 10% worm castings. Add mycorrhizal fungi at 0.5 ounces per cubic foot to colonize root surfaces and extend nutrient uptake radius by 10-15 times.
Incorporate a balanced 4-4-4 organic fertilizer at 2 tablespoons per gallon of soil. This NPK ratio supplies nitrogen for foliage, phosphorus for root development, and potassium for fruit set. Layer 2 inches of mulch using shredded hardwood bark to reduce surface evaporation by 30%. Install drip irrigation lines with adjustable emitters rated at 0.5-1.0 gallons per hour. Secure containers with non-penetrating weight plates or ratchet straps to prevent wind displacement above the third floor.
Timing
Hardiness zones dictate planting windows for balcony vegetables. Zone 7 gardeners begin seedlings indoors 6-8 weeks before the last spring frost, typically mid-March to early April. Transplant warm-season crops like tomatoes, peppers, and cucumbers only after nighttime temperatures remain above 55°F for seven consecutive days. Cool-season crops including lettuce, spinach, and peas tolerate transplanting 2-4 weeks before the last frost when soil temperatures reach 40°F.
Zone 5 climates require indoor starts by late February for tomatoes and mid-March for peppers. Last frost dates fall between May 1-15, compressing the transplant window. Zone 9 regions support year-round production, with optimal planting during October through February to avoid summer heat stress above 95°F. Monitor balcony-specific microclimates using a min-max thermometer positioned at container height. South-facing balconies register 5-10°F warmer than ground-level gardens, advancing phenological stages by 7-10 days.
Phases
Sowing Phase: Fill 2-inch cell trays with seed-starting mix containing 70% peat and 30% perlite. Plant seeds at depths equal to twice their diameter. Tomatoes germinate in 5-7 days at 75-80°F, while peppers require 10-14 days at 80-85°F. Position seedlings under T5 fluorescent lights maintaining 200-400 foot-candles, suspended 2 inches above foliage. Increase light distance as seedlings grow to prevent auxin suppression and stretching.
Pro-Tip: Brush seedlings gently with your palm twice daily to stimulate thigmomorphogenesis, producing stems 25% thicker through mechanical stress response.
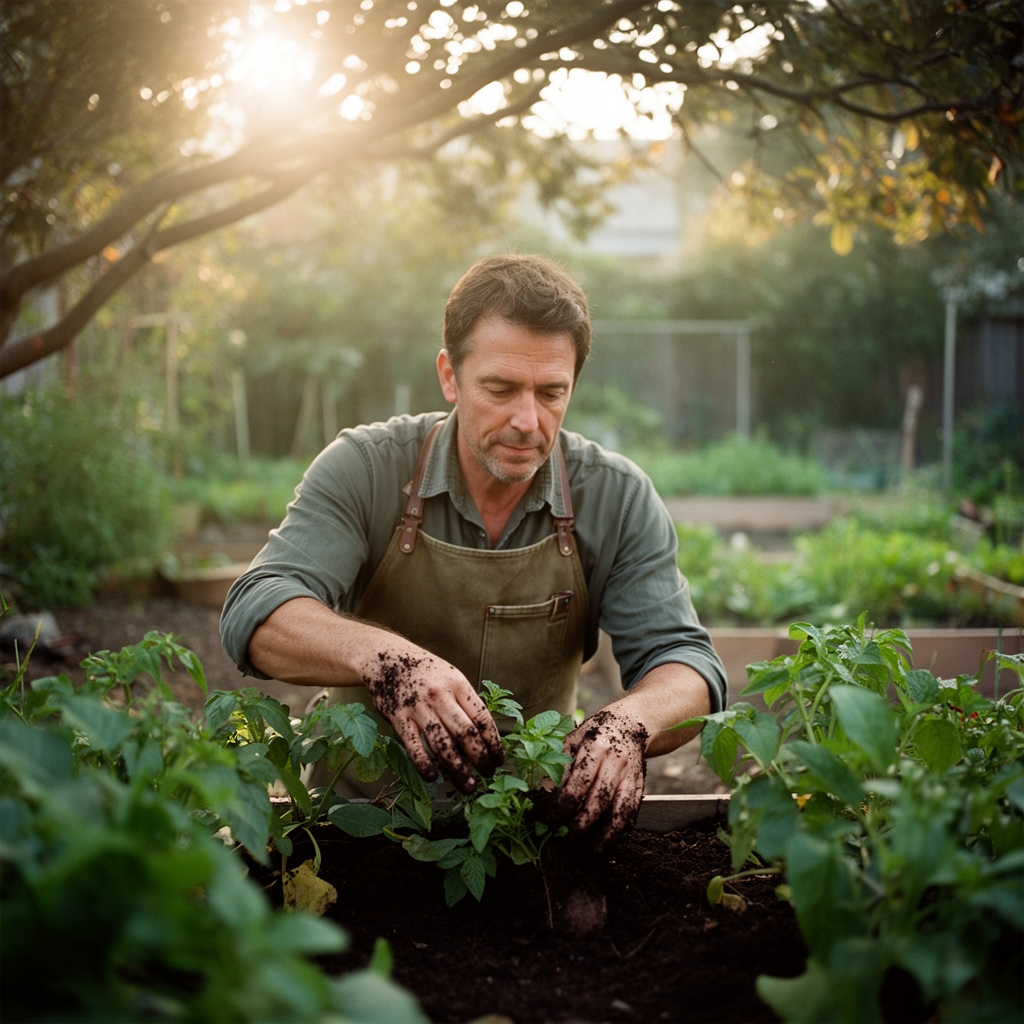
Transplanting Phase: Harden off seedlings over 10 days by reducing indoor temperatures to 60°F and exposing plants to outdoor conditions for progressively longer periods, starting at 1 hour. Transplant during overcast afternoons when stomatal conductance is lowest. Dig holes 1.5 times the root ball diameter. Position tomatoes at a 45-degree angle, burying stems up to the first true leaves to encourage adventitious rooting along 4-6 inches of stem tissue.
Pro-Tip: Apply 1 tablespoon of bone meal (0-10-0 NPK) in each transplant hole to supply 15% phosphorus for immediate root cell division.
Establishing Phase: Water transplants with kelp solution diluted to 1 tablespoon per gallon to provide auxins and cytokinins promoting lateral root growth. Stake indeterminate tomatoes using 6-foot bamboo poles inserted 8 inches deep, positioned 3 inches from stems. Prune tomato suckers below the first flower cluster at 45-degree angles to redirect carbohydrate allocation toward fruit development rather than vegetative growth.
Pro-Tip: Inoculate legume roots with Rhizobium bacteria at transplanting to fix atmospheric nitrogen at rates of 100-150 pounds per acre equivalent, reducing fertilizer needs by 40%.
Troubleshooting
Blossom End Rot: Brown, sunken lesions on tomato and pepper fruits indicate calcium deficiency caused by inconsistent watering. Solution: Maintain soil moisture between 60-80% field capacity using moisture meters. Apply calcium chloride foliar spray at 1 tablespoon per gallon weekly during fruit development.
Aphid Infestation: Clusters of 2mm green or black insects on growing tips excrete honeydew, promoting sooty mold. Solution: Spray insecticidal soap at 2% concentration, covering leaf undersides where 70% of aphids feed. Release ladybird beetles at 50-60 adults per balcony for biological control lasting 4-6 weeks.
Powdery Mildew: White fungal patches on leaf surfaces reduce photosynthetic capacity by 30-40%. Solution: Apply potassium bicarbonate at 1 tablespoon per gallon every 7 days. Increase air circulation to maintain relative humidity below 70% using 6-inch clip-on fans.
Edema: Raised, corky bumps on leaves result from excessive root pressure when water uptake exceeds transpiration. Solution: Reduce irrigation frequency by 30%. Improve drainage by elevating containers on 2-inch risers.
Nitrogen Deficiency: Uniform yellowing of lower leaves signals insufficient nitrogen availability. Solution: Side-dress with blood meal (12-0-0) at 1 tablespoon per 5-gallon container, watering immediately to prevent root burn.
Maintenance
Apply 1 inch of water when the top 2 inches of soil dry completely, typically every 2-3 days during temperatures above 80°F. Insert a moisture meter 4 inches deep, irrigating when readings drop to 4 on a 10-point scale. Feed every 14 days with fish emulsion (5-1-1) diluted to 2 tablespoons per gallon once flowering begins. Prune indeterminate tomatoes to 2-3 main stems, removing all growth below the first fruit cluster.
Rotate containers 90 degrees weekly to ensure even light distribution and prevent phototropic leaning. Harvest leafy greens when leaves reach 4-6 inches, cutting 1 inch above the crown for continued production over 8-10 weeks. Pick tomatoes at the breaker stage when 10% of the surface shows color, then ripen indoors at 65-70°F to prevent splitting and pest damage.
Monitor for spider mites by tapping leaves over white paper and inspecting for moving specks smaller than 0.5mm. Clean leaf surfaces monthly with water spray to remove dust that blocks stomata, reducing gas exchange efficiency by 15-20%.
FAQ
What container size works for cucumbers?
Cucumbers require 10-gallon containers minimum with trellis support reaching 5-6 feet. Each plant occupies 12 inches of horizontal space.
Can balconies support heavy soil loads?
Residential balconies typically support 50-100 pounds per square foot. Calculate wet soil weight at 75 pounds per cubic foot. Distribute weight along load-bearing walls.
How often should fertilizer applications occur?
Container plants require feeding every 14 days during active growth. Organic fertilizers release nutrients over 6-8 weeks. Synthetic formulas require weekly application at quarter strength.
Do vegetables need full sun on balconies?
Fruiting crops require 6-8 hours direct sun. Leafy greens tolerate 4-6 hours. East-facing balconies suit lettuce and herbs. South exposures accommodate tomatoes and peppers.
When should succession planting begin?
Plant lettuce every 14 days from early spring through late fall for continuous harvest. Sow bush beans every 21 days until 60 days before first frost.