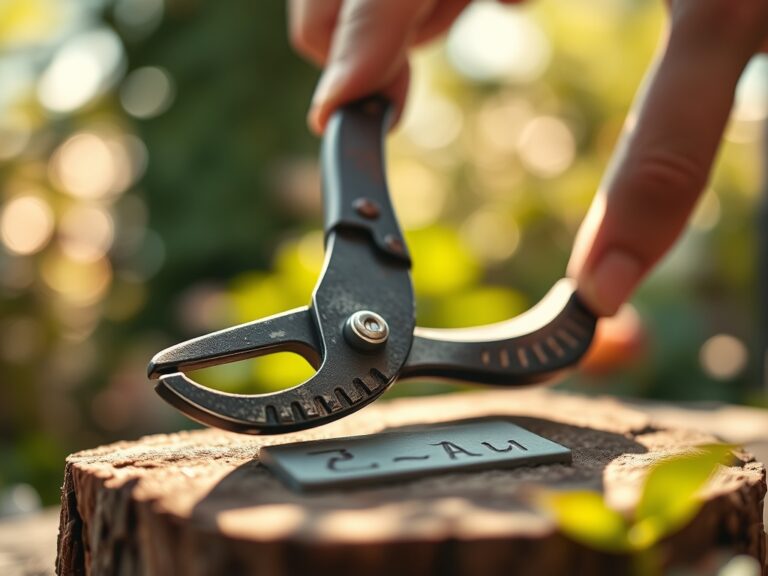
9 Steps to Clean a Hand Trowel After Planting
The scent of damp, anaerobic mud clinging to a steel blade signifies the end of a successful session in the rhizosphere. When you finish installing a specimen, the metal surface of your tool is coated in moisture, abrasive silicates, and potential pathogens that threaten the integrity of your next planting. Following precise steps for cleaning a garden trowel after use ensures that you do not inadvertently facilitate the spread of soil-borne fungi like Fusarium or Pythium. A neglected trowel develops rust, which increases friction and decreases the precision of your depth measurements. Maintaining a clean edge allows for clean cuts through root systems, preserving the turgor pressure of the plant by minimizing cellular trauma during the transplant process. Professional horticulture demands that equipment be treated with the same rigor as the botanical specimens themselves. By removing organic debris immediately, you prevent the colonization of harmful bacteria that thrive in the micro-crevices of oxidized steel. This protocol is the foundation of a sterile and efficient gardening environment.
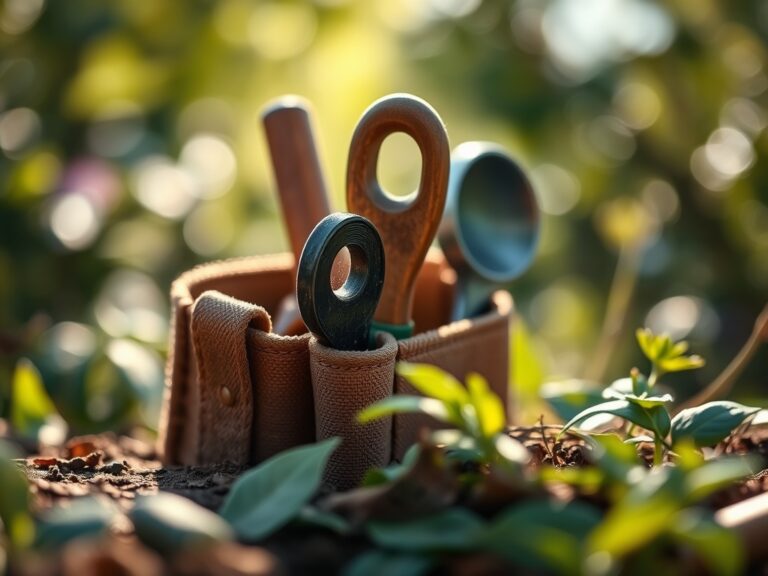
Materials:
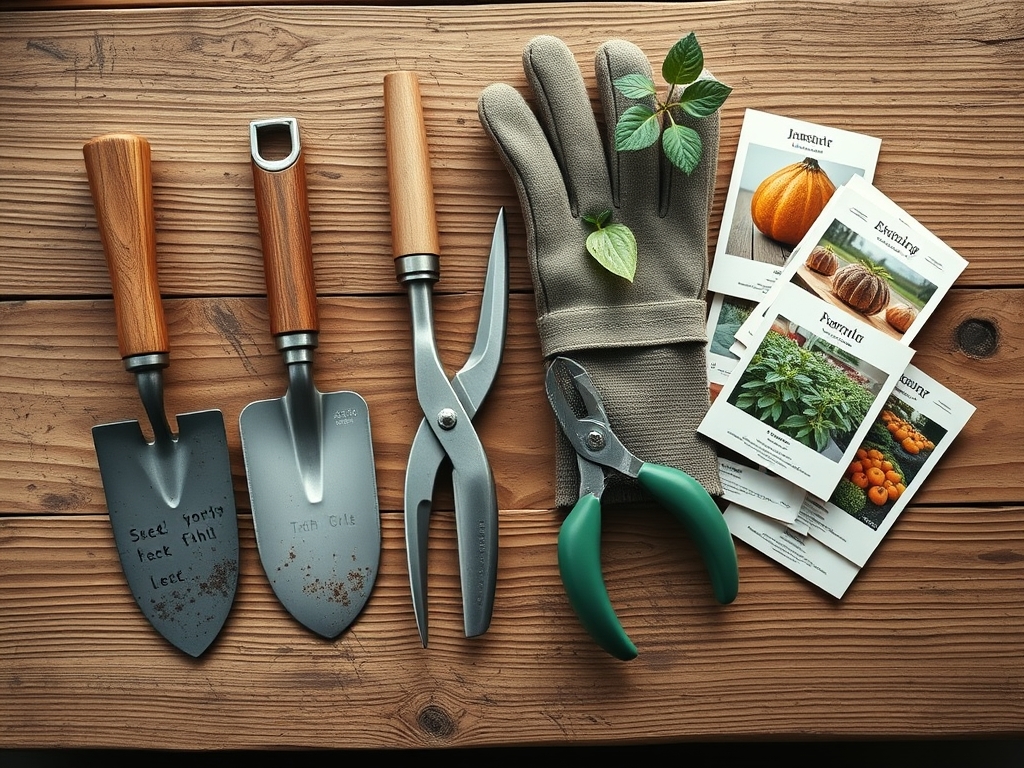
Effective cleaning requires an understanding of the substrate you just exited. A **friable loam** with a **pH of 6.5** and a high **Cation Exchange Capacity (CEC)** of **20+ meq/100g** often leaves behind fine clay particles that bind to steel via electrostatic charges. To counteract this, gather a stiff-bristled nylon brush, a bucket of coarse builder’s sand mixed with **5% mineral oil**, and a **70% isopropyl alcohol** solution. If you have been working in highly acidic soils (pH 4.5 to 5.5), the risk of metallic corrosion is higher due to increased hydrogen ion activity. For plants requiring specific NPK ratios, such as a **10-10-10** balanced fertilizer for general growth or a **5-10-10** for root development, ensure no chemical residue remains on the blade, as concentrated salts can cause localized desiccation upon the next use.
Timing:
The window for tool maintenance is dictated by the same environmental factors that govern your Hardiness Zone. In Zones 5 through 7, the transition from the vegetative stage to senescence often occurs following the first hard frost, typically between October 15 and November 15. This period of dormancy is the critical window for deep-cleaning and sharpening. The biological clock of the plant dictates that as the photoperiod shortens, metabolic activity shifts from the foliage to the root zone. Cleaning your trowel during these transitions prevents the carryover of dormant spores into the following spring. Always perform a basic cleaning within 30 minutes of use to prevent the hardening of clay-based soils, which can become as dense as concrete when dehydrated.
Phases:
Sowing
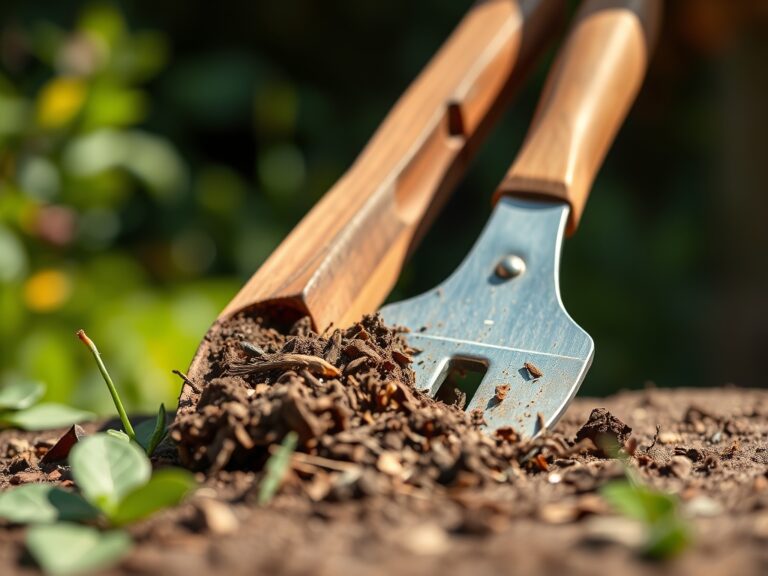
Begin by mechanically removing large clods of earth using a wooden scraper or a stiff brush. Avoid using metal scrapers that can create micro-scratches where pathogens hide. Rinse the tool under a high-pressure stream of water to clear the handle-to-blade junction.
Pro-Tip: Removing organic matter prevents the growth of saprophytic fungi. This is vital because mycorrhizal symbiosis requires a clean slate to establish a beneficial relationship between the fungus and the new seedling's root hairs.
Transplanting
Submerge the blade in a sanitizing solution. A 1:10 bleach-to-water ratio or 70% alcohol is standard. This step is non-negotiable when moving between different areas of the garden to prevent cross-contamination of nematodes or viral loads.
Pro-Tip: Sterilization protects the auxin suppression mechanisms in the plant. If a pathogen enters a fresh transplant cut, the plant diverts energy from growth to defense, stunted by the stress of the infection.
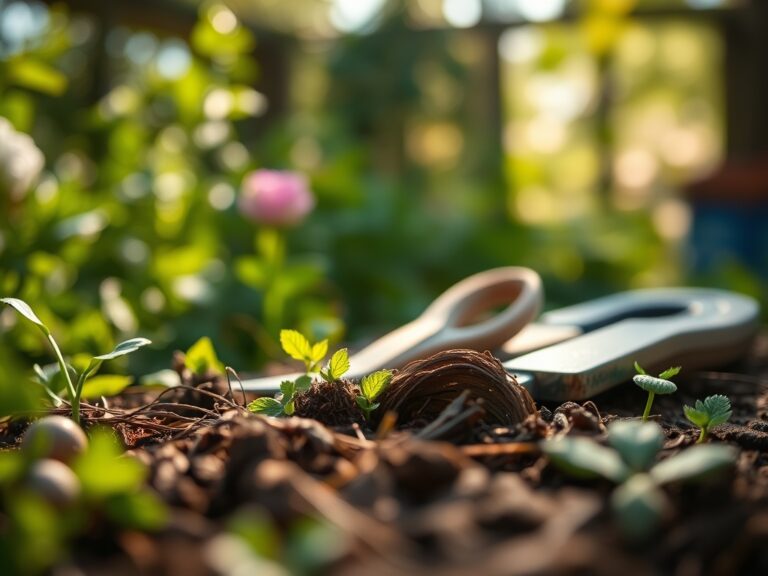
Establishing
Once cleaned and dried, plunge the trowel into a bucket of oiled sand. This provides a physical abrasive to remove microscopic rust and leaves a thin protective film that prevents oxidation during storage. Wipe away excess oil with a lint-free cloth.
Pro-Tip: Maintaining a smooth, polished surface reduces the physical resistance when digging. This minimizes the disruption of phototropism in young plants, as they can be settled into their permanent orientation with minimal soil disturbance.
The Clinic:
Physiological disorders in plants often mirror the health of the tools used to maintain them. Observe these symptoms and apply the necessary horticultural fixes.
- Symptom: Nitrogen Chlorosis. Foliage turns pale yellow, starting with older leaves.
- Solution: Apply a high-nitrogen fertilizer (e.g., 21-0-0 Ammonium Sulfate) to restore chlorophyll production.
- Symptom: Blossom End Rot. Dark, sunken spots on the base of fruits.
- Solution: This is a calcium deficiency often caused by inconsistent moisture. Maintain a steady soil moisture level of 60% to 70% capacity.
- Symptom: Interveinal Chlorosis. Yellowing between leaf veins while veins remain green.
- Solution: This indicates an Iron or Magnesium deficiency. Check soil pH; if it is above 7.0, iron becomes insoluble. Lower pH with elemental sulfur.
- Symptom: Bacterial Wilt. Sudden drooping of leaves while they remain green.
- Solution: This is often spread by contaminated tools. Immediately sanitize your hori-hori knife and remove the infected plant to prevent spread through the vascular system.
Maintenance:
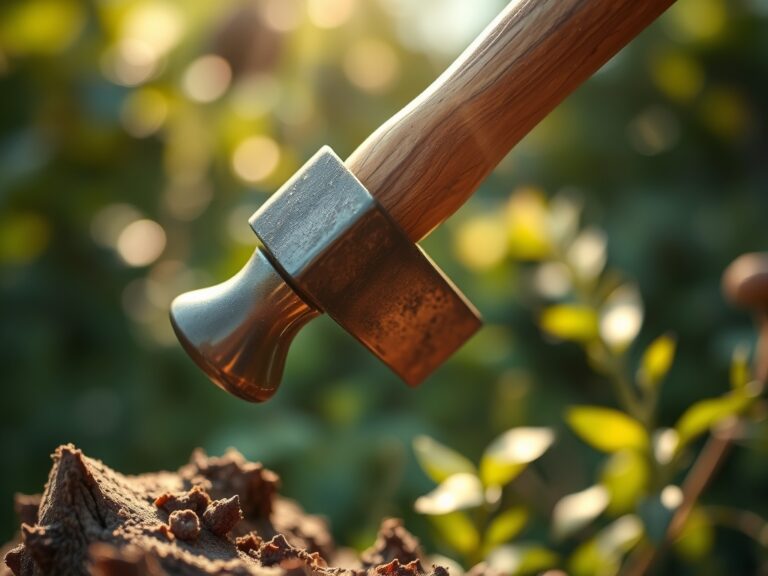
Precision in the garden requires data-driven maintenance. Use a soil moisture meter to ensure your beds receive exactly 1.5 inches of water per week at the drip line. Over-watering leads to root hypoxia, while under-watering increases soil salinity. Inspect your bypass pruners and trowels for any signs of pitting. If the metal feels "toothy," use a whetstone at a 20-degree angle to restore the factory edge. Store all hand tools in a low-humidity environment (below 50% relative humidity) to prevent the electrochemical reaction that leads to rust. For wooden handles, apply a coat of boiled linseed oil annually to prevent desiccation and splintering, which can harbor bacterial colonies.
The Yield:
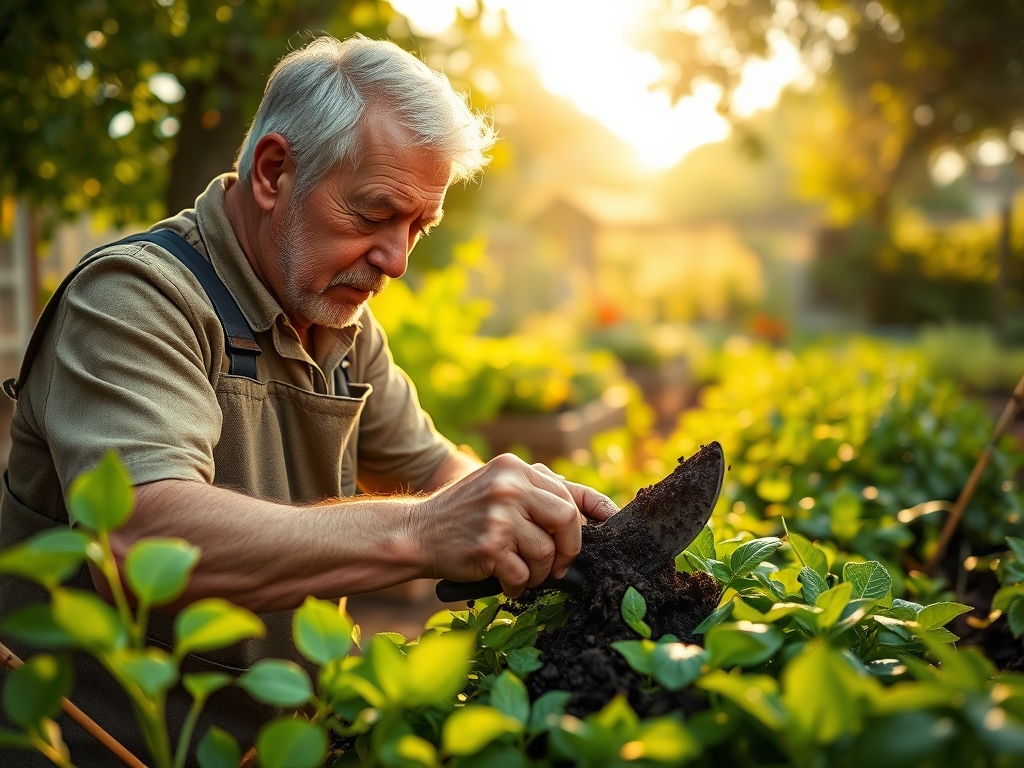
When harvesting root crops or dividing perennials, timing is paramount for post-harvest longevity. Harvest during the "cool of the day," typically between 5:00 AM and 8:00 AM, when turgor pressure is at its peak. Use your cleaned trowel to lift the root ball from underneath, avoiding direct contact with the primary taproot. For "day-one" freshness, immediately move harvested produce to a shaded area and reduce the core temperature to 40 degrees Fahrenheit. This slows the rate of senescence and respiration, preserving the sugars and nutrients within the plant tissues.
FAQ:
How often should I sanitize my garden trowel?
Sanitize your trowel after every use, especially when moving between different plant species or garden beds. This prevents the transmission of soil-borne pathogens and viruses that can decimate a crop within a single growing season.
What is the best oil for tool storage?
Use a light mineral oil or a biodegradable vegetable-based oil. Avoid motor oils, as they contain heavy metals and additives that can leach into the rhizosphere and negatively impact soil microbial life and plant health.
Can I use a wire brush to clean rust?
Yes, a wire brush is effective for removing heavy oxidation. However, you must follow up with a fine-grit sandpaper or a whetstone to smooth the surface, as deep scratches can harbor moisture and accelerate future corrosion.
Does soil pH affect my garden tools?
Highly acidic soils (pH below 5.0) are more corrosive to carbon steel. If working in acidic conditions, rinse and dry your tools immediately to neutralize the acid and prevent the degradation of the metal surface.