9 Steps to Prepare for a Seasonal Garden Tool Care Day
The smell of damp earth after a cold rain indicates a shift in soil porosity and microbial activity. When the turgor pressure in perennial stems begins to drop, the horticultural calendar demands a transition from cultivation to maintenance. Learning how to prepare a garden for a tool care day requires a systematic approach to the workspace and the flora. You must clear the debris that harbors pathogens and secure a stable environment for mechanical refurbishment before the first hard frost locks the soil.
Materials:
Preparation begins with the substrate. A **friable loam** with a **Cation Exchange Capacity (CEC) above 15** ensures that the garden remains stable while you focus on equipment. The soil pH should be maintained between **6.2 and 6.8** to optimize nutrient availability for overwintering roots. For late-season stabilization, apply a low-nitrogen fertilizer with an **NPK ratio of 5-10-15**. High potassium levels strengthen cell walls and increase cold hardiness. Avoid high nitrogen (the first number in the NPK ratio) as it triggers succulent vegetative growth that is highly susceptible to ice crystallization and subsequent cellular rupture.
Timing:
Timing is dictated by the USDA Hardiness Zones. In Zones 5 through 7, the window for a tool care day opens approximately 14 to 21 days before the first projected frost. This period aligns with the biological clock of the plant, specifically the transition from the vegetative stage to senescence. As the photoperiod shortens, plants redirect carbohydrates from the leaves to the root systems. You must complete your garden preparation during this metabolic shift to ensure that pruning cuts on woody perennials have sufficient time to callose before dormant pathogens become active in the winter moisture.
Phases:

Sowing and Soil Stabilization
Before the tools are decommissioned for sharpening, sow cover crops like winter rye or crimson clover. These species prevent soil erosion and nitrogen leaching. Ensure the seeds are in contact with the soil at a depth of 0.5 inches to maximize germination rates.
Pro-Tip: Cover crops foster mycorrhizal symbiosis. The fungal hyphae extend the reach of the root system, increasing the surface area for phosphorus absorption by up to 1,000 percent.
Transplanting and Division
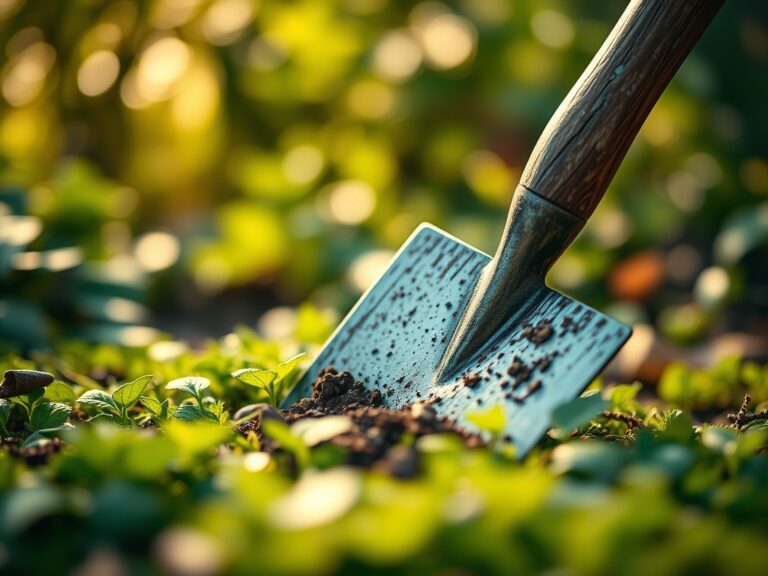
Divide overcrowded perennials such as Hostas or Daylilies when the soil temperature is between 50 and 60 degrees Fahrenheit. Use a sharp spade to ensure clean vascular separation. This reduces the risk of opportunistic fungal infections in the rhizosphere.
Pro-Tip: Maintain the apical dominance of the primary root system. This prevents auxin suppression, allowing the plant to establish new lateral roots more aggressively before the ground freezes.
Establishing the Winter Perimeter
Clear all spent annuals and vegetable remains. This removes the primary habitat for overwintering pests. Apply a 3-inch layer of organic mulch around the drip line of sensitive shrubs to regulate soil temperature fluctuations.
Pro-Tip: Mulching prevents heaving, a physical process where repeated freeze-thaw cycles push the root ball out of the soil. This protects the delicate root hairs from desiccation and mechanical damage.
The Clinic:
Physiological disorders often manifest during the seasonal transition. Monitor your plants for these specific symptoms before finalizing your garden prep.
Symptom: Interveinal chlorosis on new leaves.
Solution: This indicates an Iron deficiency, often caused by a pH above 7.0.
Fix-It: Apply chelated iron or lower the pH using elemental sulfur to reach a target of 6.5.
Symptom: Purpling of the underside of leaves.
Solution: Phosphorus deficiency.
Fix-It: Incorporate bone meal or a 0-20-0 superphosphate into the soil at the root zone.
Symptom: Marginal leaf burn or "scorch."
Solution: Potassium deficiency or high salinity.
Fix-It: Flush the soil with 2 inches of water to leach salts and apply sulfate of potash.
Symptom: Stunted growth with pale green older leaves.
Solution: Nitrogen chlorosis.
Fix-It: Apply a fast-acting organic liquid fertilizer with an NPK of 4-1-1 to provide an immediate boost before dormancy.
Maintenance:
Precision is the hallmark of a professional horticulturist. During the preparation phase, ensure every plant receives 1.5 inches of water per week at the drip line. Use a soil moisture meter to verify that the moisture has penetrated to a depth of 6 to 8 inches.
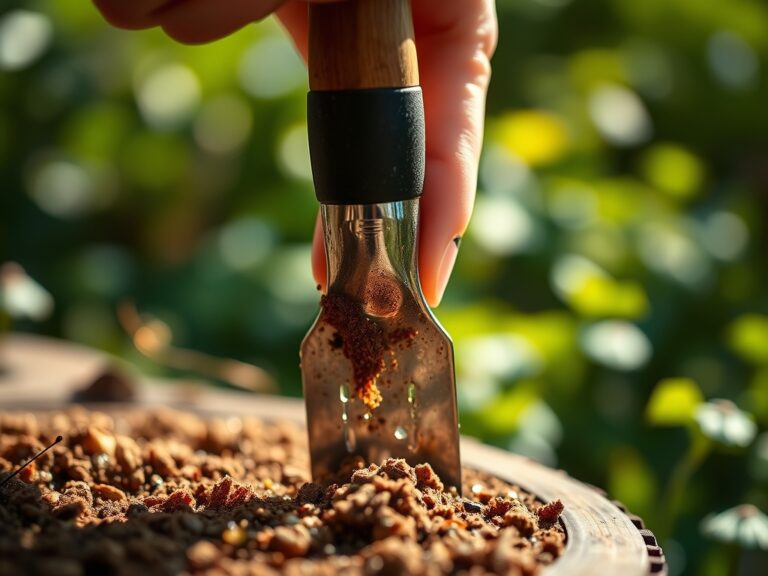
When removing diseased wood, use a bypass pruner for a clean, scissor-like action that minimizes tissue crushing. For deep-rooted weeds that compete for nutrients, utilize a hori-hori knife to sever the taproot at least 4 inches below the surface. Clean your blades with a 70 percent isopropyl alcohol solution between every plant to prevent the cross-contamination of viral pathogens.
The Yield:
If your garden includes late-season brassicas or root vegetables, harvest when the sugars have concentrated due to light frost. For kale and collards, harvest after the first frost has converted starches into glucose. Use a sharp harvesting knife to make a clean cut at the base of the stem. To maintain "day-one" freshness, immediately submerge the produce in 40-degree Fahrenheit water to remove field heat. This process, known as hydro-cooling, slows down the respiration rate and preserves the cellular turgor of the foliage. Store the yield in a high-humidity environment at a constant 34 degrees Fahrenheit.
FAQ:
How do I clean rusted garden tools?
Scrub the metal surfaces with a wire brush or steel wool. Soak the tool heads in a 50/50 solution of white vinegar and water for 12 hours. Rinse, dry thoroughly, and apply a thin coat of mineral oil to prevent oxidation.
When is the best time to sharpen pruners?
Sharpen blades once the garden is fully transitioned to dormancy. Use a diamond whetstone at a 20-degree angle. Regular sharpening reduces the physical force required for cuts, preventing jagged edges that invite bacterial infection into plant tissues.
Should I oil wooden tool handles?
Yes. Sand the handles with 120-grit sandpaper to remove splinters. Apply boiled linseed oil with a clean rag. This prevents the wood from absorbing moisture, which leads to swelling, rotting, and eventual structural failure of the tool handle.
How should I store my garden hoses for winter?
Drain all residual water to prevent ice expansion and internal cracking. Coil the hoses in circles at least 18 inches in diameter to avoid kinking. Store them in a temperature-controlled environment away from direct UV light to prevent polymer degradation.