8 Tips: Using a Pointed Shovel for Backyard Preparation
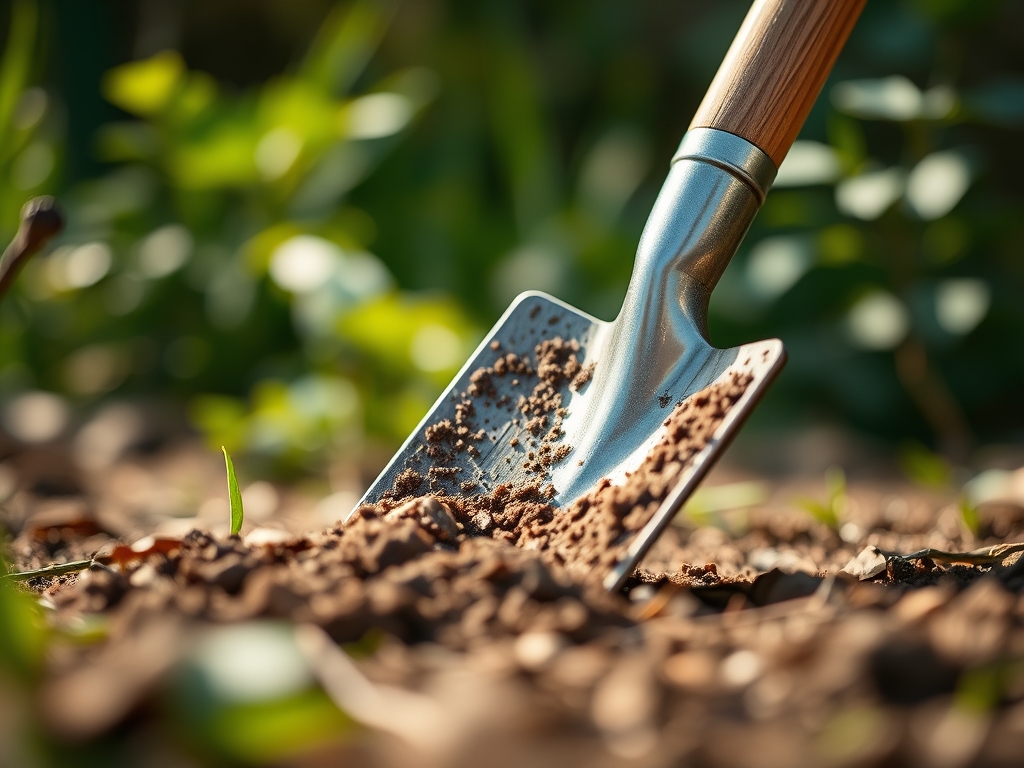
The smell of damp, anaerobic earth rising from a freshly broken crust signals the beginning of any serious horticultural endeavor. When the blade strikes the soil, the resistance felt is a direct measurement of compaction and bulk density. Using a shovel for backyard design requires more than brute force; it demands an understanding of the mechanical leverage needed to penetrate the rhizosphere without destroying the delicate fungal networks beneath. A pointed shovel, specifically a round-point with a forward-turned step, is the primary tool for disrupting the surface tension of the soil and initiating the transition from a dormant patch of land to a productive ecosystem. This process begins with a precise assessment of the soil's turgor and structural integrity. By applying a vertical force to the shovel's shoulder, the gardener cleaves through root mats and compacted clay, creating the necessary pore space for oxygen to reach the root zone. This initial disturbance is the foundation of all subsequent growth, ensuring that the soil can facilitate the rapid exchange of gases and moisture required for plant development.
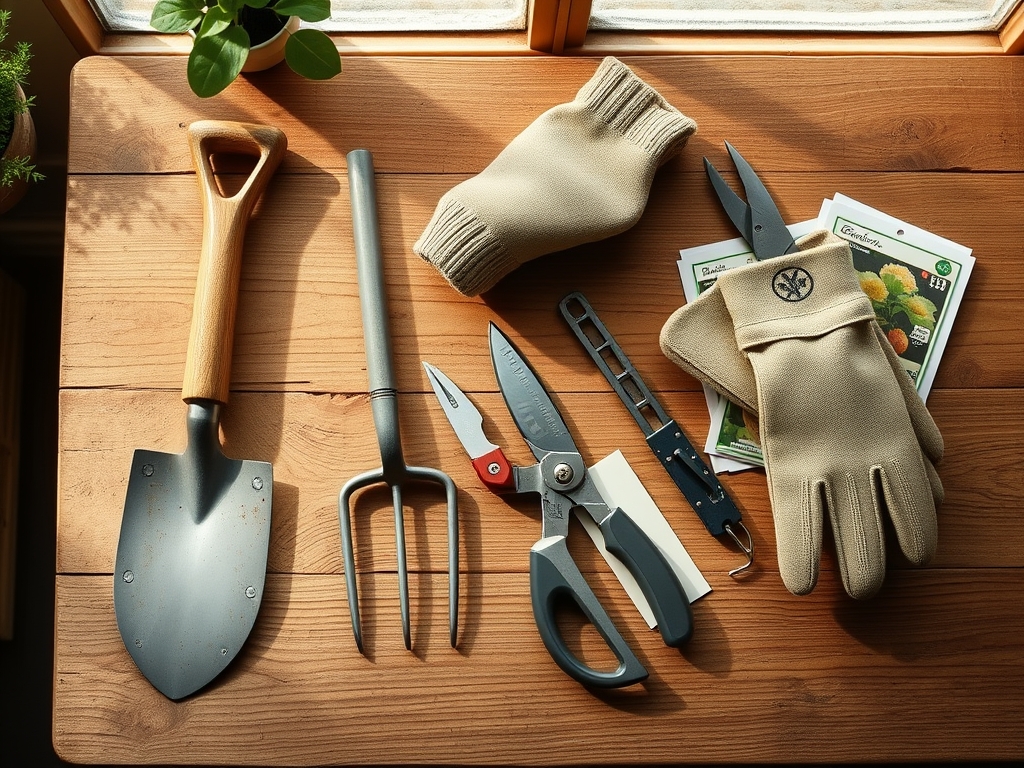
Materials:
The success of any excavation depends on the physical and chemical properties of the substrate. The ideal substrate is a **friable loam**, consisting of roughly **40% sand, 40% silt, and 20% clay**. This balance ensures a high **Cation Exchange Capacity (CEC)**, allowing the soil to retain essential nutrients like ammonium, calcium, and magnesium. Before using a shovel for backyard design, you must verify the soil pH. Most ornamental and vegetable crops thrive in a range of **6.0 to 7.0**. If the pH is below **5.5**, add pelletized lime to neutralize acidity; if above **7.5**, incorporate elemental sulfur.
Nutrient density is equally critical. For initial site preparation, aim for a baseline NPK ratio of 10-10-10 to provide a balanced start for vegetative growth. However, if you are preparing a site for heavy feeders, a 5-10-10 ratio is preferable to encourage root establishment over excessive foliage. The physical texture should allow the shovel to glide through with minimal resistance; if the soil is high in clay, incorporate organic matter to break the ionic bonds that cause clumping.
Timing:
Timing is dictated by the Hardiness Zone and the local frost-date window. In Zones 5 through 7, the primary window for heavy shovel work opens when the soil temperature consistently reaches 45 degrees Fahrenheit. Working the soil when it is too wet—indicated by a "ribbon test" where the soil forms a long, sticky strip—will lead to permanent compaction and the destruction of soil aggregates.
The biological clock of the plant determines the urgency of the work. You must complete all major structural digging before the plants enter their vegetative stage. Once the photoperiod increases and temperatures rise, plants transition from dormancy to active growth. If you disrupt the root zone during the reproductive stage, you risk inducing senescence or premature fruit drop. Aim to have all beds prepared and graded at least 14 days before the last expected frost to allow the soil to settle and the microbial community to stabilize.
Phases:

Sowing and Bed Preparation
Begin by marking the perimeter of your design. Use the pointed shovel to "edge" the area, cutting vertically to a depth of 6 inches. This severs the stolons of invasive grasses. Turn the soil in small increments, ensuring you do not bury the nutrient-rich topsoil too deeply.
Pro-Tip: Avoid over-tilling. Excessive disruption of the soil profile destroys mycorrhizal symbiosis, the symbiotic relationship where fungi provide phosphorus to plants in exchange for carbohydrates.
Transplanting Large Specimens
When moving established shrubs, the shovel must be used to create a "root ball" that is at least three times the width of the plant's current container. Use the pointed tip to shave the sides of the hole, preventing "glazing," which occurs when smooth clay walls stop roots from penetrating the surrounding soil.
Pro-Tip: When placing the plant, ensure the root flare is at or slightly above the soil line. This prevents hypoxia, a condition where the lack of oxygen at the base of the stem leads to metabolic failure.
Establishing Structural Elements
For heavy backyard design elements like fence posts or retaining wall footings, the shovel must reach below the frost line, which can be 32 to 48 inches deep in northern climates. This prevents "frost heave," where the expansion of freezing water pushes structures out of the ground.
Pro-Tip: Use a soil moisture meter to check the hydration levels at the bottom of deep holes. If the subsoil is bone dry, the "wicking effect" will pull moisture away from any new plantings nearby, causing localized drought stress.
The Clinic:
Physiological disorders often manifest as physical deformities in the plant.
- Symptom: Interveinal chlorosis (yellowing leaves with green veins). Solution: This indicates a lack of iron or manganese, often caused by high pH. Lower the pH to 6.5 using aluminum sulfate.
- Symptom: Leaf Tipping (brown, necrotic edges). Solution: This is often a sign of salt accumulation or inconsistent turgor pressure. Flush the soil with 2 inches of water to leach excess salts.
- Symptom: Stunted growth with purple undersides on leaves. Fix-It: This is a classic Phosphorus deficiency. Incorporate bone meal or a 0-20-0 fertilizer into the rhizosphere.
- Symptom: Blossom end rot in fruiting plants. Fix-It: This is caused by a Calcium deficiency or irregular watering. Add gypsum to the soil and maintain a consistent moisture level.
Maintenance:
Post-design maintenance requires precision. Provide exactly 1.5 inches of water per week at the drip line, rather than the base of the trunk, to encourage outward root expansion. Use a hori-hori knife for weeding in tight spaces where a shovel is too cumbersome. For woody perennials, use bypass pruners to remove dead tissue, ensuring cuts are made at a 45-degree angle to shed water. Regularly check the soil with a soil moisture meter at a depth of 4 inches to ensure the core of the root ball remains hydrated. If the soil surface becomes "capped" or crusty, use a hand rake to break the surface tension and improve infiltration.
The Yield:
For those incorporating edibles into their backyard design, harvest timing is a science. Harvest leafy greens in the early morning when turgor pressure is at its peak; this ensures the leaves are crisp and full of water. For root crops, use the pointed shovel to gently pry the soil 6 inches away from the plant to avoid bruising the cortex. Post-harvest, submerge produce in 40-degree Fahrenheit water to remove field heat and slow the rate of respiration. This technique preserves the sugars and prevents the rapid onset of senescence, keeping the yield fresh for several days.
FAQ:
What is the best shovel for heavy clay?
A round-point shovel with a high-gauge steel blade is best. The pointed tip concentrates force to penetrate the dense ionic bonds of clay. Ensure the tool has a forward-turned step for maximum foot leverage.
How deep should I dig for a new garden bed?
Aim for a depth of 8 to 12 inches. This accommodates the majority of the "feeder roots" located in the top layer of the soil and ensures adequate drainage and aeration for the rhizosphere.
Can I use a shovel to remove large roots?
Yes, but use a sharpened blade. A dull shovel tears the vascular tissue (xylem and phloem), which can lead to infection. For roots over 2 inches in diameter, a specialized root saw or axe is more efficient.
How do I prevent my shovel from rusting?
Clean the blade with a wire brush after each use to remove organic matter. Coat the steel in a thin layer of mineral oil. Store the tool in a dry environment to prevent oxidation and maintain the blade's integrity.