9 Steps to Prepare a Large Backyard Garden Pond Site
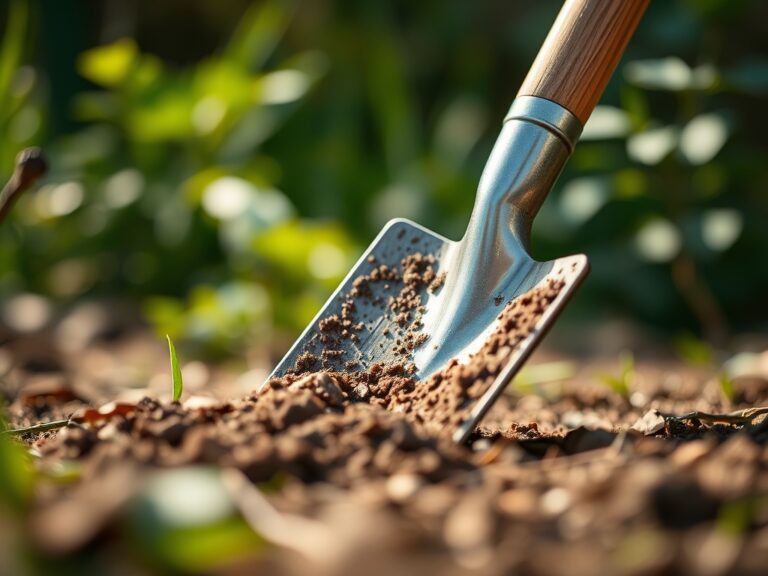
The scent of anaerobic decomposition and damp clay signals the start of a major hydrological shift in your landscape. Successful pond installation requires more than digging a hole; it demands a fundamental understanding of soil mechanics and hydrological pressure. When learning how to prepare a garden for a pond, you must first assess the turgor pressure of the surrounding vegetation and the structural integrity of the rhizosphere. A site with poor drainage or high sand content will fail to support the weight of a 45-mil EPDM liner and thousands of gallons of water. You are essentially engineering an artificial ecosystem that must withstand hydrostatic pressure while maintaining a stable Cation Exchange Capacity (CEC) in the surrounding soil. This process begins with a rigorous evaluation of the site topography and the mineral composition of the substrate. Proper site preparation ensures that the water feature does not become a stagnant basin of nutrient runoff but rather a balanced biological filter that enhances the local microclimate.
Materials:
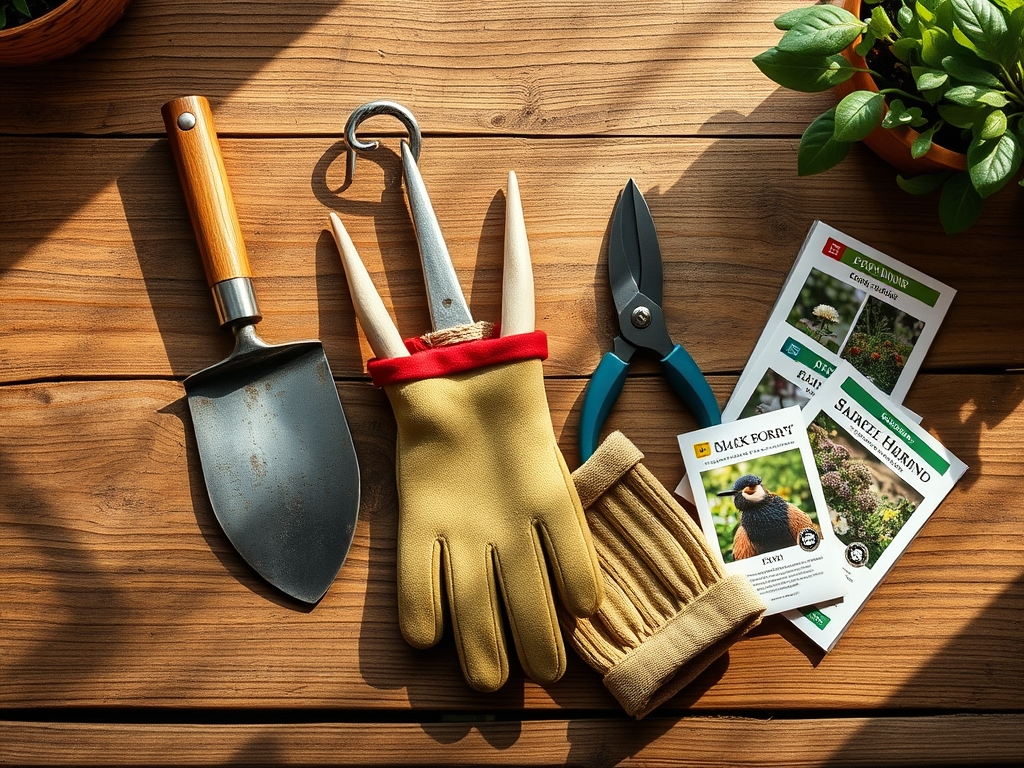
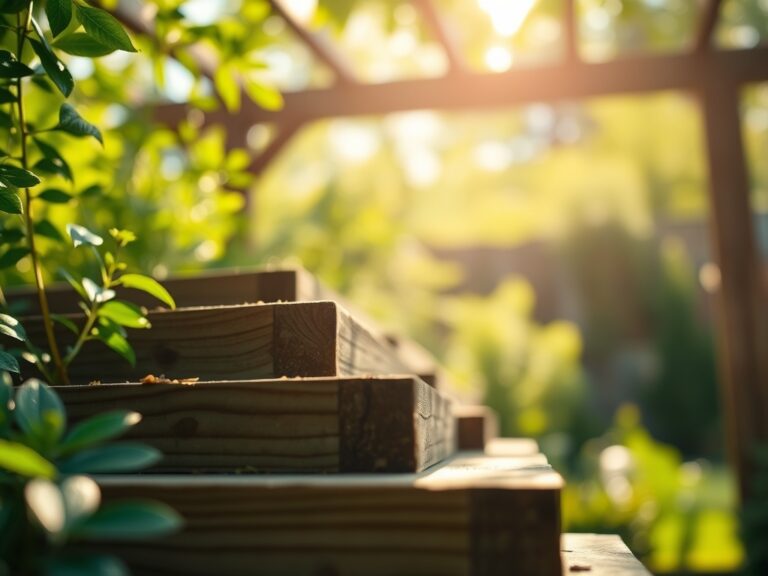
Before breaking ground, analyze the soil profile. The ideal substrate for surrounding marginal plantings is a **friable loam** with a **pH between 6.5 and 7.2**. High acidity can corrode certain hardware, while excessive alkalinity may lead to nutrient lockout in aquatic flora. For the terrestrial transition zone, utilize a balanced **10-10-10 NPK ratio** to establish baseline fertility. If the soil is heavy clay, incorporate organic matter to increase the **CEC**, allowing the soil to hold onto essential cations like calcium and magnesium. You will need a **45-mil EPDM liner**, non-woven geotextile underlayment, and a high-volume submersible pump rated for at least **1.5 times the total pond volume** per hour. Structural stability requires **crushed limestone** for the base and **washed river rock** for the biological shelf.
Timing:
Timing is dictated by the USDA Hardiness Zones and the local frost-free window. In Zones 5 through 7, excavation should commence in late spring once the soil temperature reaches a consistent 55 degrees Fahrenheit. This ensures the soil has shed its winter moisture load, preventing sidewall collapse during the dig. Monitor the Biological Clock of your existing landscape; you want to complete heavy machinery work before your primary garden specimens enter their peak vegetative stage. Excavating during a plant's reproductive stage can cause severe stress due to root vibration and soil compaction. Aim for a window where the photoperiod is increasing, providing ample light for the rapid establishment of post-construction ground covers.
Phases:
Sowing the Perimeter
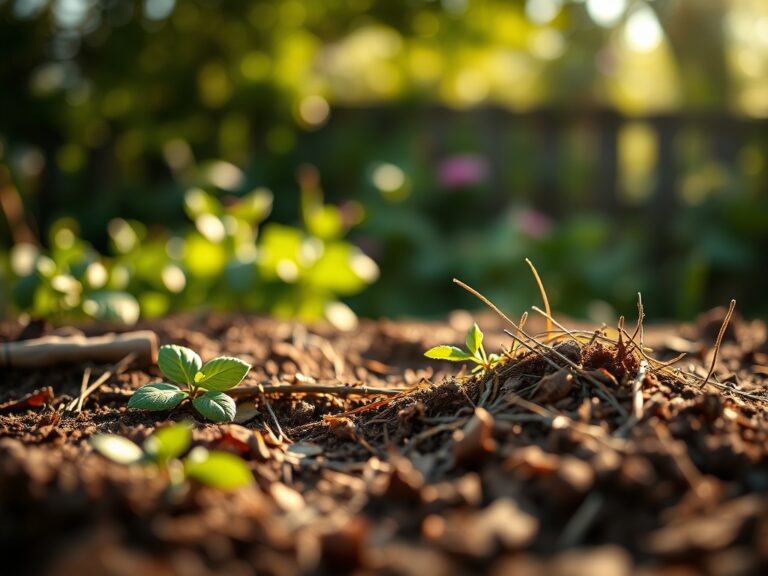
Establish a buffer zone of native grasses and sedges around the excavation site. These plants act as a biological filter, capturing sediment before it enters the water column. Use a seed mix tailored to your specific Hardiness Zone and ensure consistent soil contact.
Pro-Tip: Focus on species that promote mycorrhizal symbiosis. This fungal relationship extends the root surface area, allowing plants to stabilize the pond bank more effectively through enhanced nutrient uptake.
Transplanting Marginal Flora
Once the liner is secured and the pond is filled, transplant marginal plants into the shallow shelves. These plants should be placed in aquatic baskets with heavy clay soil to prevent nutrient leaching. Position them so the crown is at the specific depth required by the species.
Pro-Tip: Utilize auxin suppression techniques by pinching back the terminal buds of new transplants. This redirects the plant's energy toward lateral root development, ensuring the plant anchors itself quickly against water movement.
Establishing the Biological Filter
Introduce beneficial bacteria and aquatic submerged plants like Anacharis. This phase focuses on the nitrogen cycle, converting ammonia into nitrites and then nitrates. Maintain a water temperature above 50 degrees Fahrenheit for microbial activity to remain consistent.
Pro-Tip: Observe phototropism in your submerged plants. If they lean aggressively toward the surface, your water clarity is poor, indicating a need for increased mechanical filtration to allow light penetration for photosynthesis.
The Clinic:
Physiological disorders in the pond-side garden often stem from poor gas exchange or nutrient imbalances.
- Symptom: Interveinal chlorosis in new leaves. Solution: This indicates an Iron deficiency, often caused by a pH above 7.5. Lower the pH using elemental sulfur.
- Symptom: Yellowing of older leaves (Nitrogen chlorosis). Solution: Apply a water-soluble 5-0-0 fertilizer specifically designed for aquatic environments to boost nitrogen without causing an algae bloom.
- Symptom: Marginal leaf scorch. Solution: This is often a sign of Potassium deficiency or high salinity. Flush the soil with fresh water and check the CEC levels.
- Symptom: Stunted growth and purple tint on stems. Solution: This signals Phosphorus deficiency. Add bone meal to the transition zone soil to provide a slow-release source of P.
Maintenance:
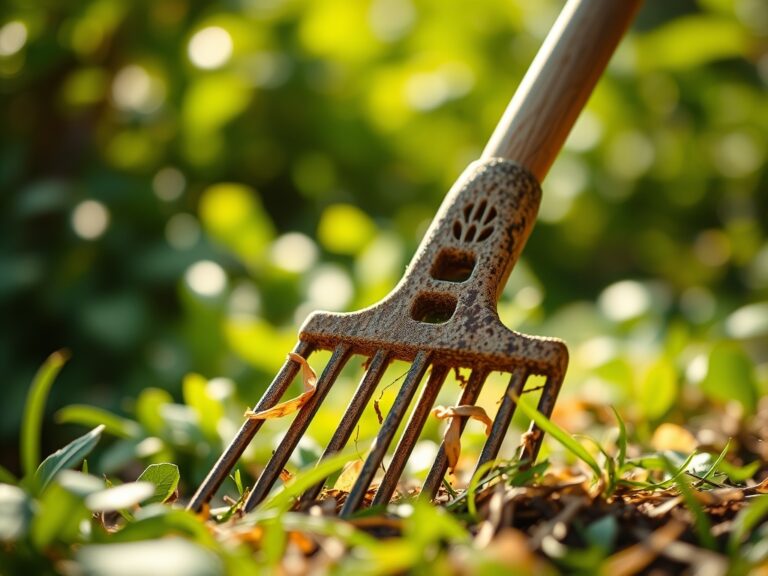
Precision is mandatory for pond longevity. Monitor the water level daily; evaporation can alter the concentration of dissolved solids. Use a soil moisture meter to ensure the surrounding transition zone receives 1.5 inches of water per week at the drip line. Utilize a hori-hori knife for precise weeding near the liner to avoid punctures. Prune dead aquatic foliage with bypass pruners before it sinks and contributes to the sludge layer. Every autumn, remove 75 percent of the organic debris from the pond floor to prevent senescence from overwhelming the oxygen levels during the winter freeze.
The Yield:
If your pond includes edible aquatic plants like watercress or lotus, harvest timing is critical. Harvest watercress when the stems are 4 to 6 inches long and before the plant flowers to ensure maximum crispness. For lotus roots, harvest in late autumn after the leaves have turned brown. To maintain "day-one" freshness, immediately submerge harvested greens in 40-degree Fahrenheit water to maintain turgor pressure and slow down metabolic degradation.
FAQ:
How deep should a garden pond be?
A minimum depth of 24 to 36 inches is required to prevent total freezing in winter and to maintain stable water temperatures during summer peaks. Deep zones provide a thermal refuge for aquatic life and beneficial bacteria.
What is the best liner for a backyard pond?
A 45-mil EPDM (Ethylene Propylene Diene Monomer) rubber liner is the professional standard. It offers superior UV resistance, flexibility in cold temperatures, and a lifespan exceeding 20 years when installed with a proper geotextile underlayment.
How do I stop my pond from leaking?
Ensure the liner is level across the entire perimeter. Most "leaks" are actually water wicking over a low spot in the edge. Use a laser level during the excavation phase to ensure the grade is consistent within 0.25 inches.
Can I use tap water to fill my pond?
Yes, but you must neutralize chlorine and chloramines using a specialized water conditioner. High levels of these chemicals will destroy the microbial colonies necessary for the nitrogen cycle and damage the gills of any introduced fish.