9 Tips: Using a Landscape Rake for Backyard Design Prep
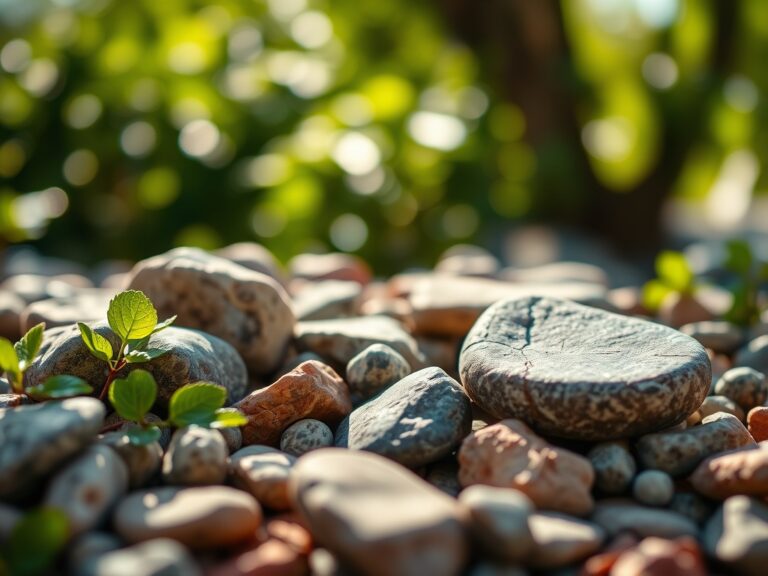
The scent of damp, disturbed earth signals the beginning of any serious site transformation. When the soil reaches a consistent temperature of 55 degrees Fahrenheit, its structural integrity allows for mechanical manipulation without destroying the delicate pore spaces required for gas exchange. Using a rake for backyard design is not merely a cosmetic endeavor; it is a fundamental engineering task that dictates the drainage patterns and seed-to-soil contact of the entire landscape. By leveling the grade and removing oversized aggregates, you directly influence the hydraulic conductivity of the upper soil horizons. This process ensures that water does not pool, which prevents the anaerobic conditions that lead to root rot. A properly raked bed provides the structural foundation for high turgor pressure in future plantings. This ensures that every seedling has the mechanical support and nutrient access necessary to thrive in a competitive ecosystem. Mastery of the landscape rake transforms a chaotic plot into a calibrated substrate ready for high-performance horticulture.
Materials:
The ideal substrate for a new backyard design is a **friable loam**, consisting of approximately **40 percent sand, 40 percent silt, and 20 percent clay**. This balance provides a high Cation Exchange Capacity (CEC), allowing the soil to retain essential nutrients like ammonium, calcium, and magnesium. Before using a rake for backyard design, test your soil pH; most ornamental and turf species require a range between **6.0 and 7.0**.
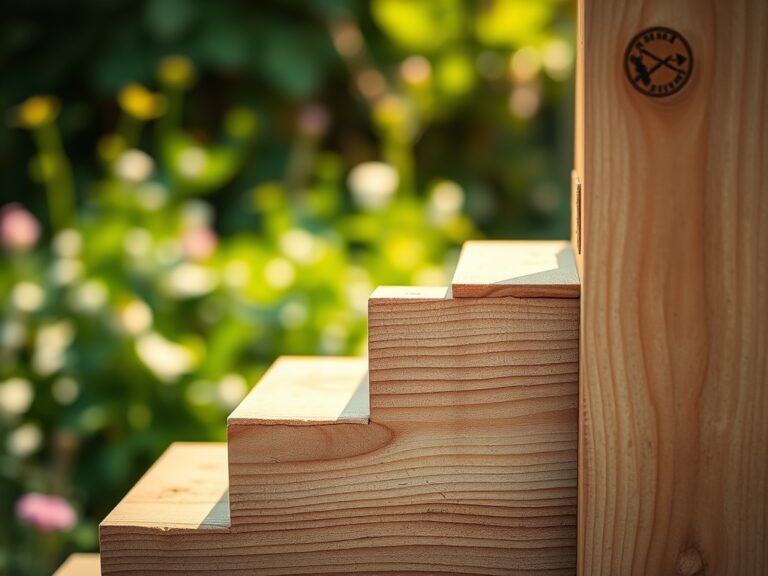
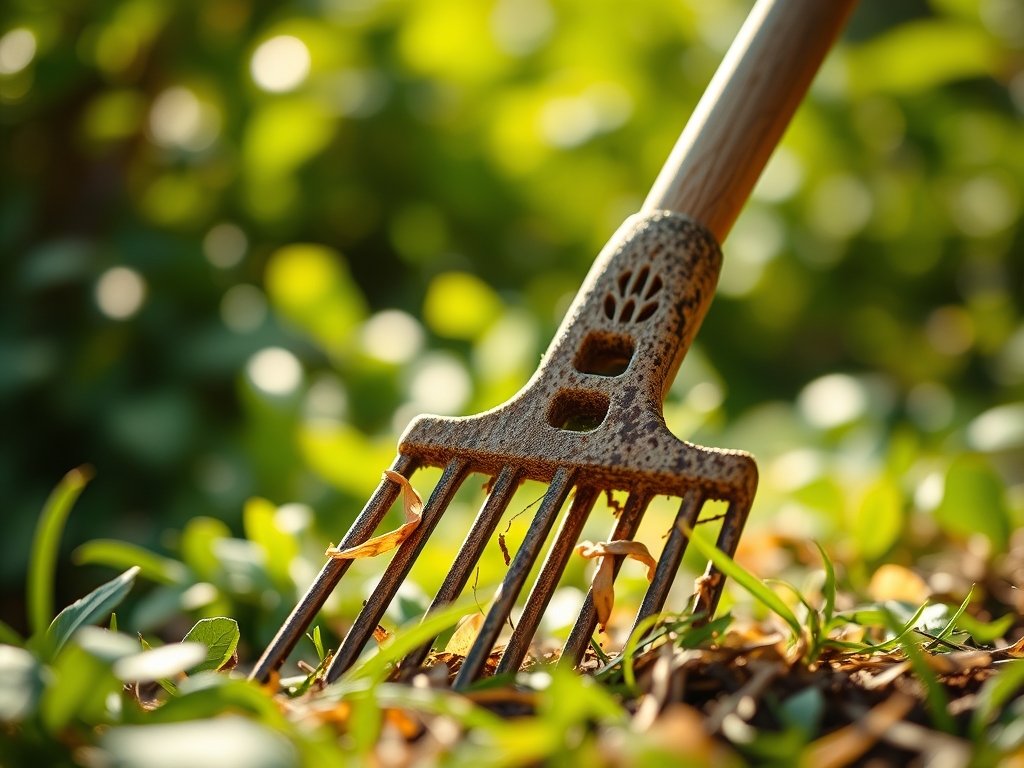
If the soil is deficient, incorporate a starter fertilizer with an NPK ratio of 10-20-10. The high phosphorus content (20) is critical for ATP production and early root development. For nitrogen-depleted soils, adding organic matter with a carbon-to-nitrogen ratio of 30:1 will stabilize the rhizosphere. The landscape rake itself should feature a 36-inch wide head with rounded teeth to prevent excessive tearing of the soil structure. Aluminum rakes are preferred for their weight-to-strength ratio, allowing for precise grading without causing significant compaction in the lower soil profiles.
Timing:
In Hardiness Zones 4 through 7, the window for major site preparation begins approximately three weeks after the last spring frost. This timing aligns with the "Biological Clock" of the soil, where microbial activity increases as temperatures stabilize. In Zones 8 through 10, work should be completed in the autumn to avoid the high transpiration demands of the summer heat.
Raking during the transition from the vegetative to the reproductive stages of local weed species is vital. By disturbing the soil before these species set seed, you reduce the future weed seed bank. Observe the photoperiod; as days lengthen, the increase in solar radiation accelerates the drying of the soil surface. You must time your raking when the soil moisture is at 50 percent of field capacity. If the soil is too wet, you risk "puddling," which destroys soil structure; if too dry, you create dust and lose valuable topsoil to wind erosion.
Phases:

Sowing
When preparing a seedbed, use the flat side of the landscape rake to create a perfectly level surface. This prevents seeds from washing into low spots during irrigation. Broadcast seeds at the specific rate recommended for the species, typically 5 to 10 pounds per 1,000 square feet. Use the tines to lightly incorporate the seed to a depth of 0.125 to 0.25 inches.
Pro-Tip: Proper seed-to-soil contact is essential for imbibition, the process where the seed absorbs water to trigger germination. Without this mechanical contact, the seed cannot achieve the internal pressure needed to rupture the seed coat.
Transplanting
For larger specimens, use the rake to clear a 3-foot radius around the planting hole. This removes competition from turf and weeds. Ensure the surrounding grade slopes slightly away from the root flare to prevent crown rot.
Pro-Tip: Clearing the area reduces competition for localized nutrients and water. This minimizes auxin suppression in the lateral buds, allowing the transplant to establish a wider, more stable root architecture more quickly.
Establishing
During the first 21 days, the rake is used to maintain the mulch layer at a consistent 3-inch depth. This depth is sufficient to suppress weed germination while allowing for adequate oxygen diffusion to the root zone.
Pro-Tip: Maintaining a consistent mulch layer fosters mycorrhizal symbiosis. These beneficial fungi extend the root system's reach, increasing the plant's ability to uptake phosphorus and water during periods of environmental stress.
The Clinic:
Physiological disorders often stem from poor site preparation. If you notice stunted growth and blue-gray leaf tints, the soil likely suffers from compaction. The solution is to use the rake tines to fracture the surface crust, improving aeration.
Nitrogen Chlorosis presents as a general yellowing of older leaves. Fix this by top-dressing with a high-nitrogen fertilizer (e.g., 21-0-0) and raking it lightly into the top inch of soil. Interveinal chlorosis in new leaves indicates an iron deficiency, often caused by a pH above 7.5. Apply chelated iron and use the rake to ensure even distribution.
If plants show marginal leaf burn, it may indicate salt accumulation. Use a soil moisture meter to check levels and leach the soil with heavy irrigation. Finally, if the soil surface develops a green or slick appearance, it indicates algal crusting due to poor drainage. Use the rake to break the surface and incorporate coarse sand to improve macropore space.
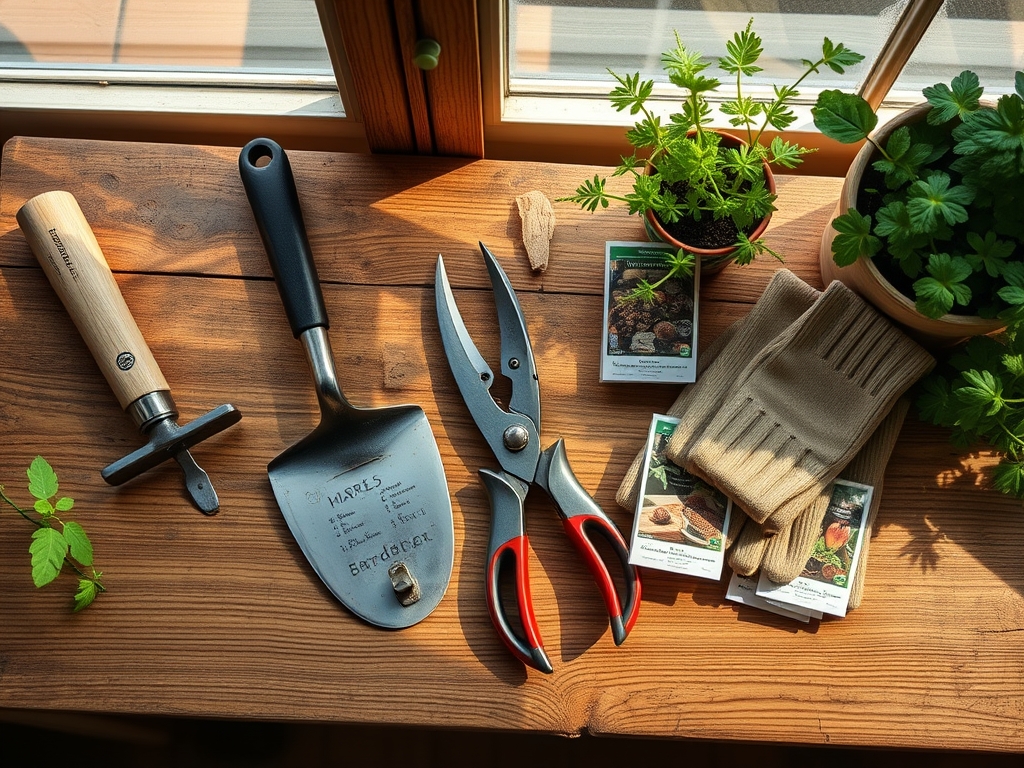
Maintenance:
Post-design maintenance requires precision tools. Use a hori-hori knife for deep-rooted weed extraction and bypass pruners for clean vascular cuts that heal quickly. Monitor the site with a soil moisture meter daily. Most new landscapes require 1.5 inches of water per week delivered at the drip line.
Avoid overhead irrigation during the heat of the day to minimize evaporative loss. Use the landscape rake once a month to "climb" the mulch back toward the edges of the beds, ensuring the soil remains covered. This prevents the "baking" of the rhizosphere, which can kill beneficial soil microbes. If you observe senescence (early browning) in the lower canopy, check for soil moisture inconsistencies or nutrient leaching.
The Yield:
For those integrating edible crops or cut flowers, harvest timing is dictated by glucose and starch levels. Harvest leafy greens and flowers in the early morning when turgor pressure is at its peak. This ensures the cells are fully hydrated, extending the shelf life. Use a sharp blade to make a clean cut, then immediately submerge the stems in 40-degree Fahrenheit water. This "cold shock" slows the metabolic rate and preserves "day-one" freshness by reducing the rate of respiration and transpiration.
FAQ:
How deep should I rake before planting?
Rake to a depth of 2 to 3 inches to break up surface crusting. This depth ensures adequate oxygenation for the rhizosphere without disturbing the deeper, established soil horizons or dormant weed seeds located further down in the profile.
Can I use a rake on wet clay soil?
No. Raking wet clay causes smearing and compaction, which destroys the soil's macropores. Wait until the soil crumbles when squeezed. Raking wet clay leads to "clodding," which prevents proper seed-to-soil contact and restricts root penetration.
What is the best rake for leveling a large area?
A 36-inch aluminum landscape rake is the industry standard. The wide head allows for efficient grading over large distances, while the flat topside of the rake head is perfect for smoothing out high spots and filling in depressions.
How do I prevent weeds after raking?
Apply a 3-inch layer of organic mulch immediately after raking and planting. This blocks light from reaching the soil surface, preventing the germination of photoblastic weed seeds. Ensure the mulch is kept away from the direct stems of the plants.