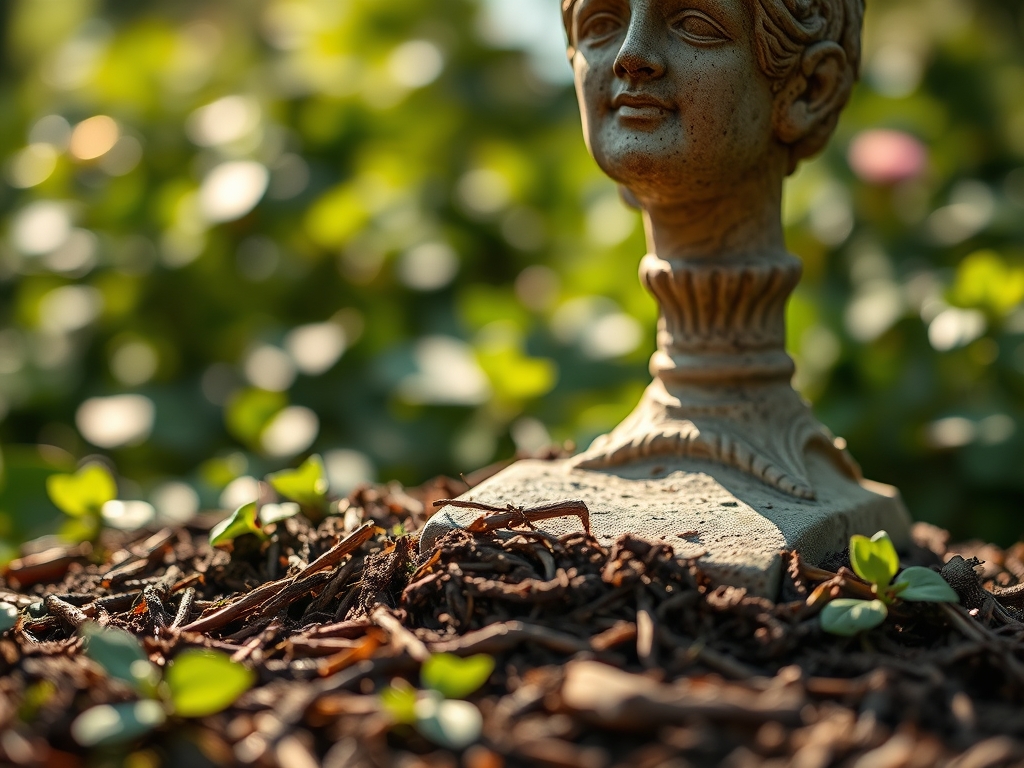
6 Steps to Prepare a Secure Backyard Garden Statue Site
The smell of damp, anaerobic mud indicates a site with poor drainage that will eventually swallow a heavy stone ornament. When the soil reaches a state of field capacity, where the pores are saturated but not flooded, you can begin the physical labor of stabilization. Learning how to prepare a site for a garden statue requires more than aesthetic placement; it demands an understanding of soil mechanics and structural load bearing. A statue weighing over 200 pounds exerts significant downward pressure that can compress the rhizosphere of neighboring perennials, leading to root asphyxiation. You must analyze the soil profile to ensure the substrate can support the mass without shifting during the freeze-thaw cycles of the winter months. Proper preparation prevents the leaning and cracking that occurs when a heavy object settles unevenly into a loose, friable loam.
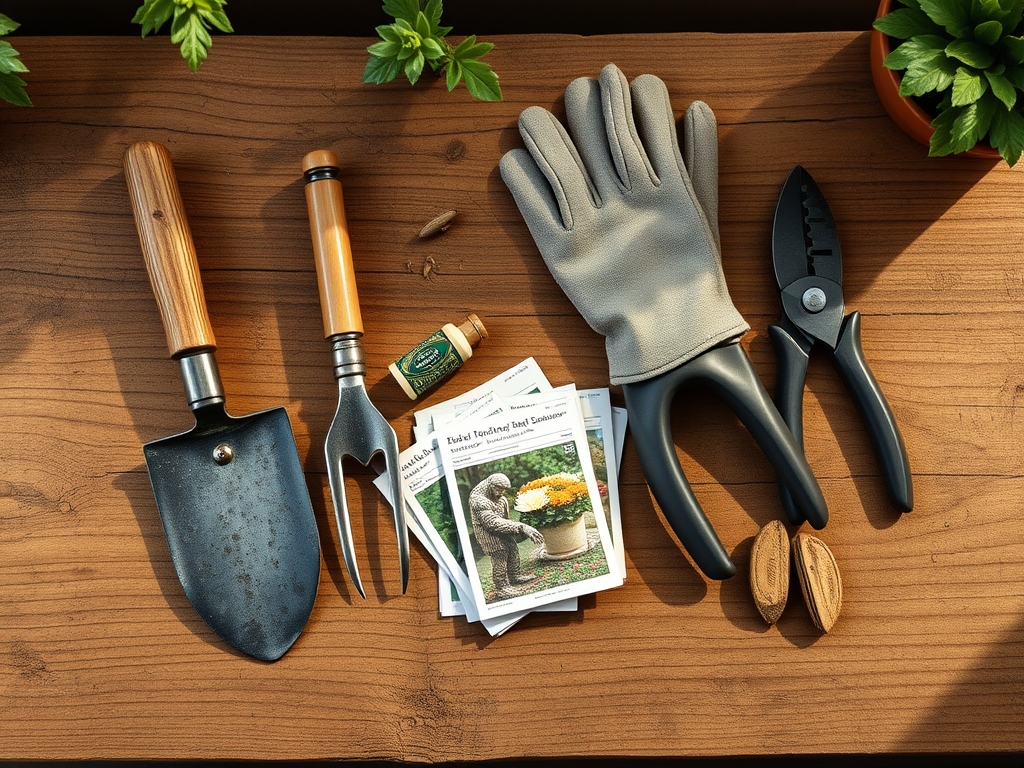
Materials:
The foundation begins with a substrate that balances drainage and stability. For the surrounding vegetation, aim for a soil pH between 6.2 and 6.8 to ensure maximum nutrient availability. The ideal backfill for the area surrounding the base is a friable loam consisting of 40 percent sand, 40 percent silt, and 20 percent clay.
If you are planting around the site, use a slow-release fertilizer with an NPK ratio of 5-10-5 to encourage root development without forcing excessive top growth. High nitrogen levels can lead to weak, succulent stems that may flop against the statue and trap moisture, promoting fungal pathogens. You will also need Grade 2 crushed limestone for the base layer, which provides a high Cation Exchange Capacity (CEC) in the surrounding soil while offering a rigid structural foundation that does not shift like rounded pea gravel.
Timing:
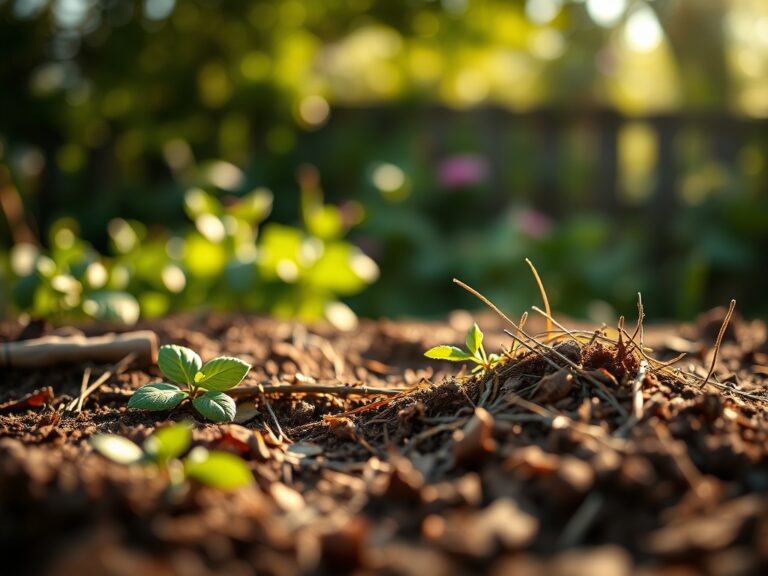
In Hardiness Zones 4 through 7, the window for site preparation is strictly dictated by the frost line. You must complete the excavation and base compaction at least three weeks before the first hard freeze to allow the ground to settle. From a biological perspective, this timing aligns with the senescence of deciduous plants, when energy shifts from the foliage to the root systems.
Installing a heavy base during the spring "heave" period is a mistake. The soil is at its highest moisture content, and the turgor pressure in emerging shoots is at its peak. Stepping on the ground near the site during this phase causes irreversible compaction that destroys the macro-pores required for oxygen exchange. Aim for late summer or early autumn when the biological clock of the garden has transitioned from the vegetative stage to the reproductive or dormant stages.
Phases:
Sowing the Foundation
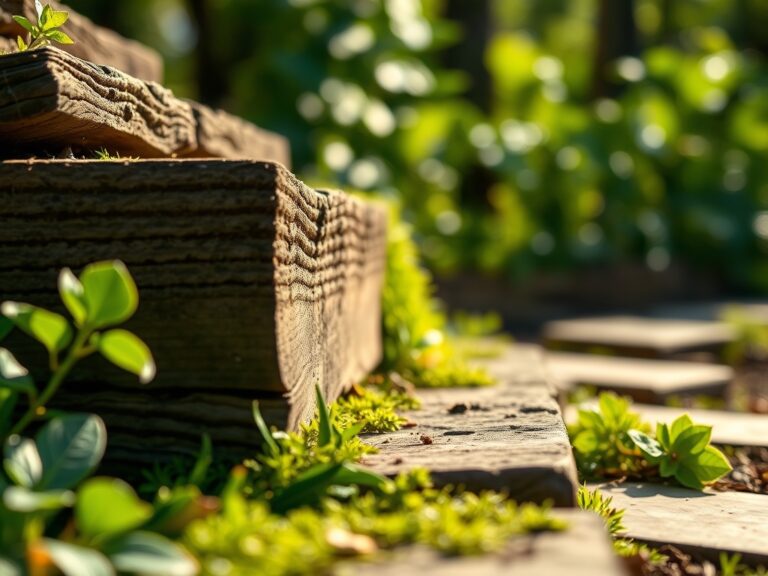
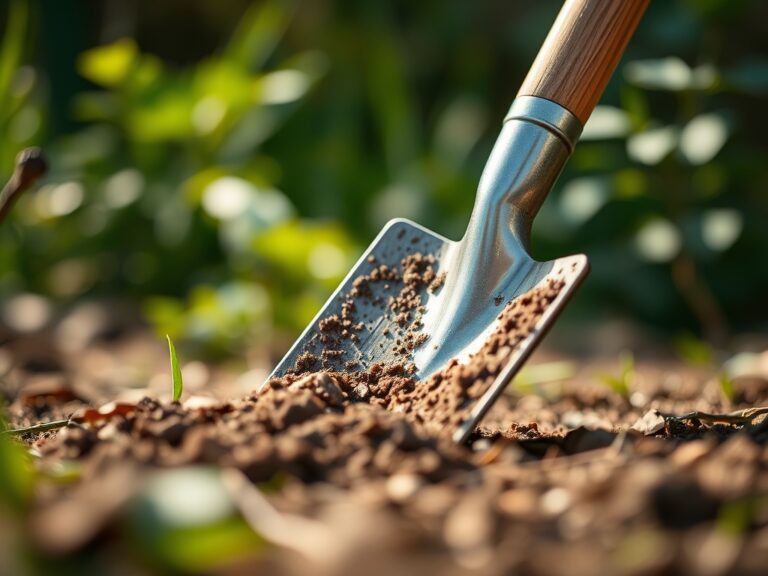
Excavate the site to a depth of 8 inches. Remove all organic matter, including roots and decomposing mulch, which will shrink as they decay and cause the statue to tilt. Level the subsoil using a hand tamper until the surface is uniform.
Pro-Tip: Compacting the subsoil prevents the disruption of mycorrhizal symbiosis in the surrounding area by creating a localized, stable zone that prevents the "wicking" of moisture away from nearby root systems.
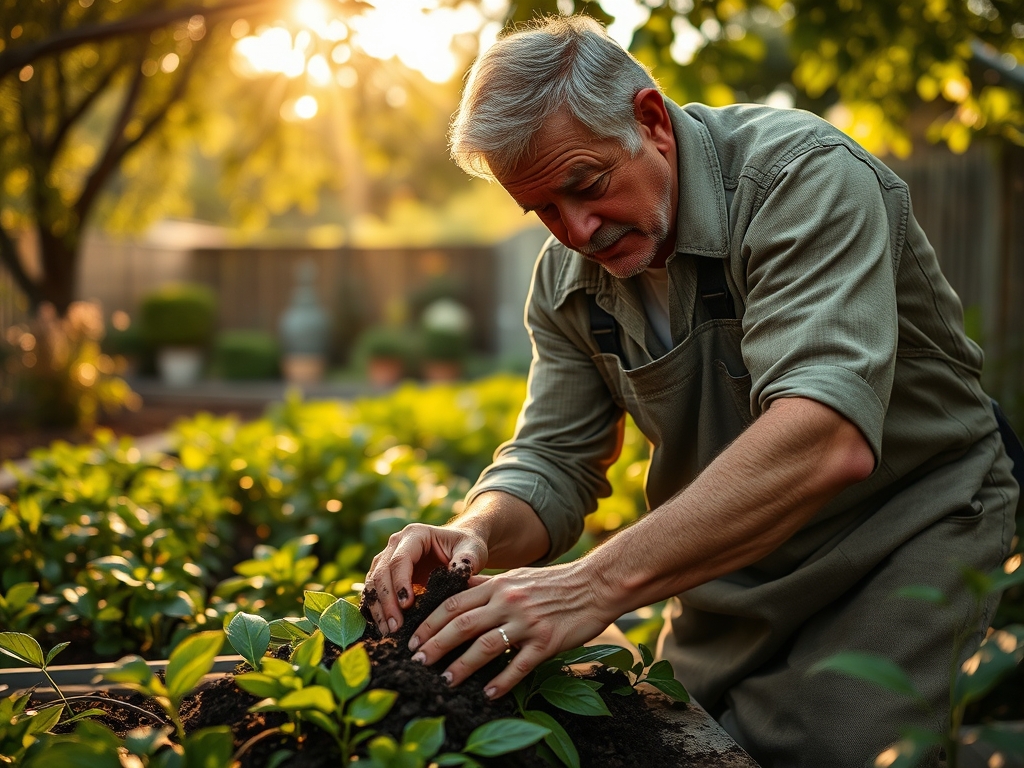
Transplanting Peripheral Flora
When placing plants around the base, use a hori-hori knife to cut through any circling roots. Position plants at least 12 inches from the edge of the statue base to allow for future radial growth of the root plate.
Pro-Tip: Maintaining this distance prevents auxin suppression. If roots are physically constricted by a concrete statue base, the plant may redirect growth hormones, leading to asymmetrical canopy development.
Establishing the Site
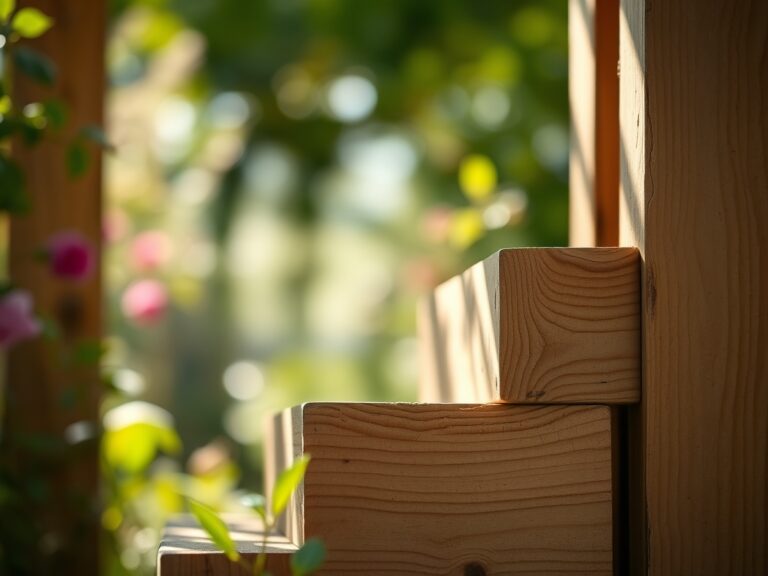
Fill the excavation with 4 inches of compacted gravel, followed by a 2-inch layer of leveling sand. Place the statue and use a spirit level to check the horizontal axis. Backfill the perimeter with the prepared loam.
Pro-Tip: Firming the soil around the base eliminates air pockets that could otherwise cause root desiccation in the plants you just installed.
The Clinic:
Statue sites often create micro-climates that lead to physiological disorders in nearby plants.
- Symptom: Nitrogen Chlorosis. Yellowing of older leaves while veins remain green.
- Solution: This often occurs because the high-alkalinity runoff from concrete or stone bases locks out nitrogen. Apply a chelated iron supplement and a balanced 10-10-10 fertilizer to lower the localized pH.
- Symptom: Powdery Mildew. White, flour-like dusting on leaves near the statue.
- Solution: The statue is likely blocking airflow. Prune the plants to improve circulation and ensure the foliage does not touch the stone surface.
- Symptom: Edema. Small bumps or blisters on the undersides of leaves.
- Solution: This indicates the soil near the base is retaining too much water. Improve drainage by incorporating perlite or coarse sand into the top 6 inches of soil.
Maintenance:
A secure site requires consistent monitoring of the soil moisture and structural integrity. Use a soil moisture meter twice a week to ensure the area receives exactly 1.5 inches of water per week at the drip line. Do not spray the statue directly; the moisture can penetrate micro-cracks and cause spalling during temperature fluctuations.
Keep a pair of bypass pruners sharp to remove any "suckers" or encroaching limbs that might scratch the statue surface. Every spring, use your hori-hori knife to edge the perimeter of the base, preventing aggressive rhizomatous grasses from undermining the gravel foundation. If the statue begins to lean, it indicates a failure in the subsoil compaction; you must remove the ornament and re-level the sand layer immediately.
The Yield:
If your statue serves as a focal point for a cutting garden or an edible border, the "yield" is the health of the surrounding specimens. For flowers like Zinnias or Hydrangeas, harvest in the early morning when turgor pressure is at its highest. Use a clean, sharp blade to cut at a 45-degree angle, immediately plunging the stems into 100-degree Fahrenheit water to prevent air embolisms in the xylem. This technique ensures "day-one" freshness and allows the plant to seal the wound quickly, preventing the entry of pathogens near your display site.
FAQ:
How deep should the base be for a heavy statue?
Excavate a minimum of 8 to 12 inches. Fill with 6 inches of compacted crushed stone and 2 inches of leveling sand. This depth ensures the base sits below the organic layer of the soil for maximum stability.
Can I place a statue directly on the grass?
No. Placing a statue on turf leads to soil compaction and prevents oxygen from reaching the roots. The grass will die, and the statue will eventually tilt as the organic matter underneath decomposes and collapses.
What is the best soil for planting around a statue?
Use a well-draining sandy loam with a pH of 6.5. This texture prevents water from pooling at the base of the statue while providing the necessary cation exchange capacity for the surrounding ornamental plants to thrive.
How do I prevent the statue from sinking?
Ensure the subsoil is compacted with a mechanical or hand tamper before adding gravel. Use non-rounded aggregate like crushed limestone, which interlocks under pressure to create a rigid, unyielding platform that resists vertical displacement.