6 Steps to Sharpen a Heavy Garden Lopper with a Stone
Crushed stems and jagged cambium tears are the hallmarks of a dull blade. When a gardener moves through the orchard, the smell of damp earth and the high turgor pressure of hydrated wood signify a plant ready for pruning. A clean cut allows the vascular system to seal quickly, preventing the ingress of pathogens. Conversely, a blunt edge crushes the xylem and phloem, leading to localized necrosis. Mastering the steps for sharpening a garden lopper with a stone ensures that every bypass action results in a surgical incision. This process requires a grit-based approach to metalwork, mirroring the precision needed for grafting. A sharp tool reduces the physical force required by the operator, allowing for better control over the angle of the cut relative to the branch bark ridge. By maintaining the bevel of the carbon steel, you preserve the mechanical integrity of the tool while protecting the physiological health of the shrub. Precision in the workshop translates directly to rapid compartmentalization of decay in the field.
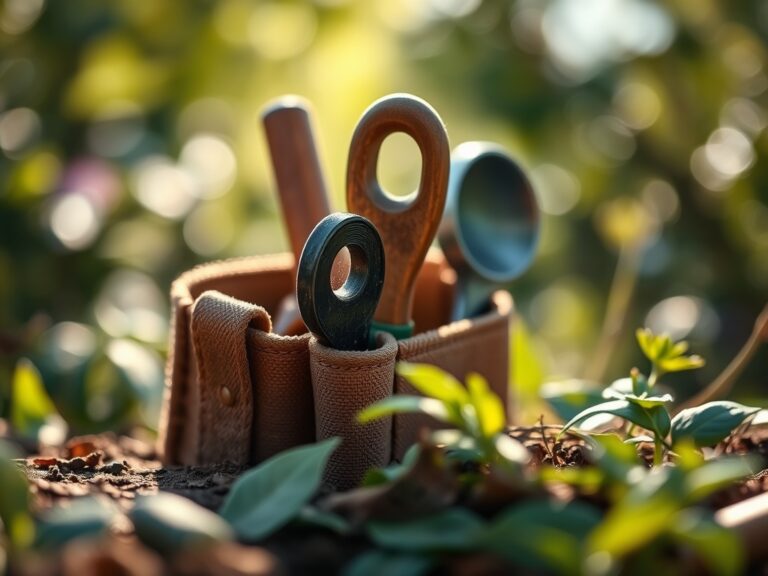
Materials:

While tool maintenance occurs in the shed, the effectiveness of your pruning is dictated by the soil environment of the target specimen. High-performance woody perennials thrive in a friable loam with a **Cation Exchange Capacity (CEC) between 15 and 25 meq/100g**. To support rapid healing after sharpening and pruning, ensure the soil pH sits between **6.0 and 6.8**. This range optimizes the availability of Phosphorus, essential for cellular repair. Before pruning, verify the substrate contains an **NPK ratio of 10-10-10** for general maintenance or a low-nitrogen **5-10-10** if the plant is entering dormancy. The physical texture of the soil should allow for 10 percent air porosity to maintain root respiration during the stress of a heavy prune.
Timing:
Sharpening and subsequent pruning must align with the biological clock of the species. For deciduous trees in Hardiness Zones 4 through 7, the ideal window is late winter, specifically 14 to 21 days before the first projected bud break. This timing exploits the surge in auxin production that occurs as the plant transitions from its endodormancy phase to the ecodormancy phase. In warmer Zones 8 through 10, sharpening should be completed before the rainy season to prevent the spread of waterborne fungal spores through fresh cuts. Avoid pruning during the period of active senescence in autumn, as the plant is withdrawing carbohydrates from the leaves to the root zone; interrupting this flow can reduce the starch reserves needed for spring flush.
Phases:
### Sowing the Edge
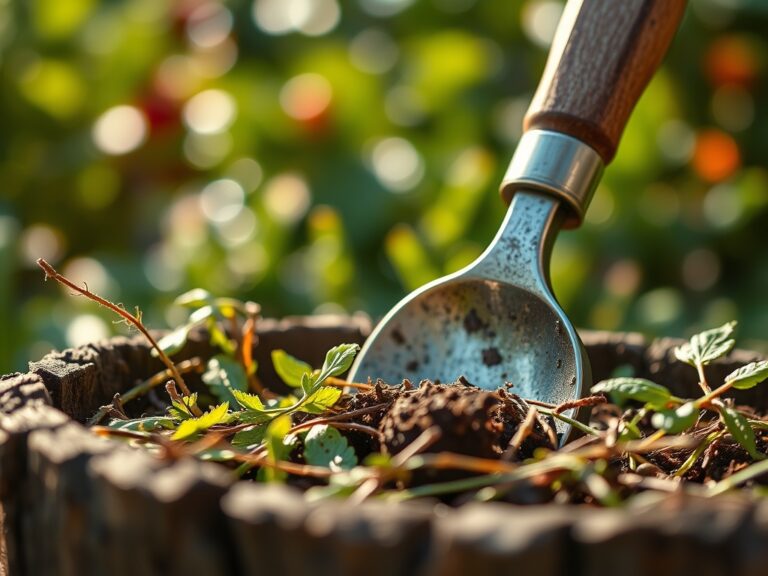
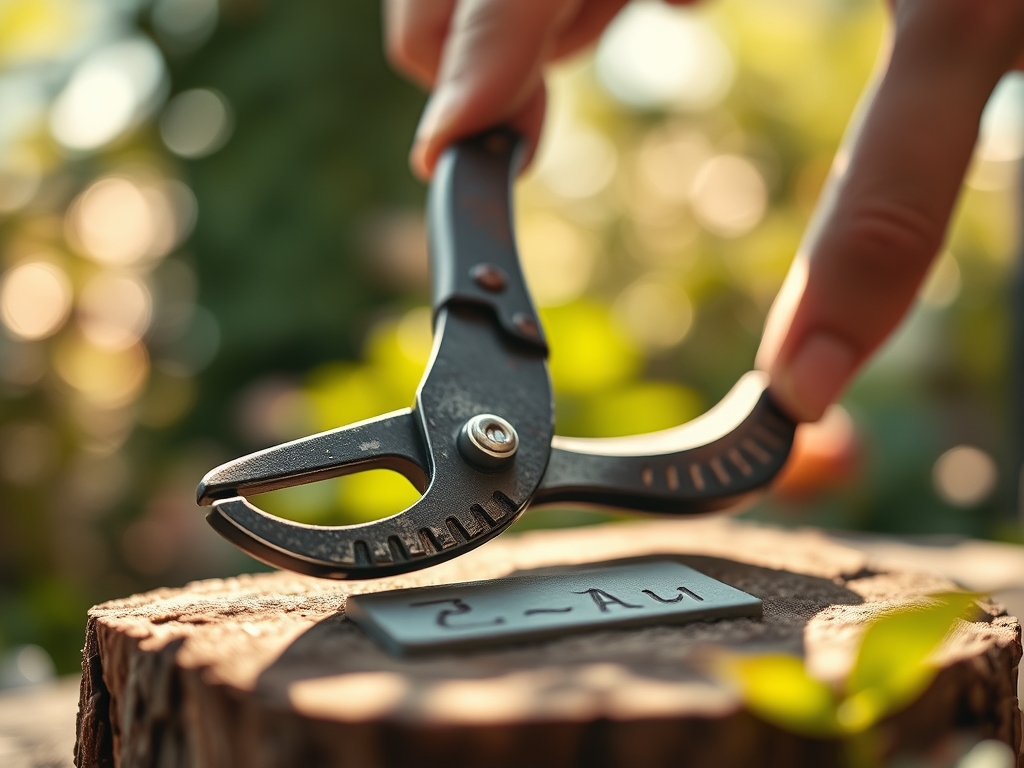
Begin by cleaning the blades with a wire brush to remove dried sap and oxidized metal. Secure the lopper in a vice with the beveled edge facing upward. Use a **medium-grit whetstone (400 to 600 grit)** lubricated with honing oil or water. Follow the factory bevel, typically set at a **20-degree angle**. Stroke the stone away from your body, moving from the pivot point toward the tip of the blade.
Pro-Tip: Maintaining a consistent angle is vital because of structural mechanics; an inconsistent bevel creates micro-fractures in the steel that can snap when under the high torque of cutting a two-inch oak limb.
Transplanting the Surface
Once the primary edge is established, switch to a fine-grit stone (1000 to 1200 grit) to refine the surface. This step removes the "burr" or "wire edge" that forms on the flat side of the blade. Lay the stone flat against the non-beveled side and execute a single, light pass to ensure the two blades bypass each other with zero clearance.
Pro-Tip: A smooth blade surface reduces friction, which prevents excessive heat generation during the cut. High heat can cause localized cellular thermolysis in the plant tissue, delaying the formation of the callus bridge.
Establishing the Seal
The final phase involves lubrication and tension adjustment. Apply a thin layer of 3-in-1 oil or linseed oil to the pivot bolt and the blade surfaces. Tighten the nut until the handles do not fall open under their own weight but still move without significant resistance.
Pro-Tip: Proper tensioning is essential for bypass geometry. If the blades are too loose, they will "chew" the bark, causing a ragged wound that disrupts the plant's photoperiodic response by exposing inner tissues to light at inappropriate times.
The Clinic:
Even with sharp tools, plants may exhibit physiological distress if the pruning was poorly timed or if the soil is imbalanced.
- Symptom: Dieback at the pruning site despite a clean cut.
- Solution: Check for Nitrogen chlorosis in the surrounding foliage. If the plant lacks Nitrogen (evidenced by yellowing of older leaves), it cannot synthesize the proteins required for wound closure.
- Symptom: Excessive "bleeding" or sap flow from the cut.
- Solution: This is often a result of high root pressure in early spring. Shift pruning schedules for "bleeders" like Acer or Betula to mid-summer when transpiration rates are higher.
- Symptom: Brittle wood that snaps rather than cuts.
- Solution: This indicates a lack of Calcium in the cell walls. Amend the soil with gypsum to improve structural integrity without significantly altering the pH.
Fix-It: For Nitrogen chlorosis, apply a foliar spray of urea or ammonium sulfate at a rate of 0.5 pounds per 100 gallons of water for rapid uptake.
Maintenance:
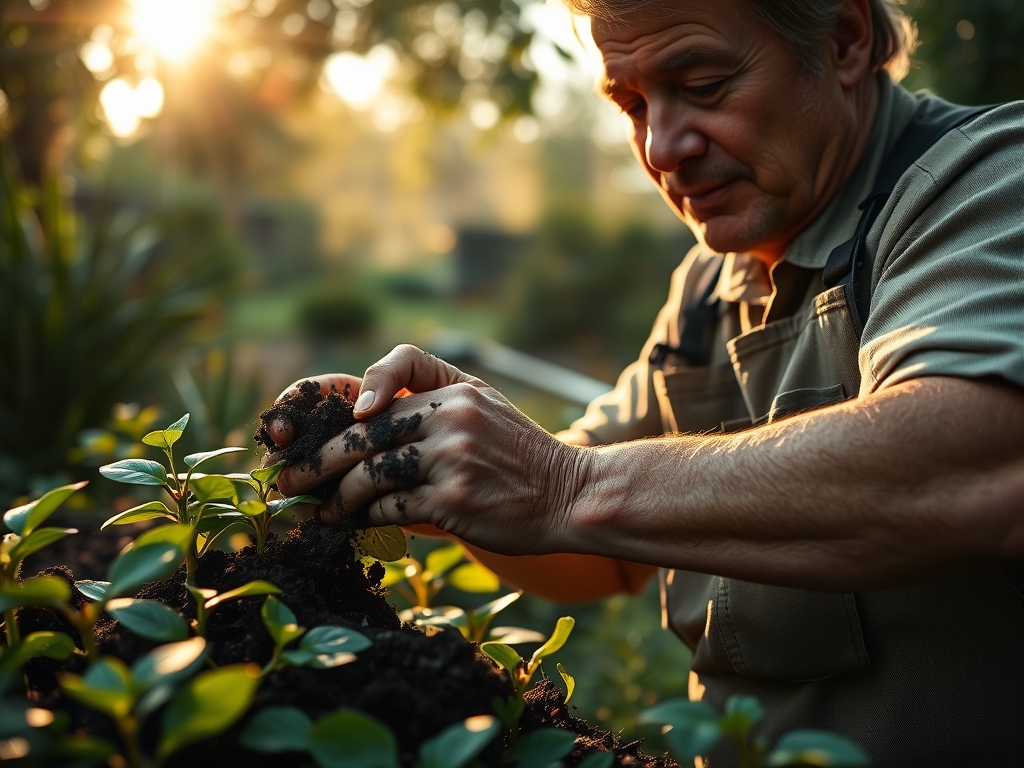
A sharpened lopper is only as effective as the gardener's maintenance routine. For the plants themselves, consistency is the priority. Provide 1.5 inches of water per week at the drip line, ensuring the moisture penetrates 8 to 12 inches into the soil profile. Use a soil moisture meter to verify that the rhizosphere remains aerobic. When working in the field, carry a hori-hori knife for weeding and bypass pruners for smaller gauge stems. After every use, wipe the lopper blades with an isopropyl alcohol solution to prevent the cross-contamination of pathogens like fire blight or verticillium wilt.
The Yield:
When pruning fruit-bearing wood, the "yield" is measured in the quality of the subsequent harvest. Pruning with sharpened loppers encourages the development of "fruiting spurs." For pome fruits, harvest when the base color of the skin shifts from green to yellow. Use a "lift and twist" motion to keep the pedicel attached to the fruit. This technique ensures day-one freshness by maintaining the integrity of the fruit's cuticle, which prevents moisture loss and slows the rate of respiration during storage.
FAQ:
How often should I sharpen my loppers?
Sharpen every 10 to 15 hours of active use. If you notice the blade sliding off the branch or crushing the bark rather than slicing it, the edge has lost its honed bevel and requires immediate maintenance.
Can I use a file instead of a stone?
A mill file is acceptable for removing large nicks in the steel. However, a whetstone is required to achieve the refined edge necessary for clean botanical cuts that promote rapid compartmentalization and wound healing.
Why is my lopper tearing the bark?
This usually indicates a loose pivot bolt or a dull blade. When the blades have a gap, they fold the bark into the space rather than cutting it, causing significant damage to the plant's vascular cambium.
Should I sharpen both sides of the blade?
No. Only sharpen the beveled side of the cutting blade. The flat side must remain perfectly flush to allow the bypass mechanism to function. Sharpening the flat side will create a gap that ruins the tool.