8 Tips: Using a Hammer for Basic Garden Tool Repair
The smell of damp earth and the high turgor pressure of a healthy leaf are the primary indicators of a functioning garden. When a tool fails, the rhythm of the rhizosphere is interrupted. Using a hammer for garden tool repair is an essential skill for maintaining the mechanical leverage required to manage heavy clay or compacted silt. A bent spade or a loose rivet on bypass pruners can cause jagged cuts that lead to plant senescence and pathogen entry. Precision striking with a ball-peen or claw hammer restores the structural integrity of your equipment. This allows for clean incisions and efficient soil turnover. Mechanical failure in the field often occurs when the soil moisture is high and the resistance against the metal is at its peak. Mastery of the hammer ensures that your tools remain sharp and aligned; this is critical for maintaining the vascular health of your specimens. By focusing on metal memory and force distribution, you can extend the life of your inventory indefinitely.
Materials:
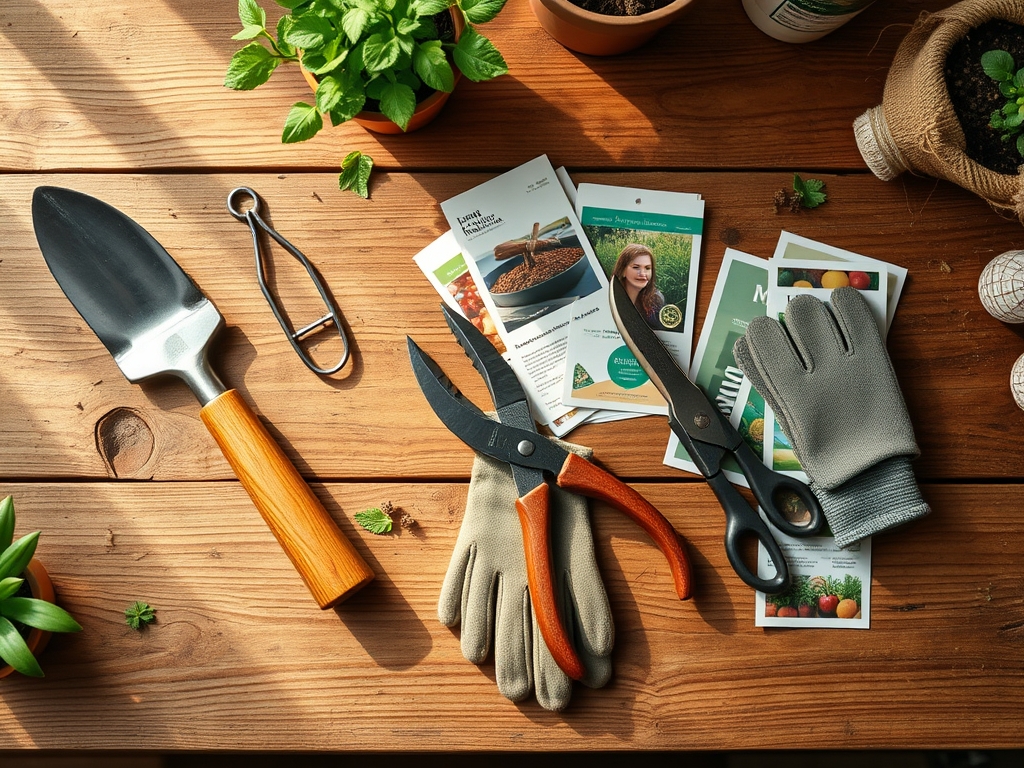
Repairing tools requires a stable work surface and specific metallurgical knowledge. For gardening in a **friable loam** with a **pH of 6.5**, tools must be free of oxidation to prevent the transfer of pathogens. You will need a **16-ounce claw hammer**, a **steel anvil or bench vise**, and **replacement wooden handles** made of ash or hickory. If you are working in high-alkaline soils with a **pH above 7.5**, your metal tools are more prone to corrosion and brittle snapping. Ensure you have **3-in-1 oil** and **medium-grit sandpaper**. When amending soil with a **10-10-10 NPK ratio**, the high salt content can degrade tool surfaces. Keep a **wire brush** nearby to clear debris before hammering. The goal is to maintain a tool surface that glides through the soil, minimizing friction and protecting the delicate root hairs of your plants.
Timing:
Tool repair should occur during the dormant season, typically between Hardiness Zones 4 and 7 from November through February. This window precedes the spring equinox when the "Biological Clock" of most perennials triggers the transition from vegetative dormancy to active growth. Repairing your tools before the first frost-date window ensures that you are ready for the high-intensity labor of early spring. In Hardiness Zones 8 and 9, where the growing season is nearly year-round, schedule repairs during the peak of summer when high heat indices may force a temporary reduction in field labor. Correcting a tool's alignment during these windows prevents the accidental crushing of xylem and phloem tissues during the critical spring "flush" of growth.
Phases:

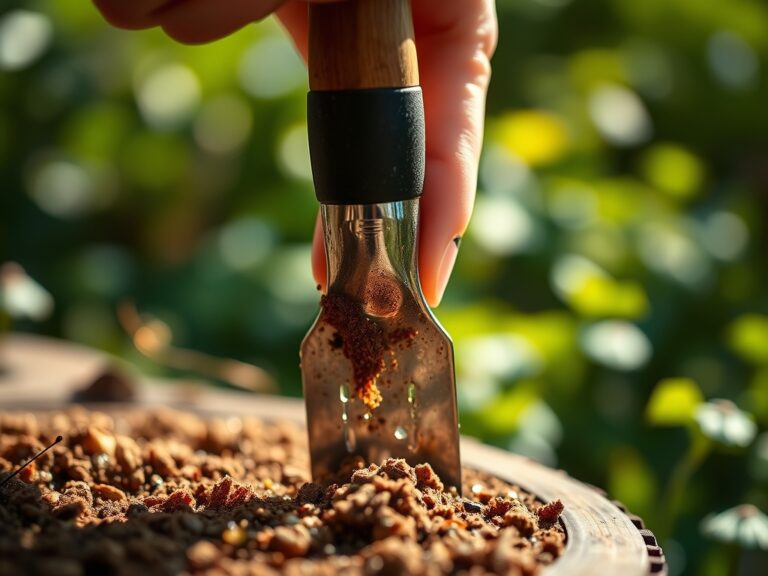
Sowing
Before the first seeds hit the tray, use a hammer to straighten the tines of your hand rake. Place the bent tine against a hard flat surface and apply controlled, vertical strikes. A straight tool ensures even seed depth, which is vital for uniform germination. Pro-Tip: Uniform seed depth prevents staggered emergence; this is a result of phototropism, where seedlings compete for light. Even spacing managed by straight tools reduces the shade-avoidance response in young starts.
Transplanting
When moving a plant from a container to the field, your spade must be perfectly flat to avoid tearing the root ball. Use a hammer to flatten any "curls" on the edge of the blade. A sharp, flat spade allows for a clean cut through the soil, preserving the mycorrhizal symbiosis already established in the root zone. Pro-Tip: Preserving the fungal network during transplanting increases the Cation Exchange Capacity (CEC) of the immediate root area, allowing for better nutrient uptake during the recovery phase.
Establishing
As plants enter the rapid growth phase, support stakes and irrigation lines must be secured. Use a hammer to drive metal stakes or to crimp loose hose clamps. Ensuring that support structures are vertical prevents the leaning that can cause auxin suppression on the shaded side of the stem. Pro-Tip: Maintaining verticality ensures that auxins are distributed evenly, promoting balanced lateral branching and structural stability against wind shear.
The Clinic:
Gardeners must recognize when a tool's poor condition is causing physiological disorders in the crop.
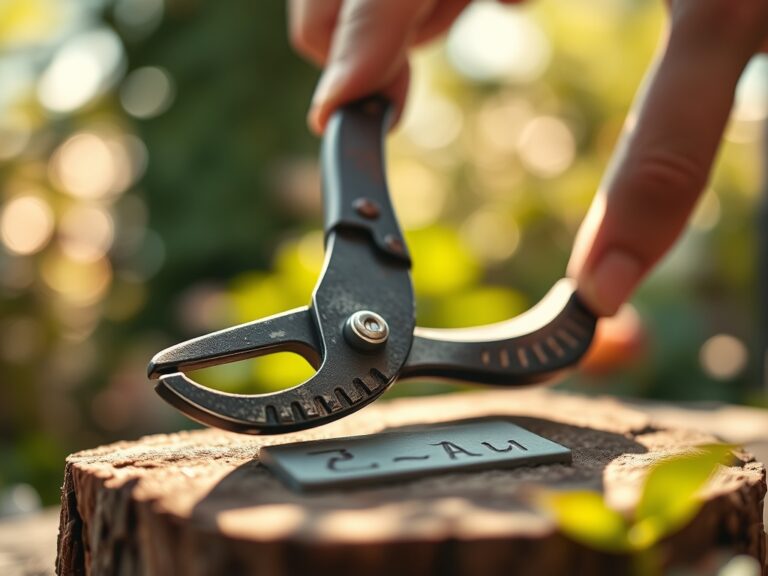
- Symptom: Ragged, tearing wounds on woody stems.
- Solution: Use a hammer and a center punch to tighten the pivot bolt on bypass pruners. This eliminates the gap between blades that causes crushing rather than cutting.
- Symptom: Localized wilting despite adequate soil moisture.
- Solution: This often indicates root damage from a blunt hori-hori knife. Use a hammer to reshape the blade edge before sharpening to ensure it slices through the soil without compacting the rhizosphere.
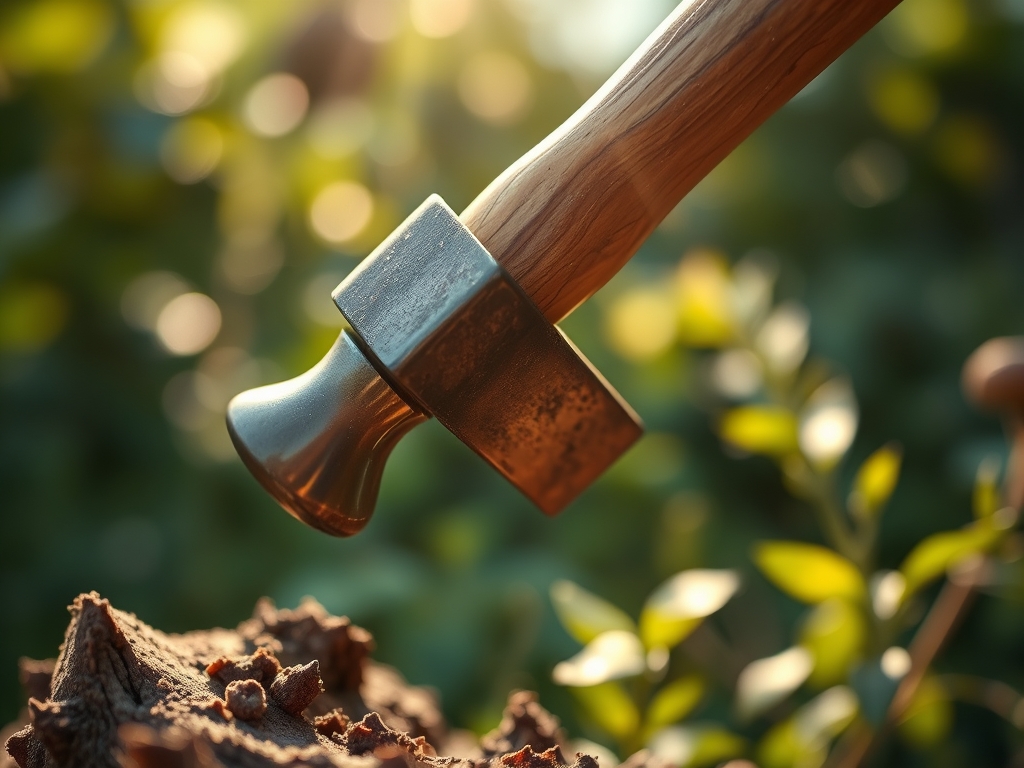
- Symptom: Yellowing of lower leaves (Nitrogen chlorosis) in a specific row.
- Solution: Check the depth of your hoe. If the blade is bent, it may be cutting too deep and severing the nitrogen-fixing nodules on legume roots. Use a hammer to reset the blade angle to a shallow 15-degree pitch.
Fix-It for Nutrient Deficiencies: If you notice interveinal chlorosis (Magnesium deficiency), ensure your weeding tools are sharp and straight. Damaged roots cannot efficiently transport magnesium ions from the soil solution to the upper canopy.
Maintenance:
A disciplined maintenance routine is the backbone of a high-yield garden. Every tool should be wiped clean of soil and moisture after each use. Apply 1.5 inches of water per week at the drip line of your plants, and use a soil moisture meter to verify penetration. When using a hori-hori knife, check the blade for straightness weekly. If the blade deviates by more than 2 millimeters, use a hammer to correct the alignment. Store tools in a bucket of sand mixed with mineral oil to prevent rust. This practice maintains the metal's integrity, ensuring that when you do need to use a hammer for repair, the metal remains malleable rather than brittle.
The Yield:
Harvesting requires the highest level of tool precision. For leafy greens, the harvest should occur at dawn when turgor pressure is at its maximum. If you are using a harvest knife that has been straightened and maintained with a hammer, the cut will be clean, sealing the vascular bundles almost immediately. This prevents moisture loss and maintains "day-one" freshness. For root crops, a straightened digging fork allows you to lift the soil without piercing the taproot. This reduces the risk of post-harvest decay caused by opportunistic bacteria entering through mechanical wounds.
FAQ:
Can I use a hammer to fix a broken wooden handle?
No. A hammer is used to drive out the old rivets and seat the new handle into the metal ferrule. Once the wood has snapped, its structural integrity is compromised and it must be replaced for safety.
How do I stop a hammer from marring the tool surface?
Place a scrap piece of hardwood or a thick rubber mat between the hammer and the tool. This "dead blow" technique protects the metal finish while still transferring enough kinetic energy to reshape the tool.
Why is my spade still bending after I hammered it straight?
Metal has a "memory." Once bent, the molecular structure is weakened. You may need to heat the metal slightly or consider that the tool has reached the end of its functional life cycle due to fatigue.
What is the best way to tighten a loose rake head?
Turn the rake upside down and strike the base of the handle with a hammer. This uses inertia to drive the head further onto the tapered wood. Secure it with a new galvanized screw for a permanent fix.