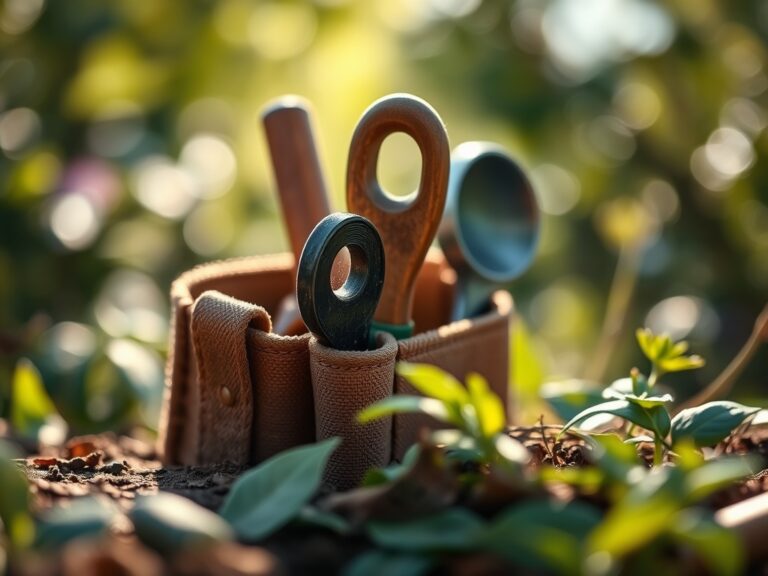
6 Steps to Prepare for a Productive Tool Organization Day
The scent of damp humus and the high turgor pressure of a hydrated leaf indicate a garden at its peak physiological capacity. Efficiency in the field depends on the seamless transition between tasks; however, a cluttered workspace creates friction that slows metabolic monitoring. Learning how to prepare a garden for a tool organization day ensures that your maintenance window is spent optimizing the rhizosphere rather than searching for misplaced equipment. Proper preparation requires a systematic audit of current soil conditions and a structural assessment of the tool shed to align with upcoming seasonal demands.
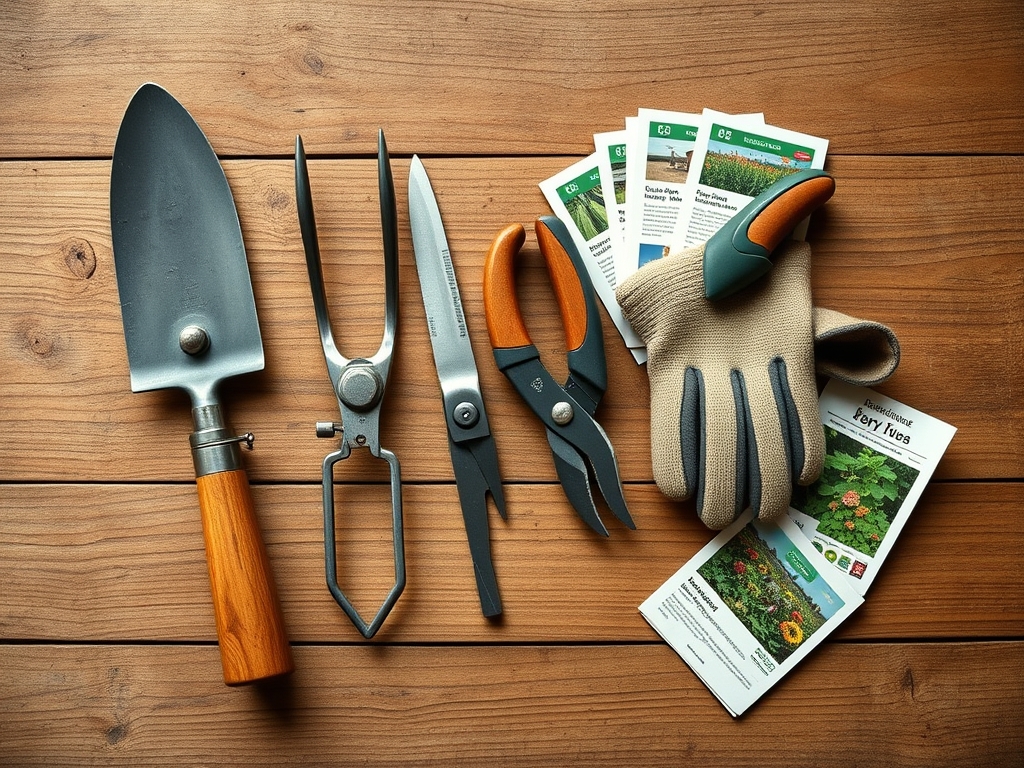
Materials:
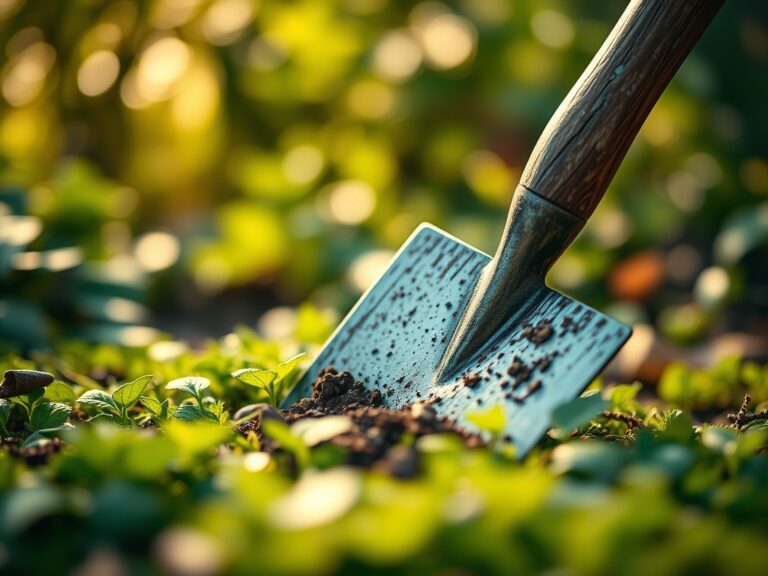
A productive organization day begins with a substrate assessment. The ideal growing medium is a **friable loam** with a bulk density of approximately **1.33 grams per cubic centimeter**. This texture allows for maximum oxygen diffusion to the root zone. Before organizing your shed, verify your soil chemistry to determine which amendments need to be front-loaded in your storage area.
Maintain a stock of fertilizers based on specific crop needs. Leafy greens require a high nitrogen ratio, such as 10-5-5, to support vegetative expansion. Flowering perennials benefit from a 5-10-10 NPK ratio to encourage reproductive development without excessive foliar growth. For soils with a low Cation Exchange Capacity (CEC) below 10 meq/100g, keep organic matter like composted manure or peat moss ready to increase nutrient retention. Target a soil pH between 6.2 and 6.8 for most temperate cultivars to ensure maximum bioavailability of micronutrients like iron and manganese.
Timing:
Success is dictated by the frost-date windows within your specific Hardiness Zone. For gardeners in Zones 5 through 7, the primary organization window occurs 4 to 6 weeks before the last predicted spring frost. This timing aligns with the "Biological Clock" of the garden, specifically the transition from winter dormancy to the early vegetative stage.
As photoperiods lengthen, plants experience an increase in auxin production, signaling the start of active growth. You must have your bypass pruners and hori-hori knives sharpened and sterilized before the sap begins to flow in woody perennials. Performing a tool audit during the vernal equinox ensures that mechanical failures do not interrupt the critical transplanting window when soil temperatures reach a consistent 55 degrees Fahrenheit.
Phases:

Sowing
Clear the potting bench of all residual debris and categorize seeds by their required planting depth. Small seeds like lettuce require light for germination and should be surface-sown; larger seeds like beans require a depth of 1 to 2 inches.
Pro-Tip: Maintain high humidity for new seeds to prevent desiccation of the radicle. The biological why involves osmotic potential; if the surrounding air is too dry, the seed cannot pull in the moisture required to break dormancy.
Transplanting
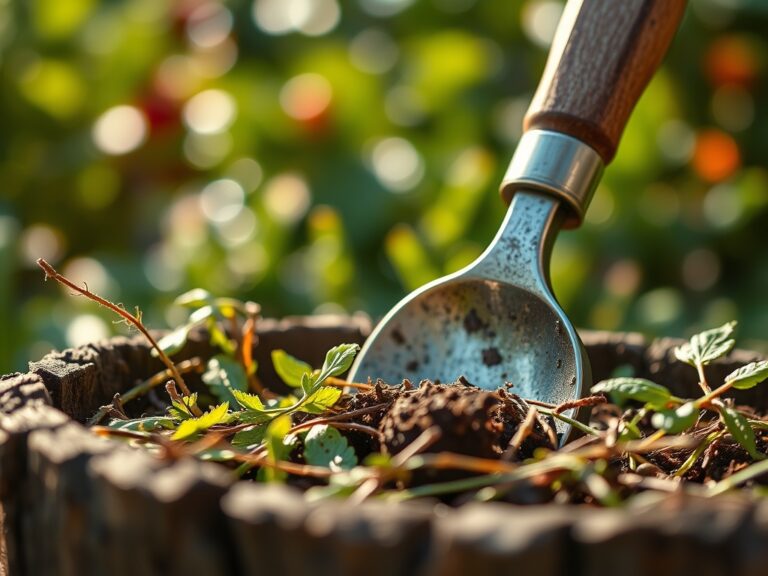
Organize your hand trowels and dibbers by size. When moving seedlings from flats to the field, minimize root exposure to prevent transplant shock. Ensure the destination soil has been pre-moistened to the field capacity.
Pro-Tip: Dust roots with mycorrhizal fungi inoculants during this phase. This establishes a mycorrhizal symbiosis, effectively increasing the root surface area by up to 100 times and improving phosphorus uptake.
Establishing
Group your irrigation tools, including soaker hoses and soil moisture meters. Once plants are in the ground, the focus shifts to structural support and moisture management.
Pro-Tip: Use soft ties to secure stems to stakes, leaving room for secondary growth. This prevents the suppression of auxins, the hormones responsible for apical dominance and upward growth, ensuring the plant does not become stunted.
The Clinic:
Physiological disorders often mimic infectious diseases but result from environmental or nutritional stress. Use the following diagnostic criteria to identify and resolve issues during your organization day.
Symptom: Interveinal Chlorosis
- Identification: Yellowing between leaf veins while veins remain green.
- Solution: This typically indicates a Magnesium deficiency or an alkaline pH above 7.5.
- Fix-It: Apply a foliar spray of Epsom salts (magnesium sulfate) at a rate of 1 tablespoon per gallon of water to bypass soil lockout.
Symptom: Blossom End Rot
- Identification: Sunken, leathery black spots on the distal end of the fruit.
- Solution: This is a localized Calcium deficiency often caused by erratic moisture levels.
- Fix-It: Ensure consistent irrigation to maintain steady transpiration. Calcium moves through the plant via the xylem; if transpiration stops due to drought, calcium cannot reach the fruit.
Symptom: Nitrogen Chlorosis
- Identification: Uniform paling or yellowing of older, lower leaves.
- Solution: Nitrogen is a mobile nutrient; the plant scavenges it from old growth to support new terminal buds.
- Fix-It: Side-dress with a high-nitrogen organic meal or a 20-20-20 water-soluble fertilizer to restore vigor.
Maintenance:
Precision in maintenance prevents systemic plant failure. Established gardens require 1.5 inches of water per week delivered directly to the drip line to encourage deep root penetration. Surface sprinkling leads to shallow root systems and increased vulnerability to heat stress.
Use a soil moisture meter daily to check the top 4 inches of the substrate. If the meter reads below 30 percent, initiate irrigation. Maintain your bypass pruners by wiping blades with 70 percent isopropyl alcohol between every plant to prevent the mechanical transmission of pathogens. Store your hori-hori knife in a bucket of oiled sand to prevent oxidation and maintain the serrated edge required for cutting through dense root mats.
The Yield:
Harvesting is the culmination of the biological cycle. For maximum "day-one" freshness, harvest during the early morning hours when turgor pressure is at its highest and field heat is at its lowest. Use a sharp, sterilized blade to make clean cuts; ragged tears increase the surface area for water loss and pathogen entry.
Post-harvest, many crops undergo senescence, a programmed cell death. To slow this process, rapidly cool the produce to 40 degrees Fahrenheit to reduce the respiration rate. For herbs, keep the stems submerged in water to maintain hydraulic pressure within the vascular bundles until consumption.
FAQ:
How do I clean rusted garden tools?
Soak tool heads in a 50/50 vinegar and water solution for 24 hours. Use steel wool to scrub away oxidized layers. Rinse, dry thoroughly, and apply a thin coat of mineral oil to prevent further oxygen exposure.
What is the best way to store fertilizers?
Store fertilizers in airtight containers in a cool, dry environment. Humidity causes granular fertilizers to "cake" and can trigger chemical degradation. Keep NPK ratios clearly labeled to avoid accidental over-application of nitrogen during the flowering stage.
Why should I calibrate my soil moisture meter?
Inaccurate readings lead to root rot or permanent wilting point. Calibrate by placing the probe in a container of saturated sand. If it does not read at the maximum level, adjust the internal screw until the gauge is accurate.
How often should I sharpen my pruning shears?
Sharpen blades every 10 hours of active use. Dull blades crush the xylem and phloem tissues rather than cutting them. This creates a necrotic site that is highly susceptible to fungal infections and pest colonization.