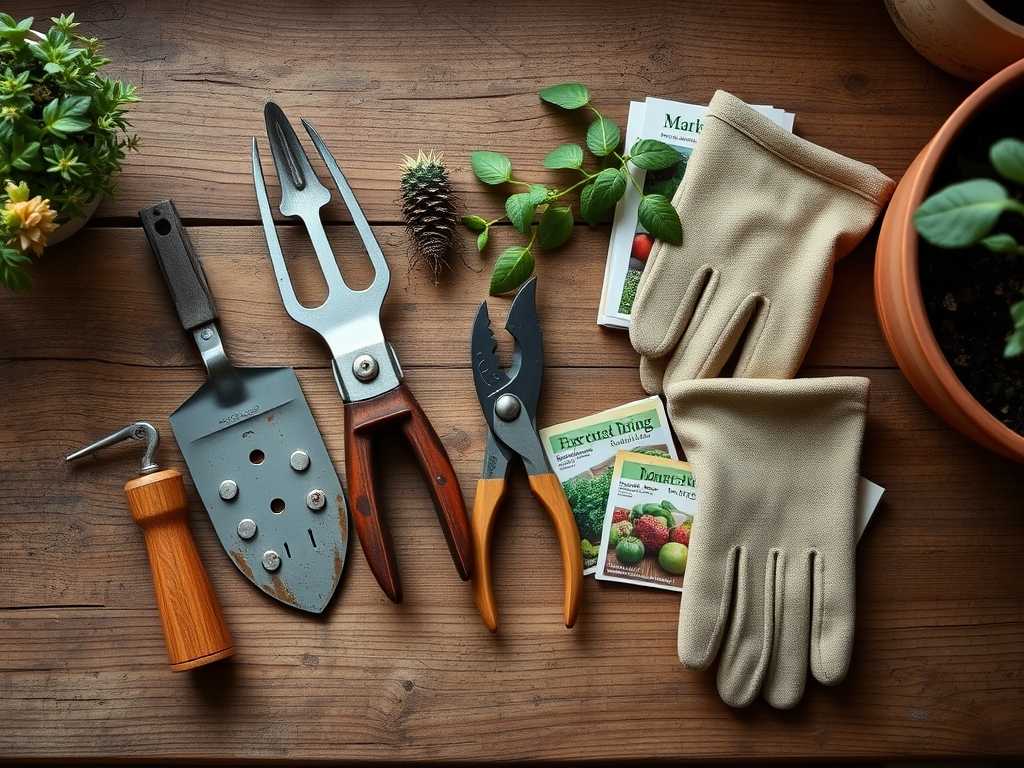
9 Best Tool Pouches for Carrying Gear During Garden Work
The smell of damp earth and the high turgor pressure of a healthy leaf signify a garden in peak physiological health. For the professional horticulturist, efficiency in the field is dictated by the accessibility of high-quality implements. Selecting the best tool pouches for garden work ensures that your bypass pruners, sharpening stones, and pH meters are within reach during critical maintenance windows. A well-organized kit reduces physical fatigue and prevents the accidental introduction of pathogens from tools left on the soil surface.
Materials:
Superior plant growth begins with a **friable loam** characterized by a **Cation Exchange Capacity (CEC) of 15 to 25 meq/100g**. This texture allows for optimal pore space, facilitating the gas exchange necessary for root respiration. When selecting materials for your garden beds, target a **soil pH between 6.2 and 6.8** to ensure maximum bioavailability of macronutrients.
Nutrient management requires precise NPK ratios tailored to the growth stage. For vegetative development, a 10-5-5 ratio provides the nitrogen necessary for chlorophyll synthesis. During the reproductive phase, transition to a 5-10-10 ratio to support phosphorus-dependent root expansion and potassium-driven stomatal regulation. The best tool pouches for garden work should include dedicated pockets for portable soil testing kits to monitor these levels in real-time.
Timing:
Successful cultivation depends on the strict adherence to USDA Hardiness Zones and local frost-date windows. In Zone 7, the transition from the vegetative to the reproductive stage is often triggered by the photoperiod, where plants sense the shortening of days. This biological clock dictates the hormonal shift from auxin dominance to ethylene production, signaling the onset of senescence in annuals or dormancy in perennials.
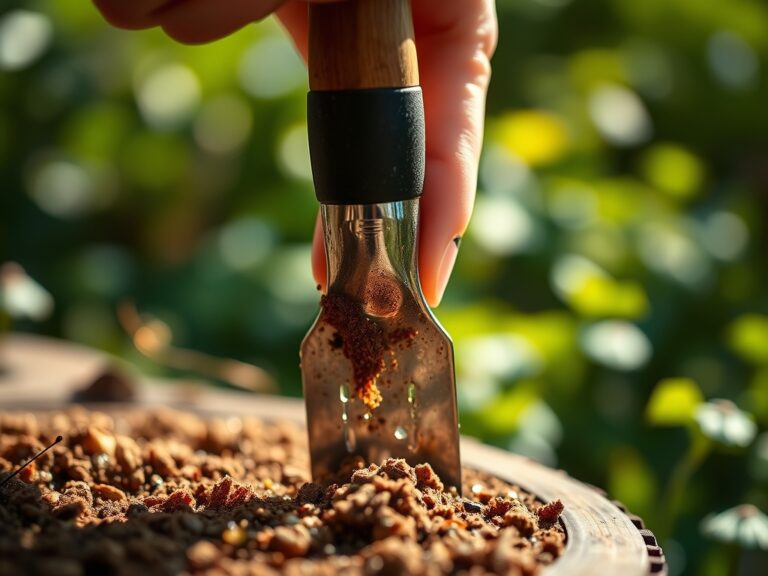
Planting must occur when soil temperatures consistently reach 60 degrees Fahrenheit (15.5 Celsius) to prevent seed rot and ensure rapid germination. Monitoring the GDD (Growing Degree Days) allows a gardener to predict harvest windows with mathematical precision. Use a thermal probe stored in your pouch to verify that the rhizosphere has reached the thermal threshold required for microbial activity to begin.
Phases:
Sowing
Direct sowing requires a seedbed prepared to a fine tilth. Seeds should be placed at a depth generally three times their diameter to ensure adequate moisture contact while allowing the hypocotyl to reach the surface before endosperm exhaustion.
Pro-Tip: Maintain consistent moisture to prevent the desiccation of the radicle. This is critical because imbibition is the first physical process of germination; without it, the metabolic enzymes within the seed remain dormant.
Transplanting
When moving seedlings from a controlled environment to the field, the primary goal is minimizing transplant shock. This is achieved by maintaining the integrity of the root ball and ensuring the mycorrhizal symbiosis is not disrupted. Dig a hole twice the width of the root system to encourage lateral expansion into the surrounding soil matrix.
Pro-Tip: Apply a seaweed-based kelp solution during transplanting. The naturally occurring cytokinins in kelp stimulate cell division in the root tips, helping the plant overcome the temporary cessation of growth caused by root disturbance.
Establishing
The establishment phase is defined by the plant's ability to maintain turgor pressure without supplemental irrigation. During this time, the root-to-shoot ratio shifts as the plant prioritizes deep structural roots. Monitor the plant for signs of phototropism, ensuring that neighboring weeds are not competing for the light spectrum required for photosynthesis.
Pro-Tip: Use a hori-hori knife to prune circling roots before planting. This practice disrupts apical dominance in the root system, forcing the plant to produce a more robust, fibrous network of lateral roots that increases the total surface area for nutrient uptake.
The Clinic:
Physiological disorders often mimic infectious diseases but are rooted in environmental or nutritional imbalances.
- Symptom: Interveinal Chlorosis. The leaves turn yellow while the veins remain green.
- Solution: This typically indicates a Magnesium deficiency or an alkaline pH locking out iron. Apply chelated iron or magnesium sulfate (Epsom salts) to the soil.
- Symptom: Blossom End Rot. A dark, sunken leathery spot appears on the base of the fruit.
- Solution: This is a Calcium transport issue, often caused by erratic watering rather than a lack of calcium in the soil. Maintain a consistent moisture level of 1.5 inches of water per week.
- Symptom: Leaf Curl. Leaves twist and distort without the presence of aphids.
- Solution: Often caused by fluctuating temperatures or wind desiccation. Increase the mulch layer to 3 inches to stabilize the root zone temperature.
- Symptom: Nitrogen Chlorosis. General paling of the entire plant, starting with older leaves.
- Fix-It: Apply a high-nitrogen fertilizer with a ratio of 20-0-0 to quickly restore chlorophyll production and stimulate vegetative growth.
Maintenance:
Precision maintenance is the difference between a surviving garden and a thriving one. Utilize a soil moisture meter daily to ensure the root zone remains within the 60% to 80% field capacity range. Apply exactly 1.5 inches of water per week at the drip line; overhead watering should be avoided to minimize the duration of leaf wetness, which serves as a primary vector for fungal spores.
Keep your bypass pruners calibrated and sharp to ensure clean cuts that heal rapidly through the formation of callus tissue. A jagged cut increases the surface area exposed to pathogens and slows the plant's natural compartmentalization process. Always carry a small bottle of 70% isopropyl alcohol in your tool pouch to sterilize blades between different plants, preventing the mechanical transmission of viral loads.
The Yield:
Harvesting is a race against senescence. For most leafy greens and fruiting crops, harvest should occur in the early morning when turgor pressure is at its peak and field heat is at its lowest. This preserves the cellular structure and prevents the rapid degradation of sugars into starches.
Use a sharp hori-hori knife to make clean harvests, leaving enough mother-plant tissue to allow for secondary growth if applicable. Post-harvest, immediately move produce to a shaded, cool environment to lower the respiration rate. For flowers, a quick dip in 110-degree Fahrenheit water can help clear air bubbles from the xylem, ensuring maximum vase life and hydration.
FAQ:
What material is best for a garden tool pouch?
Heavy-duty 1200D polyester or top-grain leather provides the highest resistance to punctures from thorns and sharp blades. These materials withstand the high humidity and soil abrasion common in intensive horticultural environments while protecting sensitive electronic meters.
How do I prevent my tools from rusting in a pouch?
Clean all soil from tools using a stiff brush before holstering. Periodically wipe metal surfaces with mineral oil. Ensure the pouch design allows for airflow to prevent moisture entrapment, which leads to rapid oxidation of high-carbon steel blades.
Can I carry a soil pH meter in a standard pouch?
Yes, but ensure the pouch has a padded or reinforced compartment. The glass electrodes on precision pH meters are fragile and can crack if subjected to impact against heavier metal tools like trowels or hammers during movement.
How often should I clean my tool pouch?
Empty and shake out debris weekly. For deep cleaning, use a mild detergent and air dry completely. Removing accumulated organic matter prevents the pouch from becoming a reservoir for fungal spores or soil-borne pathogens that could contaminate your clean tools.