7 Steps to Install a Home Garden Arbor for Climbing Roses
Crushing a handful of friable loam reveals the metallic scent of geosmin and the presence of beneficial actinomycetes. Healthy climbing roses require high turgor pressure within their vascular bundles to maintain the structural integrity needed to scale a vertical support. Achieving this requires precise steps for installing a garden arbor to ensure the structure survives wind loads and the heavy biomass of mature Rosa setigera. A stable arbor serves as the skeletal framework for the plant's photosynthetic machinery.
Success begins with site analysis. You must evaluate the soil Cation Exchange Capacity (CEC) to determine how well the substrate holds essential nutrients like ammonium and potassium. Roses are heavy feeders that demand a soil pH between 6.0 and 6.5 for optimal nutrient bioavailability. If the soil is too acidic, phosphorus becomes locked; if too alkaline, iron chlorosis sets in. This guide provides the technical blueprint for integrating structural engineering with botanical science to create a high-performance rose display.
Materials:
The foundation of a rose arbor is not just the wood or metal but the rhizosphere beneath it. You need a substrate consisting of 40 percent sand, 40 percent silt, and 20 percent clay to ensure adequate drainage and aeration.
For the planting hole, prepare a customized amendment mix based on NPK ratios. Use a 5-10-5 starter fertilizer to prioritize root development over leaf production. Phosphorus is immobile in the soil; therefore, it must be placed directly in the root zone at a depth of 12 to 18 inches.
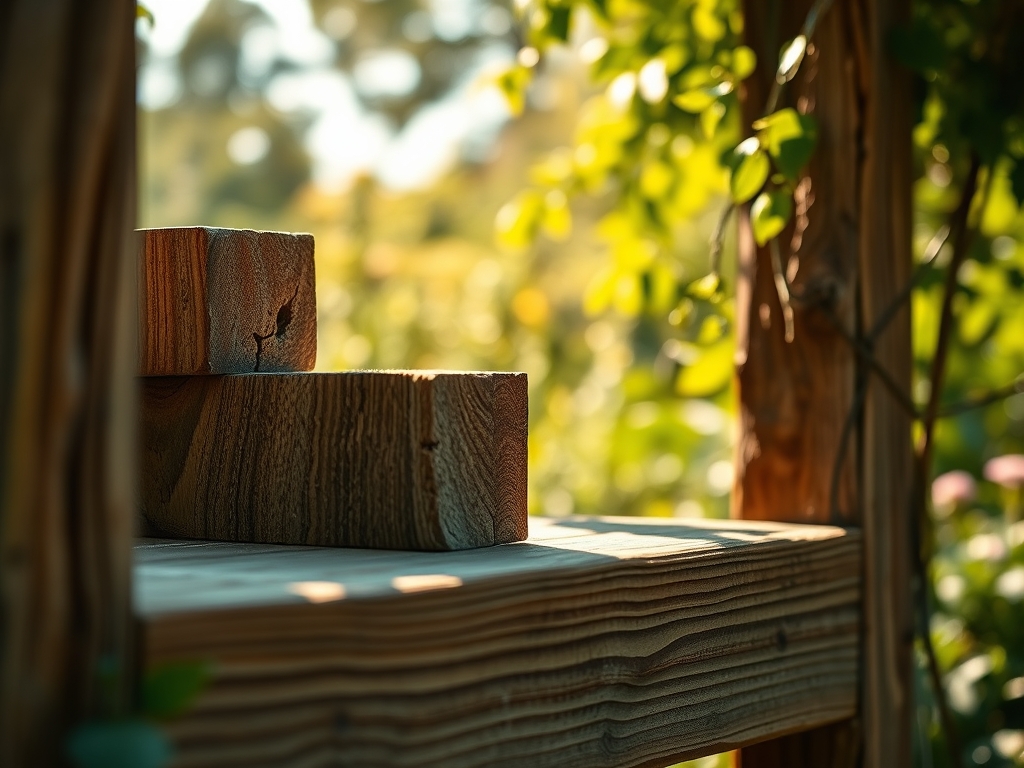
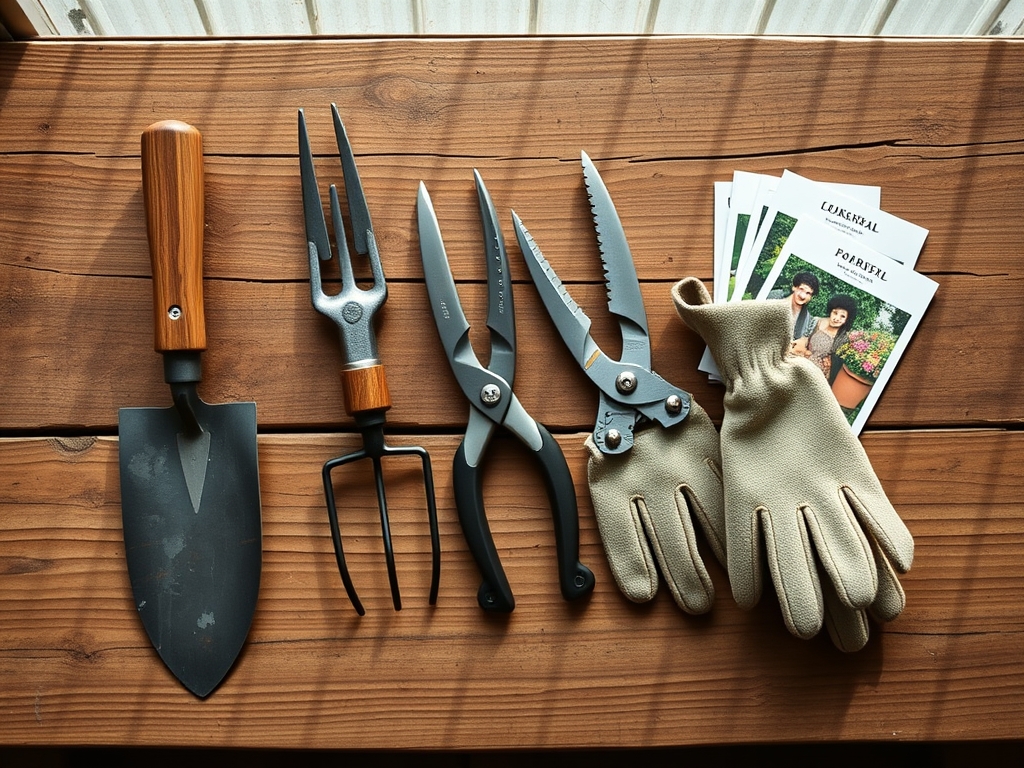
Structural materials should include pressure-treated 4×4 posts or powder-coated steel. Avoid thin plastic that will degrade under UV radiation. You will also need 50-pound bags of fast-setting concrete, a post-hole digger, and galvanized lag screws. For the roses, procure a high-quality mulch with a low carbon-to-nitrogen ratio to prevent nitrogen immobilization during decomposition.
Timing:
Hardiness Zones 5 through 8 are ideal for most climbing rose cultivars. Installation should occur during the dormant season, typically late winter or very early spring, before the first frost-free date. This timing aligns with the plant's biological clock, allowing the root system to establish before the surge of auxin triggers vegetative growth in the spring.
The transition from the vegetative stage to the reproductive stage is governed by the photoperiod and accumulated chill hours. Installing the arbor in February or March ensures the soil is workable but the plant remains in a state of low metabolic activity. This minimizes transplant shock. If you miss this window, you risk high transpiration rates that the unestablished root system cannot support, leading to localized cellular collapse and wilting.
Phases:
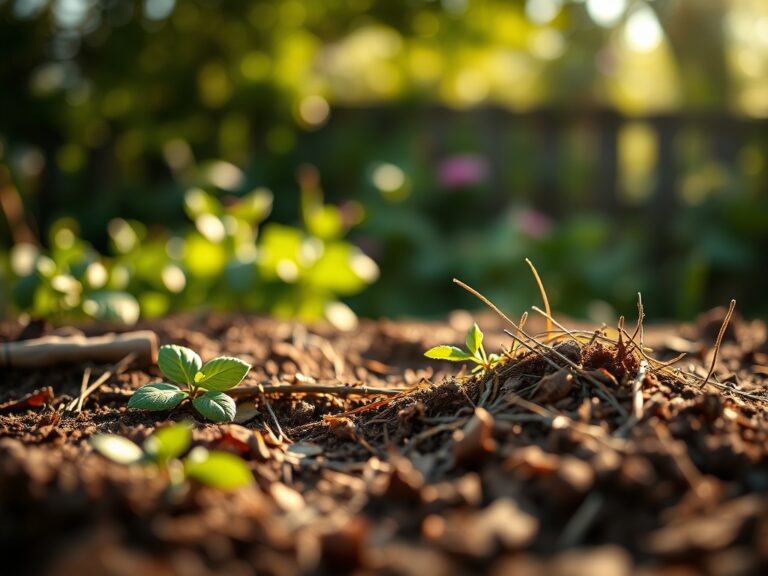
Sowing and Site Prep
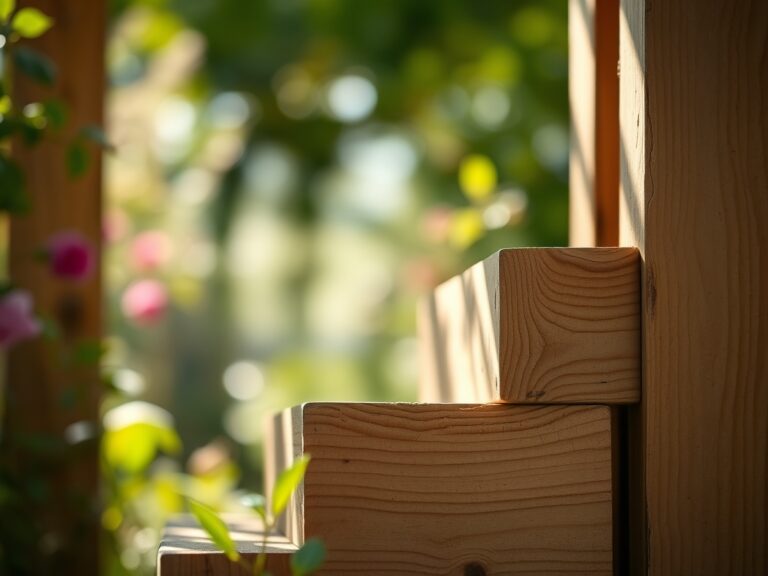
Excavate holes to a depth of 24 inches, ensuring you are below the frost line for your specific latitude. The width should be three times the diameter of the post to allow for a thick concrete collar. Use a level to ensure verticality. If the arbor is not plumb, the weight of the rose canes will create a lever effect that eventually pulls the structure out of the ground.
Pro-Tip: Incorporate mycorrhizal fungi inoculants into the backfill. This biological symbiosis expands the surface area of the root system by up to 1,000 times, significantly increasing the uptake of water and immobile minerals like phosphorus.
Transplanting
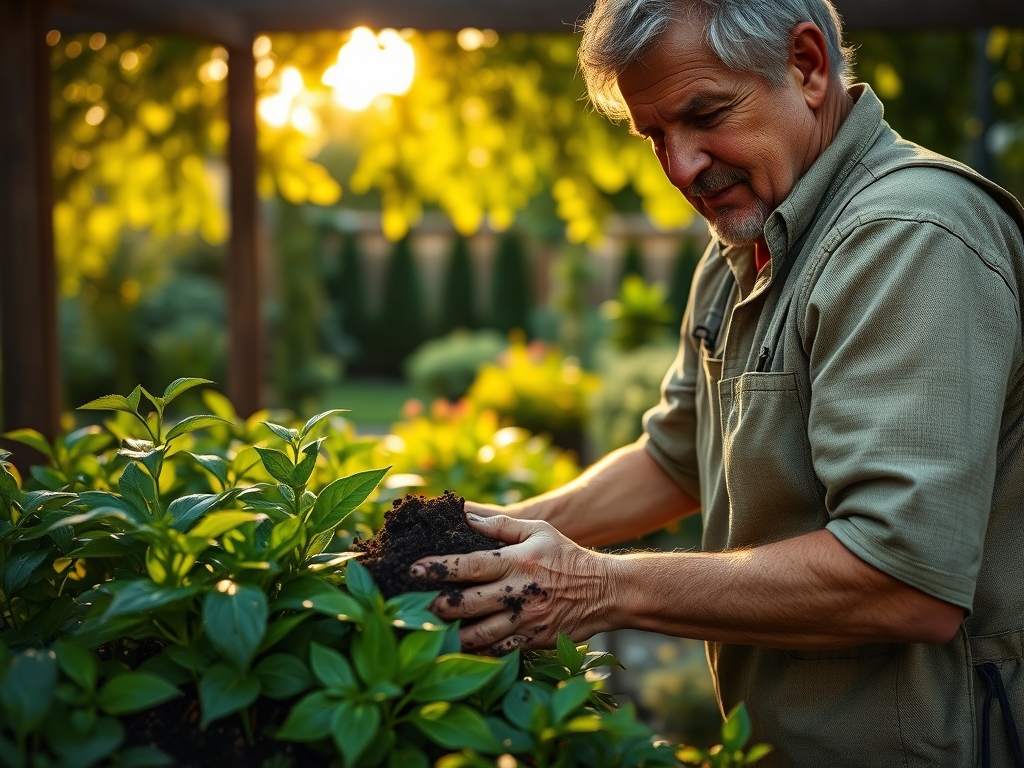
Position the rose bush 12 inches from the base of the arbor. This distance prevents the concrete footing from leaching lime into the root zone, which would spike the pH and cause nutrient lockout. Dig a hole twice as wide as the root ball. Spread the roots outward to prevent girdling, which can restrict the flow of xylem and phloem as the plant matures.
Pro-Tip: Angle the plant at 45 degrees toward the arbor. This utilizes the plant's natural phototropism, directing new growth toward the support structure and reducing the need for aggressive mechanical tying.
Establishing
Once the rose is in the ground, backfill with the amended friable loam and tamp down firmly to eliminate air pockets. Air pockets cause root desiccation. Apply a three-inch layer of organic mulch, keeping it two inches away from the main canes to prevent crown rot.
Pro-Tip: Practice apical dominance suppression by training canes horizontally along the arbor's lower rungs. This redirects auxins to lateral buds, forcing the plant to produce more flowering side shoots rather than one single leggy stem.
The Clinic:
Physiological disorders often mimic pathogen attacks but are frequently rooted in environmental stress or nutrient imbalances.
- Symptom: Interveinal Chlorosis. The leaves turn yellow while the veins remain green.
- Solution: This indicates an iron deficiency, often caused by high soil pH. Apply chelated iron to the rhizosphere to restore chlorophyll production.
- Symptom: Blind Wood. The plant produces healthy foliage but zero flower buds.
- Solution: This is often a result of low light intensity or excessive nitrogen. Shift to a fertilizer with a higher middle number (Phosphorus) to stimulate reproductive growth.
- Symptom: Leaf Scorch. The edges of the leaves turn brown and brittle.
- Solution: This is a sign of high transpiration stress or salt accumulation. Flush the soil with 5 gallons of water to leach excess salts and increase irrigation frequency during peak heat.
Fix-It: For general Nitrogen chlorosis (entire leaf turning pale green), apply a liquid seaweed extract or fish emulsion for a rapid nitrogen spike that the plant can assimilate through both roots and stomata.
Maintenance:
Precision irrigation is mandatory. Deliver 1.5 inches of water per week directly at the drip line using a soaker hose. Avoid overhead watering, which increases leaf wetness duration and invites fungal spores to germinate. Use a soil moisture meter to verify that the moisture has penetrated at least 8 inches deep.
Pruning is a surgical task. Use bypass pruners to make clean, 45-degree cuts 1/4 inch above an outward-facing bud. This directs growth away from the center of the plant, improving airflow. For removing old, woody canes at the base, a hori-hori knife or a pruning saw is necessary. Always disinfect tools with 70 percent isopropyl alcohol between plants to prevent the mechanical transfer of pathogens.
The Yield:
Harvesting roses for indoor display requires timing the cut when the outer petals are just beginning to unfurl, known as the "soft tip" stage. Use a sharp blade to make a clean cut at a 45-degree angle. This maximizes the surface area of the xylem for water uptake.
To ensure day-one freshness, immediately plunge the stems into 100-degree Fahrenheit water. This heat expels air bubbles from the vascular system, a process known as conditioning. Store the cut flowers in a cool, dark environment for two hours before moving them to a vase. This reduces the metabolic rate and slows the process of senescence.
FAQ:
How deep should arbor posts be buried?
Posts should be buried at least 24 inches deep or below the local frost line. This depth ensures structural stability against wind resistance and the significant weight of mature climbing rose canes, which can exceed 50 pounds of biomass.
What is the best soil for climbing roses?
Climbing roses thrive in friable loam with a pH between 6.0 and 6.5. The soil should have a high Cation Exchange Capacity (CEC) to retain nutrients and a balance of 40% sand, 40% silt, and 20% clay for drainage.
When should I prune my climbing roses?
Prune in late winter or early spring during dormancy. This timing allows you to see the skeletal structure of the plant and ensures that the plant's energy is directed toward new, vigorous growth once the spring sap begins to flow.
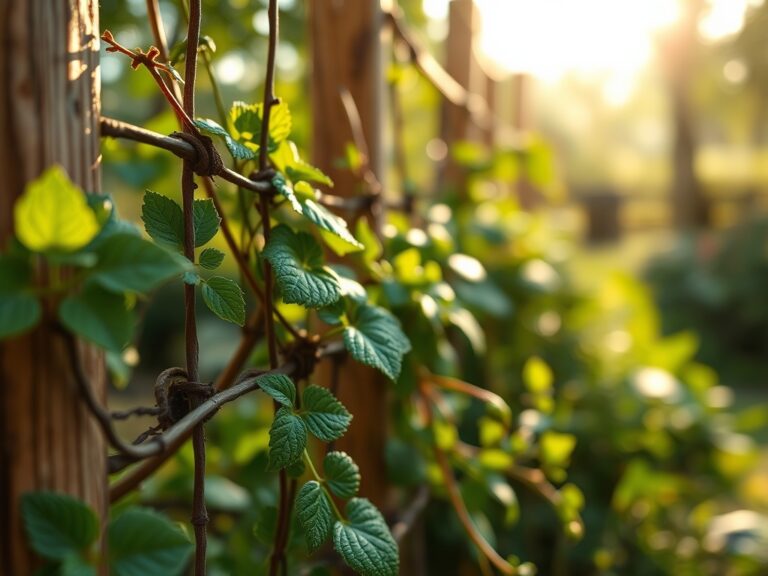
How do I attach roses to the arbor?
Use flexible garden tape or soft twine to loosely secure canes to the structure. Avoid wire, which can cut into the bark and restrict the phloem, leading to localized dieback. Train canes horizontally to maximize flower production via lateral budding.