8 Steps to Prepare Your Home Garden for a New Trellis
Crushing a handful of moist, friable loam reveals the earthy scent of geosmin, a byproduct of healthy actinobacteria. When the soil holds its shape but crumbles under light pressure, the rhizosphere is primed for structural intervention. Understanding how to prepare a garden for a trellis requires more than just hardware; it demands a synchronization of soil mechanics and plant physiology. A trellis serves as a vertical scaffold that maximizes photosynthetic surface area while improving airflow to prevent fungal pathogens. Proper preparation ensures that the root system can support the increased biomass generated by vertical growth. Neglecting the foundation leads to structural failure or nutrient lockout as the plant scales the support. By optimizing the cation exchange capacity and ensuring structural stability, you provide the biological runway necessary for aggressive climbers to reach their full genetic potential. Success begins beneath the surface, where nutrient availability and physical density dictate the eventual turgor pressure of every leaf and tendril.
Materials:
Substrate quality determines the efficacy of your vertical system. The ideal soil is a **friable loam with a pH between 6.2 and 6.8**, which ensures maximum availability of macronutrients. You must analyze your **Cation Exchange Capacity (CEC)**; a higher CEC indicates a better ability to hold onto positively charged ions like Calcium and Magnesium.
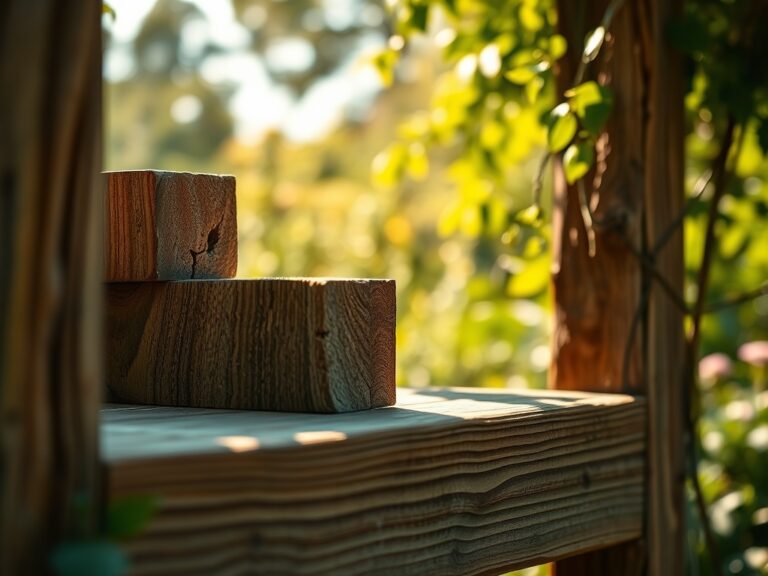
For heavy feeders like indeterminate tomatoes or pole beans, incorporate a balanced NPK ratio of 10-10-10 for initial establishment. If you are preparing for flowering vines, shift to a 5-10-10 ratio to prioritize phosphorus for root and bloom development over excessive vegetative nitrogen. Ensure you have high-quality organic matter, such as leaf mold or aged compost, to increase the water-holding capacity. Physical materials must include galvanized steel or rot-resistant cedar for the trellis itself. Avoid pressure-treated lumber that may leach heavy metals into the root zone.
Timing:
The biological clock of your garden is governed by the photoperiod and soil temperature. In Hardiness Zones 5 through 7, the window for trellis preparation typically opens in late March to mid-April, once soil temperatures consistently exceed 55 degrees Fahrenheit. Preparing the site at least two weeks before the last frost date allows the soil profile to settle and the microbial community to stabilize after amendments are added.
Plants transition from the vegetative stage to the reproductive stage based on light exposure and heat units. Installing the trellis early prevents damage to the root system that occurs when driving stakes into an established rhizosphere. For cool-season climbers like sweet peas, preparation must occur as soon as the ground is workable. For heat-loving species like Cucurbita, wait until the soil reaches 65 degrees Fahrenheit to avoid chilling injury and stunted growth.
Phases:

Sowing and Site Preparation
Clear all debris and competing weeds within a 24-inch radius of the trellis footprint. Dig a trench or individual holes at least 12 inches deep to loosen the subsoil. This prevents compaction and allows for rapid taproot elongation.
Pro-Tip: Deep soil loosening encourages geotropism, the growth of roots downward in response to gravity. This creates a more resilient anchor system that can withstand the wind leverage exerted on a fully loaded trellis.
Transplanting and Anchoring
When moving seedlings to the trellis base, ensure the root ball is saturated to maintain turgor pressure. Position the plant 3 to 4 inches from the vertical support. Use soft garden twine to guide the first few inches of growth toward the mesh or slats.
Pro-Tip: This phase utilizes thigmotropism, where plants change their growth pattern in response to touch. Contact with the trellis triggers the production of ethylene, which can thicken the stem and prepare it for weight-bearing.
Establishing and Training
As the plant begins its ascent, monitor the nodes for new growth. Manually weave or tie stems every 6 to 8 inches. Prune lateral suckers to focus energy on the primary leader, which improves light penetration and reduces the risk of powdery mildew.
Pro-Tip: Removing lower lateral shoots suppresses auxin, a hormone that maintains apical dominance. This redirection of energy ensures the plant reaches the top of the trellis faster, maximizing its solar collection area.
The Clinic:
Physiological disorders often manifest when the vertical environment changes.
- Symptom: Yellowing of lower leaves (Chlorosis).
Solution: This indicates a Nitrogen deficiency. Fix-It: Apply a water-soluble high-nitrogen fertilizer (NPK 20-5-5) to the root zone for immediate uptake.
- Symptom: Blossom end rot on climbing fruits.
Solution: This is a Calcium transport issue, often caused by inconsistent moisture. Fix-It: Maintain steady irrigation and add lime to the soil if the pH is below 6.0.
- Symptom: Wilting despite moist soil.
Solution: This suggests root rot or a vascular wilt pathogen. Fix-It: Improve drainage by adding perlite or coarse sand to the substrate and ensure the trellis is not trapping humidity.
- Symptom: Purple tinting on stems and leaves.
Solution: This is typically a Phosphorus deficiency, common in cold soils. Fix-It: Use a bone meal amendment or wait for soil temperatures to rise above 60 degrees Fahrenheit.
Maintenance:
Precision irrigation is critical for vertical gardens because they are more exposed to wind and evaporation. Provide 1.5 inches of water per week at the drip line; do not wet the foliage, as this invites fungal spores. Use a soil moisture meter daily to ensure the root zone remains between 40% and 60% capacity.
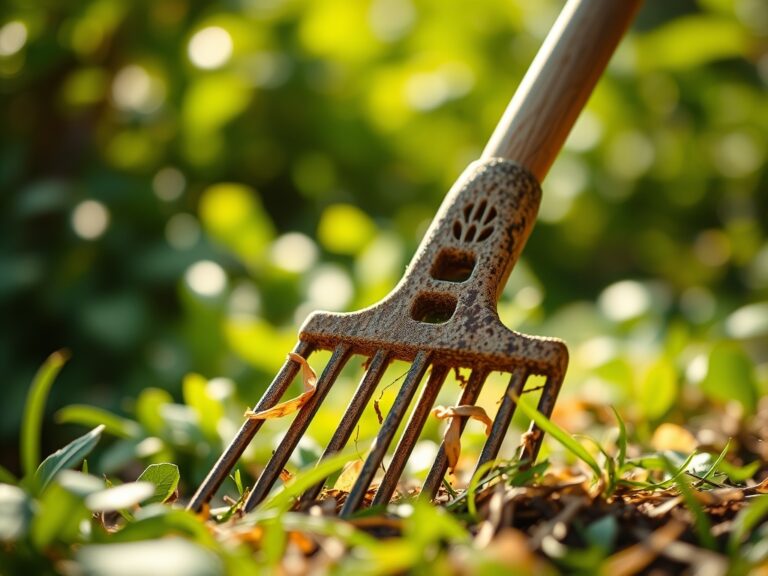
Carry a hori-hori knife for deep weeding and a pair of bypass pruners for clean, surgical cuts on woody stems. Sterilize your tools with a 10% bleach solution between plants to prevent the spread of tobacco mosaic virus or other pathogens. Inspect the trellis anchors after heavy rain or high winds to ensure the structural integrity is not compromised by shifting soil.
The Yield:
Harvesting from a trellis requires timing to ensure peak sugar content and cellular structure. For legumes, harvest when the pods are firm but before the seeds bulge, which prevents the plant from entering senescence (the final aging stage). Use sharp snips to remove fruit; pulling can damage the delicate vines and loosen the trellis attachments.
To maintain "day-one" freshness, harvest in the early morning when the plant is at maximum turgidity. Immediately submerge the cut ends of flowers in 40-degree Fahrenheit water or move produce to a cool, shaded area. This rapid cooling slows the metabolic rate and preserves the crispness of the cell walls.
FAQ:
How deep should trellis posts be buried?
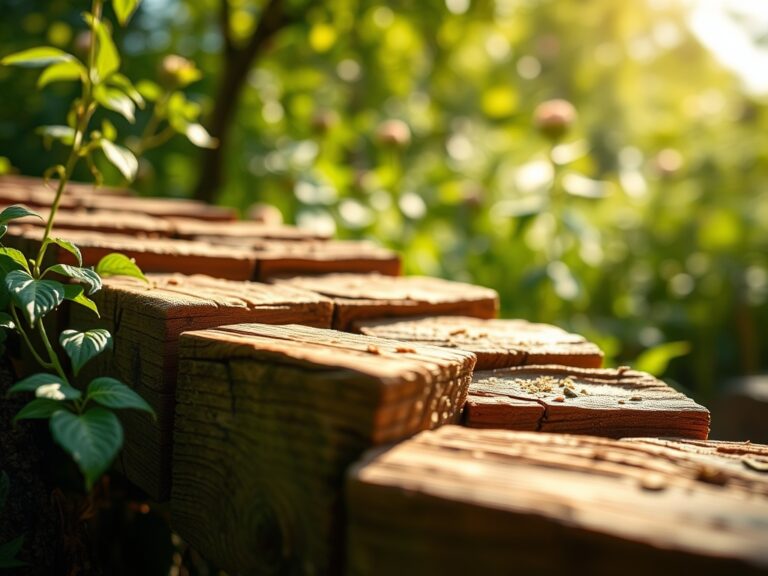
Posts should be buried at least 18 to 24 inches deep. For heavy crops like melons, use concrete or gravel at the base to prevent the structure from leaning under the weight of the mature canopy.
Can I reuse soil from last year for a new trellis?
Yes, but you must amend it. Add 2 inches of fresh compost and a balanced fertilizer. Rotate plant families to prevent the buildup of soil-borne pathogens like Fusarium or Verticillium wilt that target specific species.
What is the best material for tying plants to a trellis?
Use soft, expandable materials like stretch tie tape or jute twine. Avoid thin wire or plastic zip ties, as these can constrict the vascular tissue (phloem and xylem) as the stem expands in diameter.
How do I prevent the trellis from shading other plants?
Orient the trellis on the north side of your garden plot. This prevents the vertical structure and the climbing biomass from casting a shadow over shorter, sun-loving crops during the peak solar hours of the day.