8 Steps to Prepare Your Backyard for a New Garden Wall
The smell of damp earth is the scent of geosmin; it is a chemical byproduct of Actinobacteria activity in the rhizosphere. When the soil is properly hydrated, the turgor pressure within a plant's vascular system remains high, keeping stems rigid and leaves fully expanded. Success in the landscape begins with structural integrity. Knowing how to prepare a garden for a wall requires a technical understanding of soil compaction, drainage physics, and the biological needs of the surrounding flora. A wall is not merely a barrier; it is a heat sink and a moisture regulator that fundamentally alters the microclimate of your backyard.
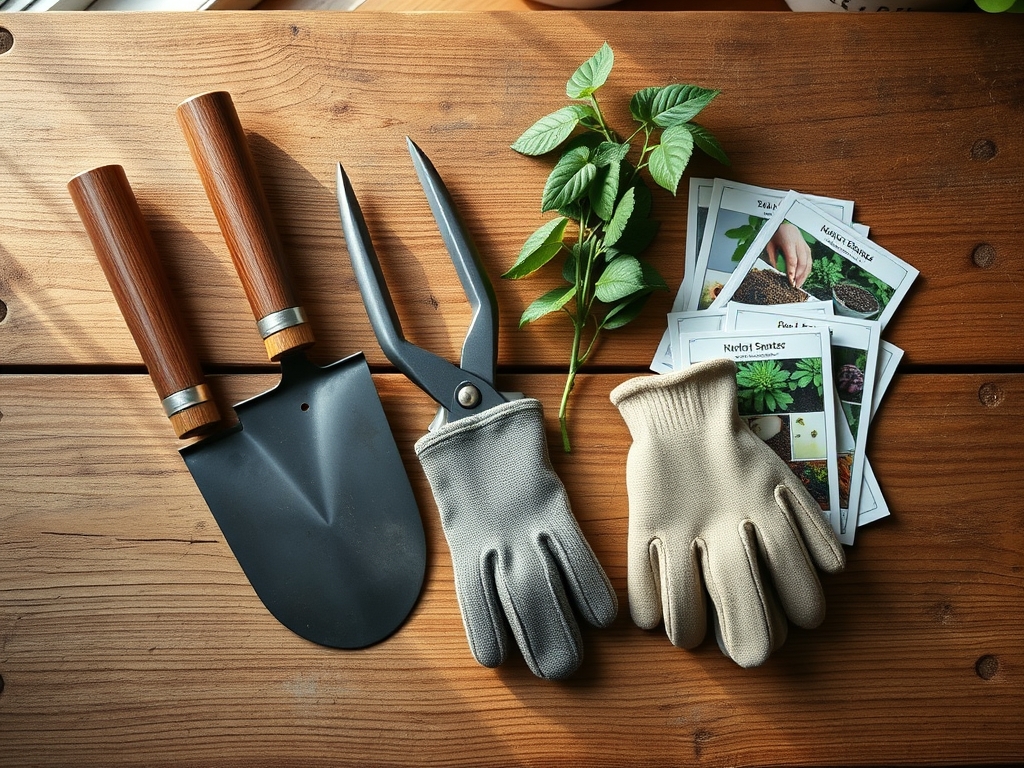
Materials:
Before the first stone is set, you must analyze the substrate. The ideal soil for a garden adjacent to a wall is a **friable loam**. This texture allows for adequate pore space, ensuring that oxygen reaches the root zone. You must achieve a **Soil pH between 6.0 and 7.0** to maximize nutrient availability. At this range, the **Cation Exchange Capacity (CEC)** is optimized, allowing the soil to hold onto essential positively charged ions like Calcium and Magnesium.
For the initial soil amendment, utilize a balanced NPK ratio of 10-10-10 to provide a baseline of Nitrogen, Phosphorus, and Potassium. Nitrogen (N) is essential for vegetative growth and chlorophyll production. Phosphorus (P) supports ATP transfer and root development, which is critical near a new foundation. Potassium (K) regulates stomatal opening and closing, protecting the plant from the thermal stress reflected by the wall. Ensure you have crushed limestone (base) and angular 3/4-inch gravel for the drainage layer.
Timing:
The installation window is dictated by your USDA Hardiness Zone. In Zones 5 through 7, the ideal time to prepare the site is early spring, at least three weeks before the last frost date. This timing aligns with the biological clock of most perennial species as they transition from dormancy to the vegetative stage. Soil temperature must be a consistent 55 degrees Fahrenheit at a depth of four inches before you begin significant excavation.
Avoid construction during the reproductive stage of nearby plants. When a plant shifts its energy from leaf production to flowering, its ability to recover from root disturbance is significantly diminished. By timing your wall preparation during the early vegetative phase, you utilize the plant's peak auxin production to stimulate rapid root regrowth in the newly disturbed soil.
Phases:

Sowing and Site Clearing
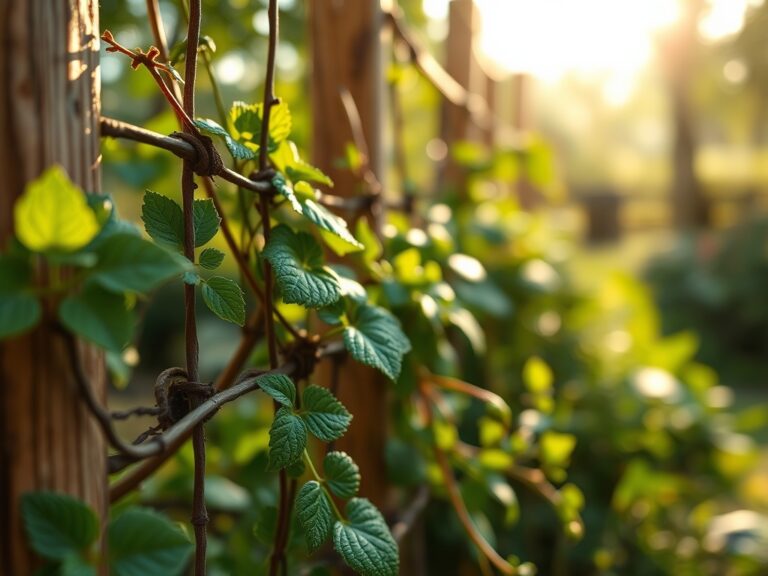
Clear all existing vegetation within 24 inches of the wall's footprint. This prevents organic matter from decomposing under the base, which causes shifting. Excavate a trench to a depth of 12 to 18 inches, depending on your local frost line.
Pro-Tip: Maintain the integrity of the surrounding soil's mycorrhizal symbiosis. When digging, avoid over-tilling the adjacent garden beds. Keeping the fungal networks intact allows for better water and nutrient transport once the wall is complete.
Transplanting and Root Pruning
If existing shrubs are in the way, they must be moved. Use a sharp spade to cut a clean circle around the root ball. This triggers auxin suppression at the tips, which encourages the plant to develop a denser, more fibrous root system closer to the main stem before the move.
Pro-Tip: When transplanting, ensure the new hole is twice as wide as the root ball but no deeper. This prevents the "bathtub effect" where water collects at the bottom and causes root rot through anaerobic respiration.
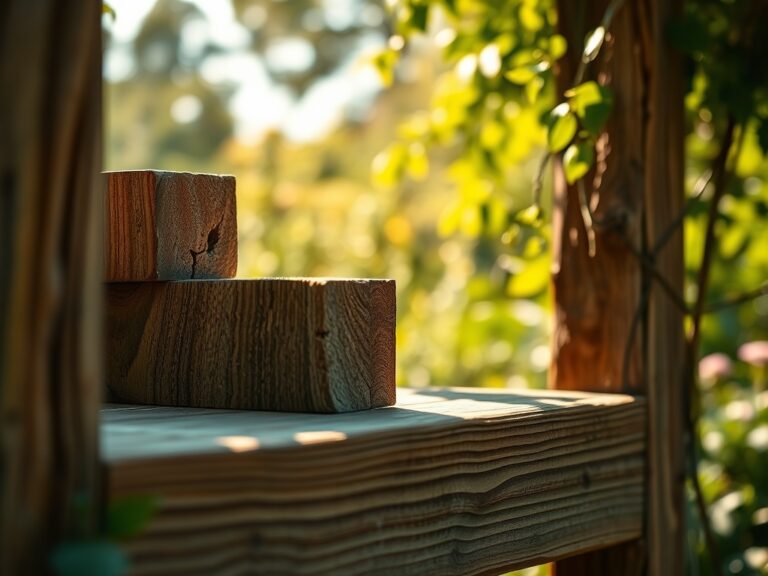
Establishing the Base
Fill the trench with 6 inches of compacted gravel. Use a plate compactor to ensure the base is stable. A wall that shifts even a fraction of an inch can crush the delicate root systems of nearby perennials.
Pro-Tip: Install a perforated 4-inch drain pipe behind the wall. This manages hydrostatic pressure. Without it, water buildup leads to soil saturation, causing the roots to suffer from hypoxia, a condition where the plant literally suffocates from lack of oxygen.
The Clinic:
Physiological disorders often arise from the changed environment a wall creates.
- Symptom: Interveinal chlorosis (yellowing leaves with green veins) in new growth.
- Solution: This indicates Iron deficiency, often caused by high pH from leaching concrete. Apply chelated iron to the soil.
- Symptom: Marginal leaf burn or scorching.
- Solution: This is a sign of Potassium deficiency or heat stress. The wall reflects UV radiation. Increase irrigation and apply a 0-0-50 sulfate of potash.
- Symptom: Stunted growth and dark purple tint on older leaves.
- Solution: This is Phosphorus deficiency. Low soil temperatures or high compaction near the wall base can prevent P-uptake. Aerate the soil and add bone meal.
Maintenance:
A garden wall changes the hydration needs of your backyard. Concrete and stone absorb solar energy during the day and release it at night, increasing the evaporation rate. You must provide at least 1.5 inches of water per week at the drip line of any plants within three feet of the wall.
Use a soil moisture meter twice weekly to check the tension at a 6-inch depth. For precise pruning of roots or branches damaged during construction, use bypass pruners for clean cuts that heal quickly. If you encounter stubborn roots during the final grading, a hori-hori knife is the professional tool of choice for surgical removal without disturbing the surrounding soil structure.
The Yield:
If your wall borders a kitchen garden, harvesting at the peak of physiological maturity is vital. For leafy greens, harvest in the early morning when turgor pressure is highest. This ensures the cells are fully hydrated. Use a sharp blade to make a clean cut, then immediately submerge the produce in 40-degree Fahrenheit water. This rapid cooling stops the process of senescence, the biological aging of the plant tissue, and preserves the nutrient density and crispness for several days.
FAQ:
How deep should the foundation for a garden wall be?
Excavate the trench to a depth of 12 to 18 inches. This allows for a 6-inch compacted gravel base and ensures the first course of stone is buried. Proper depth prevents shifting during freeze-thaw cycles in colder climates.
Can I build a wall directly over tree roots?
No. Building over major structural roots causes compaction and hypoxia. If you must build near a tree, maintain a distance of at least one foot for every inch of trunk diameter to protect the critical root zone.
What is the best soil for backfilling a wall?
Use a well-draining gravel or crushed stone for the immediate 12 inches behind the wall. For the top layer, use a friable loam with a pH of 6.5 to support plant health and allow for proper gas exchange.
How do I prevent the wall from leaching lime into my garden?
Seal the back of the wall with a geotextile fabric or a liquid masonry sealer. This prevents calcium carbonate from leaching into the rhizosphere, which can spike the soil pH and cause nutrient lockout in acid-loving plants.