6 Sunlight Steps to Install a Garden Mirror for Better Light
Vegetable gardeners working with north-facing plots or shaded yards lose an average of 4 to 6 hours of direct sunlight daily, reducing photosynthetic efficiency by up to 40 percent. A strategically placed garden mirror redirects photons into shadowed zones, extending productive light exposure without electrical infrastructure. The steps for installing a vegetable garden mirror transform a low-yield corner into a high-output growing area by manipulating incident and reflected light angles. Reflective surfaces sized between 24 and 48 inches can increase photosynthetically active radiation (PAR) by 300 to 800 micromoles per square meter per second in adjacent beds. This method benefits fruiting crops like tomatoes and peppers that require 6 to 8 hours of direct sun for optimal flower set and sugar accumulation in developing fruit.
Materials
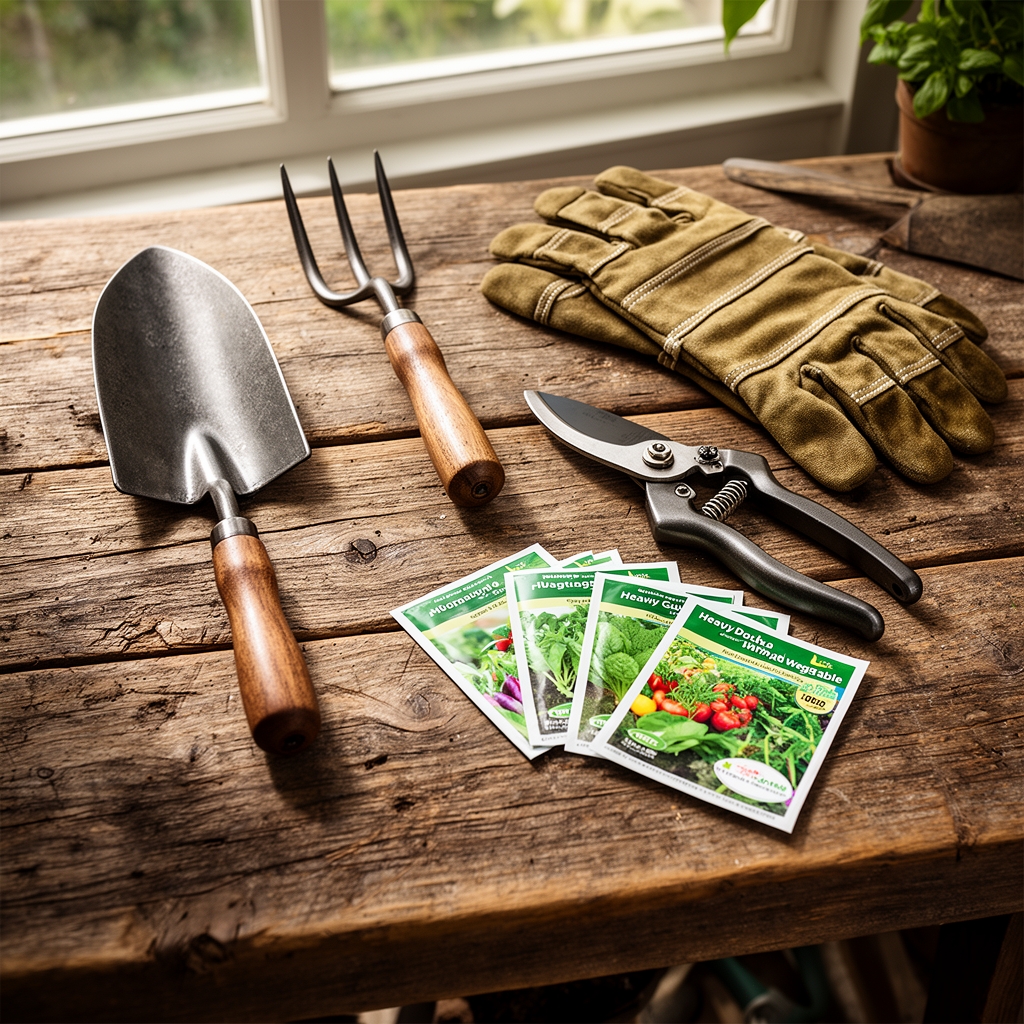
Select weather-resistant acrylic mirrors rated for outdoor use, with UV-stabilized coatings that prevent yellowing over 3 to 5 seasons. Marine-grade stainless steel mounting brackets (grade 316) resist chloride corrosion in coastal zones and withstand winds up to 60 mph. Pressure-treated 4×4 posts (0.60 PCF retention) anchor the frame; choose lumber with copper azole (CA-C) for compatibility with soil pH ranging from 5.5 to 7.0. Galvanized lag bolts (3/8 inch diameter, 4 inches long) secure brackets to posts without splitting wood fibers. Quick-setting concrete mix (3,000 PSI minimum) stabilizes post footings in loam or clay soils with cation exchange capacity between 10 and 25 meq/100g.
For adjacent vegetable beds, incorporate compost at 2 cubic feet per 10 square feet to raise organic matter to 5 percent. Apply a balanced organic fertilizer with an NPK ratio of 4-4-4 at 2 pounds per 100 square feet two weeks before transplanting. This slow-release formulation supports microbial activity and nitrogen mineralization rates of 2 to 3 percent per week during the growing season.
Timing
Install mirrors between late winter and early spring, aligning with hardiness zone-specific frost dates. Zones 3 through 5 should complete installation by mid-April, 2 to 3 weeks before the last expected frost. Zones 6 through 8 target late March, allowing soil temperatures to reach 50°F at 4-inch depth before planting adjacent beds. Zones 9 and 10 can install mirrors year-round but benefit most from winter positioning, when low sun angles (15 to 30 degrees above horizon) maximize reflective gain for cool-season brassicas and leafy greens.
Avoid installation during summer months when ground frost heave is absent but soil compaction from foot traffic damages structure and reduces water infiltration rates by 30 to 50 percent.
Phases

Sowing the Foundation: Excavate post holes to 30 inches deep, extending below the frost line for your zone (36 inches in Zone 5, 18 inches in Zone 8). Diameter should measure 12 inches to provide lateral stability. Pour 4 inches of gravel base for drainage, then set posts vertically using a 48-inch level. Mix concrete to manufacturer specifications and fill holes, sloping the top away from wood to prevent moisture accumulation. Cure for 72 hours before attaching hardware.
Pro-Tip: Inoculate the surrounding soil with Rhizophagus irregularis spores at 10 grams per cubic foot of backfill. Mycorrhizal fungi colonize root systems within 14 days, increasing phosphorus uptake by 40 percent in the mirror-enhanced bed.
Transplanting the Reflective Surface: Mount stainless steel brackets to posts at a 35- to 45-degree angle from vertical, optimizing midday reflection into beds positioned 6 to 10 feet away. Secure acrylic mirror panels to brackets using stainless steel bolts with nylon washers to prevent cracking from thermal expansion. Adjust angle seasonally: steeper (50 degrees) in winter when sun altitude is low, shallower (30 degrees) in summer when sun peaks at 60 to 75 degrees above horizon.
Pro-Tip: Apply a thin bead of silicone sealant along the top edge of the mirror to prevent water infiltration behind the reflective coating, which degrades performance by 20 percent annually.
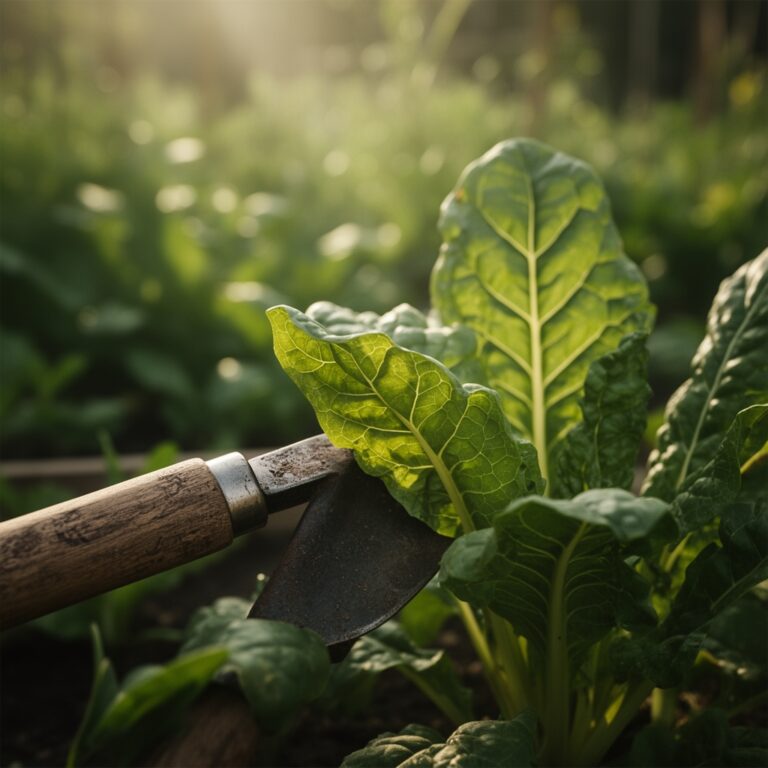
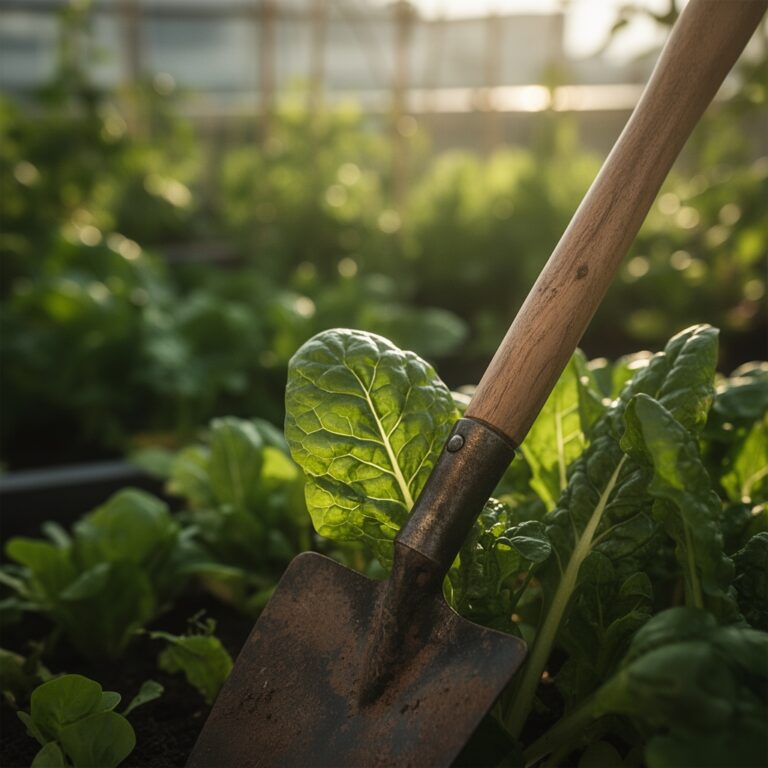
Establishing the Garden: Position heat-loving crops (tomatoes, peppers, eggplant) in the primary reflection zone, typically 4 to 8 feet from the mirror base. These species exhibit increased auxin distribution in response to directional light, promoting stronger stem development and earlier flowering. Plant cool-season crops (lettuce, spinach, kale) at the reflection periphery where light intensity is 50 to 70 percent of the direct zone.
Pro-Tip: Prune lower branches of adjacent fruiting plants at 15-degree angles to maximize light penetration. This technique increases airflow, reducing relative humidity by 10 percent and limiting fungal pathogen establishment.
Troubleshooting
Symptom: Leaf scorch on mirror-adjacent plants, manifesting as brown, crispy margins on sun-facing leaves.
Solution: Reduce reflection intensity by angling the mirror 5 to 10 degrees away from sensitive crops or apply 30 percent shade cloth over the bed between 11 a.m. and 2 p.m. when PAR exceeds 2,000 micromoles.
Symptom: Algae growth on mirror surface, reducing reflectivity by 15 to 25 percent.
Solution: Clean monthly with a solution of 1 tablespoon white vinegar per quart of water. Use microfiber cloth to avoid scratching acrylic.
Symptom: Post wobble after freeze-thaw cycles, compromising mirror angle accuracy.
Solution: Re-tamp soil around posts and add 2 inches of mulch to insulate against temperature fluctuation. Check level quarterly.
Symptom: Uneven growth patterns, with plants closest to mirror showing leggy growth.
Solution: Rotate crops every 14 days by 90 degrees to balance light exposure. Reduce nitrogen inputs by 20 percent in high-reflection zones.
Maintenance
Apply 1 inch of water per week to mirror-adjacent beds, measured with a rain gauge. Increase to 1.5 inches during fruiting stages when transpiration rates peak. Mulch with 3 inches of shredded hardwood to maintain soil temperature at 65 to 75°F and suppress weed germination by 80 percent.
Clean mirror surfaces every 4 weeks during active growing season. Inspect mounting hardware biannually, tightening bolts to 25 foot-pounds of torque. Reapply UV-protectant spray every 2 years to extend mirror lifespan to 8 to 10 years.
Side-dress with compost tea (1:10 dilution) every 3 weeks, delivering 200 to 300 ppm nitrogen and activating beneficial bacteria populations in the rhizosphere.
FAQ
How far should the mirror be from vegetable plants?
Position mirrors 6 to 10 feet from target beds. This distance balances light intensity with coverage area, illuminating 20 to 40 square feet per mirror without concentrating heat.
Can mirrors damage plants?
Excessive reflection can raise leaf surface temperature by 5 to 8°F, causing physiological stress. Monitor plants daily during peak summer and adjust angles as needed.
Which vegetables benefit most?
Fruiting crops requiring 6-plus hours of sun (tomatoes, peppers, cucumbers, squash) show yield increases of 25 to 40 percent in reflected light zones.
Do mirrors work in winter?
Yes. Low sun angles increase reflection efficiency by 30 percent. Winter mirrors extend growing seasons for cold-hardy greens by 3 to 5 weeks in Zones 6 through 8.
How long do garden mirrors last?
Quality acrylic mirrors with UV coatings maintain 90 percent reflectivity for 8 to 10 years. Glass alternatives last 15-plus years but pose breakage risks and weigh 3 times more.