8 Reblooming Steps to Prune an Indoor Azalea
Indoor azalea blooms fade within weeks when pruning is neglected. The correct steps for pruning an indoor azalea extend flowering cycles, direct auxin distribution to lateral buds, and maintain the compact architecture necessary for container culture. Each cut removes spent flowers and redirects carbohydrate reserves toward new growth points rather than seed production.
Materials
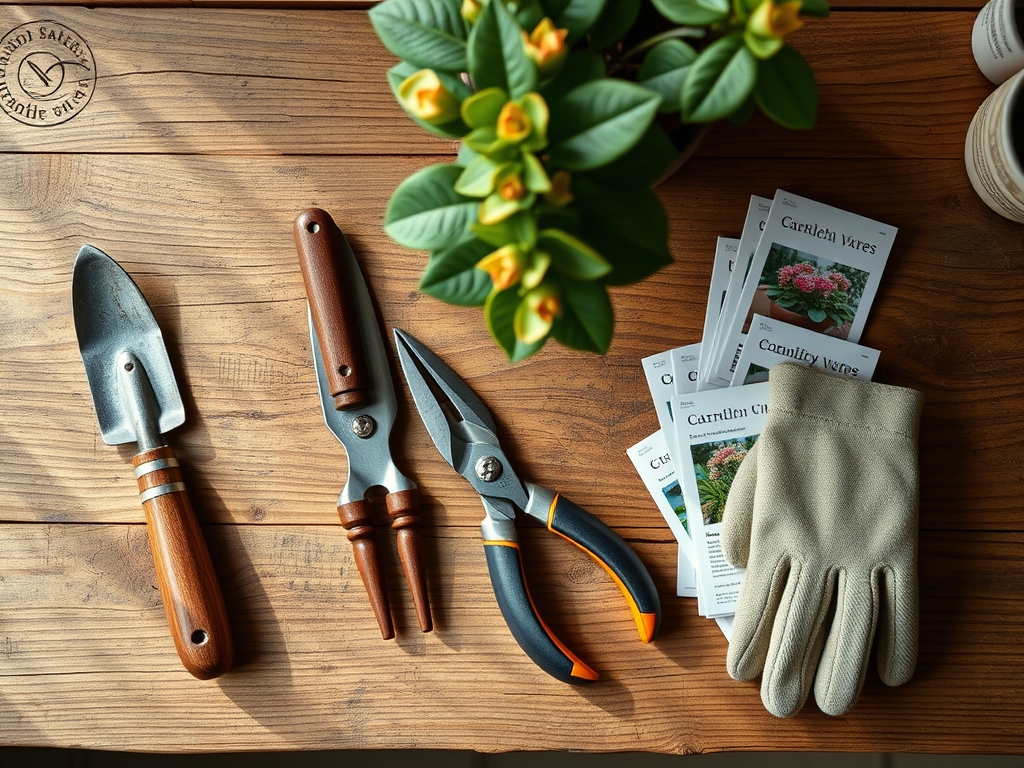
Gather bypass pruning shears with blade edges sharpened to 15 degrees. Sterilize cutting surfaces with 70% isopropyl alcohol between plants to prevent Phytophthora transmission. Use a 4-4-4 organic fertilizer formulated for acid-loving plants (pH 4.5–5.5) to support post-prune recovery. Prepare sphagnum peat-based potting medium with cation exchange capacity above 12 meq/100g. Keep rooting hormone powder containing 0.1% indole-3-butyric acid for propagating tip cuttings. Maintain a spray bottle filled with distilled water to rinse foliage after pruning dust settles.
Timing
Execute the primary steps for pruning an indoor azalea immediately after spring bloom drop, typically March through May in Hardiness Zones 6–9. Indoor specimens follow the same phenological cues as outdoor cultivars despite controlled temperatures. Prune within 14 days of petal senescence to maximize the window before next season's flower buds initiate. Secondary maintenance pruning occurs in late summer, six weeks before the average first frost date for your zone. Avoid pruning after August 15 in northern regions; late cuts remove embryonic flower buds formed on current-season wood.
Phases
Step 1: Deadheading
Remove spent flower trusses by pinching directly behind the calyx. Leave the rosette of emerging leaves intact below each bloom cluster. This prevents seed capsule development that diverts 30% of photosynthate reserves.
Step 2: Structural Assessment
Identify crossing branches, inward-growing shoots, and dead wood. Mark branches thicker than 0.25 inches that disrupt radial symmetry. The goal is an open center allowing 60% light penetration to interior leaves.
Step 3: Thinning Cuts
Remove entire weak stems at their point of origin on the main scaffold. Make cuts flush with the branch collar but avoid cutting into the swollen tissue ring. These collar cells compartmentalize wounds and prevent pathogen entry.
Step 4: Heading Back
Shorten leggy stems to just above a node with healthy leaf whorls. Cut at a 45-degree angle 0.25 inches above the bud union. This angle sheds moisture and positions the top bud for vertical growth.
Pro-Tip: Apply mycorrhizal fungi inoculum to root zones 48 hours after pruning. Ericoid mycorrhizae (Hymenoscyphus ericae) colonize azalea roots and increase nutrient uptake efficiency by 40% during recovery.
Step 5: Crown Reduction
Limit total canopy height to 1.5 times the container diameter. Remove no more than one-third of total stem length in a single session. Excessive reduction stress halts auxin flow and triggers dormancy.
Step 6: Lateral Bud Activation
Pinch terminal buds on remaining stems to break apical dominance. This redistributes auxin to lateral meristems and produces bushier growth with 3–4 new shoots per pruned tip.
Pro-Tip: Position cuts 0.125 inches above outward-facing buds. This angle directs new growth away from the crown, maintaining the open vase structure necessary for air circulation.
Step 7: Sanitation
Collect all pruned material in sealed bags. Dispose of debris away from other acid-loving plants to prevent Exobasidium spore dispersal. Wipe cutting tools with alcohol-soaked cloth after each plant.
Step 8: Post-Prune Nutrition
Water until drainage appears, then apply diluted 4-4-4 fertilizer at half the label rate. Supplement with soluble iron chelate (Fe-EDDHA) at 1 tablespoon per gallon to correct chlorosis common after heavy pruning.
Troubleshooting
Symptom: Leaf margins brown and curl inward within 72 hours of pruning.
Solution: Reduce ambient temperature to 65°F and raise humidity to 50%. Root damage or excessive foliage loss causes moisture stress.
Symptom: No new growth appears 21 days post-prune.
Solution: Test media pH. Values above 6.0 lock out manganese and iron, halting cell division. Amend with sulfur to lower pH by 0.5 units.
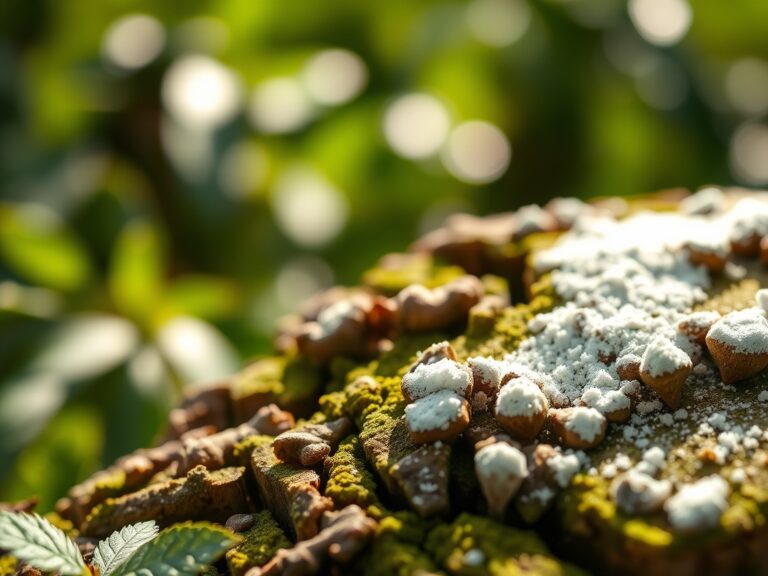
Symptom: White cotton masses appear on cut surfaces.
Solution: Botryosphaeria canker infection. Excise affected wood 2 inches below visible symptoms. Drench with copper fungicide at 2 tablespoons per gallon.
Symptom: Yellowing between veins on new leaves.
Solution: Iron deficiency induced by high pH or poor root function. Apply chelated iron foliar spray at 0.5% solution weekly for three applications.
Maintenance
Provide 400–600 foot-candles of indirect light for 14 hours daily. Water when the top 0.5 inches of medium feels dry, delivering 1 inch of distilled or rainwater per session. Never use tap water with alkalinity above 50 ppm; carbonate buildup raises substrate pH. Feed every 14 days with acid fertilizer at 1 teaspoon per gallon during active growth (April through September). Reduce feeding frequency to monthly during dormancy.
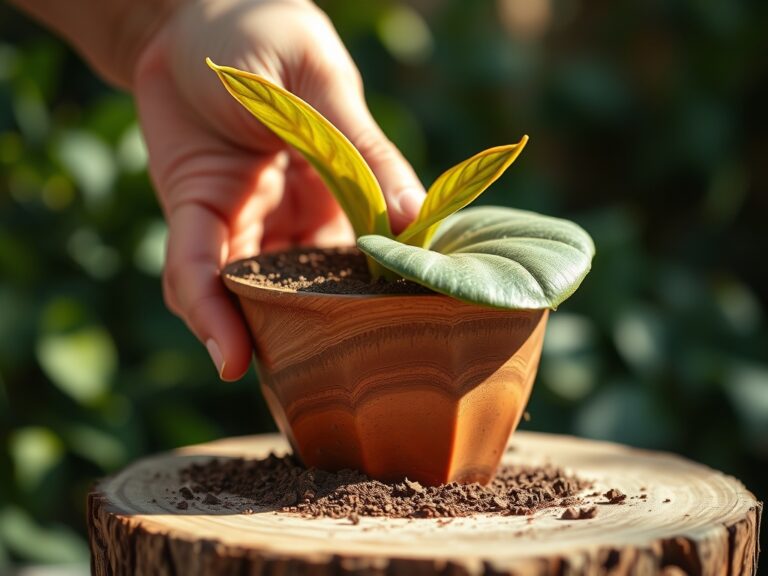
Maintain daytime temperatures between 60–68°F and nighttime lows of 50–55°F. Temperature differentials below 10 degrees trigger flower bud abortion. Repot every 24 months into containers 2 inches larger in diameter, using fresh ericaceous mix.
FAQ
When should I prune my indoor azalea?
Prune immediately after flowers fade in spring, no later than early June. This preserves next year's buds that form on new wood.
How much can I safely remove?
Never remove more than one-third of total foliage mass in one session. Azaleas recover slowly from severe pruning due to shallow root systems.
Why aren't new buds forming after pruning?
Late pruning (after mid-August) removes dormant flower buds. pH above 6.0 also inhibits bud set by disrupting nutrient uptake.
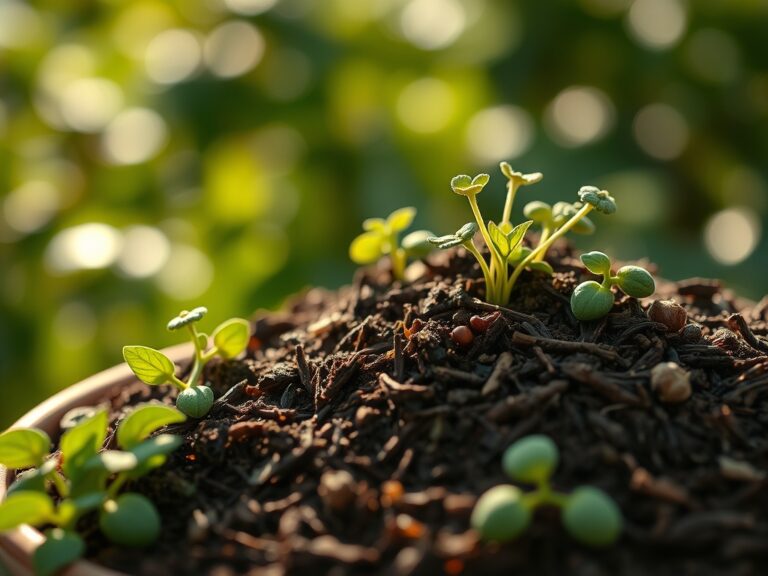
Can I propagate cuttings from pruned stems?
Yes. Take 3-inch semi-hardwood cuttings, dip in rooting hormone, and insert into 50/50 peat-perlite mix. Maintain 70% humidity under clear plastic domes.
What causes leaf drop after pruning?
Sudden environmental changes or root disturbance during simultaneous repotting. Stabilize temperature and light conditions for 10 days post-prune.