7 Desert Steps to Prepare an Indoor Cactus Fertilizer
The smell of damp mineral grit and the immediate sensation of turgor pressure in a firm, hydrated stem define the success of an indoor desert garden. Cultivating these slow-growing succulents requires a departure from standard tropical plant care; it demands a rigorous adherence to nutrient ratios that mimic the lean, alkaline environments of the Mojave or Sonoran deserts. Using a specialized cactus fertilizer is the only way to provide the precise balance of phosphorus and potassium necessary for cell wall thickening without inducing the weak, leggy growth caused by excessive nitrogen. In an indoor environment, where light cycles are artificial and airflow is stagnant, the margin for error is slim. A single over-application of a high-nitrogen mix can lead to cellular rupture or fungal pathogens in the rhizosphere. Success is measured in millimeters of growth and the structural integrity of the ribs. By mastering the chemistry of your substrate and the timing of your nutrient delivery, you ensure that your specimens remain compact, resilient, and physiologically prepared for their eventual reproductive cycles.
Materials:
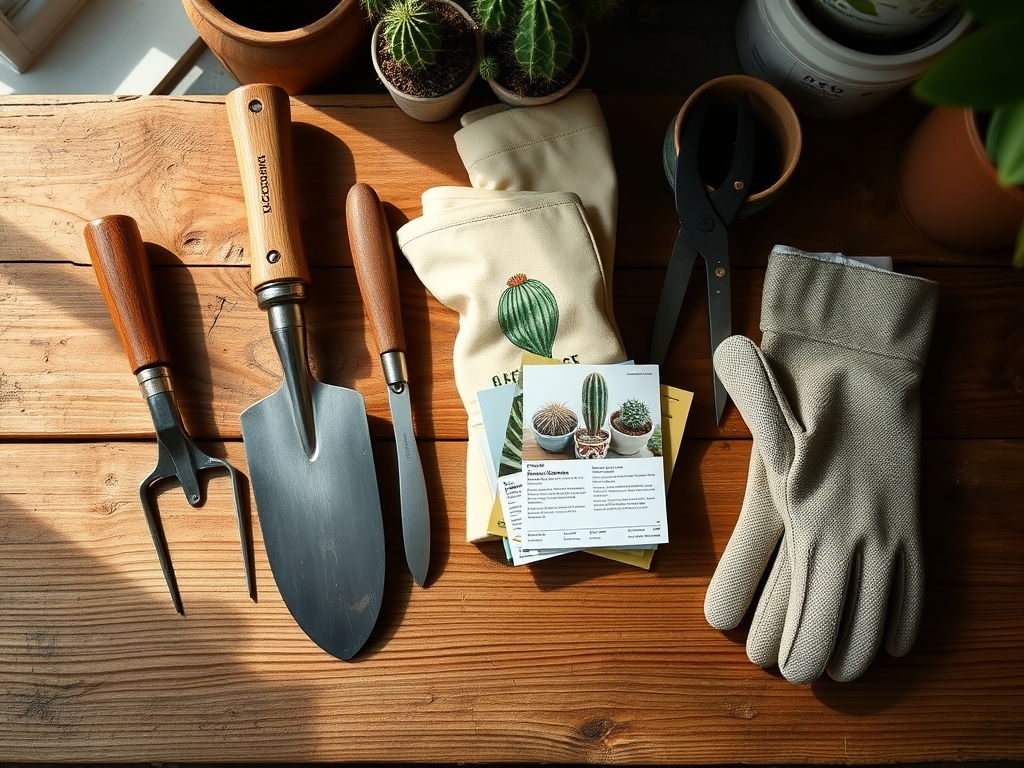
Indoor desert species require a substrate with a high Cation Exchange Capacity (CEC) but low organic matter to prevent moisture retention. The ideal medium is a friable loam composed of **40% crushed pumice, 30% coarse horticultural sand, and 30% composted coconut coir**. This mix should maintain a **soil pH between 6.0 and 7.5**. Using a specialized cactus fertilizer requires a specific NPK ratio, typically **1-2-2 or 5-10-10**. The low nitrogen (N) prevents rapid, soft growth that is susceptible to bruising, while high phosphorus (P) and potassium (K) strengthen the root system and improve water retention through osmotic regulation. You will also need a **digital pH probe** and a **calibrated measuring syringe** to ensure the nutrient solution concentration does not exceed **800 parts per million (ppm)** during the active growing season.
Timing:
While indoor plants are shielded from external frost, their biological clock remains tethered to the photoperiod. In Hardiness Zones 5 through 9, the indoor growing season typically begins in late March and concludes in early October. You must synchronize your fertilization schedule with these dates to avoid stimulating growth during the winter dormancy period. The transition from the vegetative stage to the reproductive stage is triggered by increasing day length and a steady rise in ambient temperature to at least 72 degrees Fahrenheit. Do not apply fertilizer if the nighttime temperature drops below 55 degrees Fahrenheit, as the plant's metabolic rate slows significantly, leading to nutrient salt accumulation in the soil which can burn the sensitive root hairs.
Phases:
Sowing and Germination
Desert seeds require a sterile environment and consistent humidity. Use a shallow tray filled with fine-grade vermiculite and maintain a temperature of 80 degrees Fahrenheit. Do not use fertilizer during this stage; the seed provides all necessary nutrients for the initial radicle development.
Pro-Tip: Maintain high humidity for the first 60 days to prevent desiccation of the hypocotyl. This is vital because young succulents lack the thick waxy cuticle of mature specimens and cannot regulate transpiration effectively.
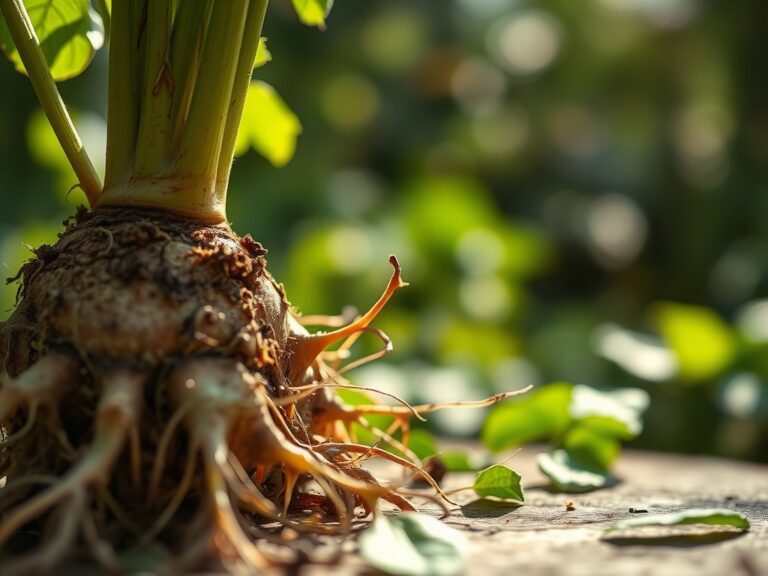
Transplanting and Root Establishment
When the seedling reaches 0.5 inches in diameter, move it to the friable loam mix. Wait at least 14 days before the first application of a diluted nutrient solution. This allows any micro-tears in the roots to callous over, preventing pathogens from entering the vascular system.
Pro-Tip: Use a solution rich in phosphorus to stimulate mycorrhizal symbiosis. These beneficial fungi extend the reach of the root system, increasing the surface area for water and mineral absorption in a confined pot environment.
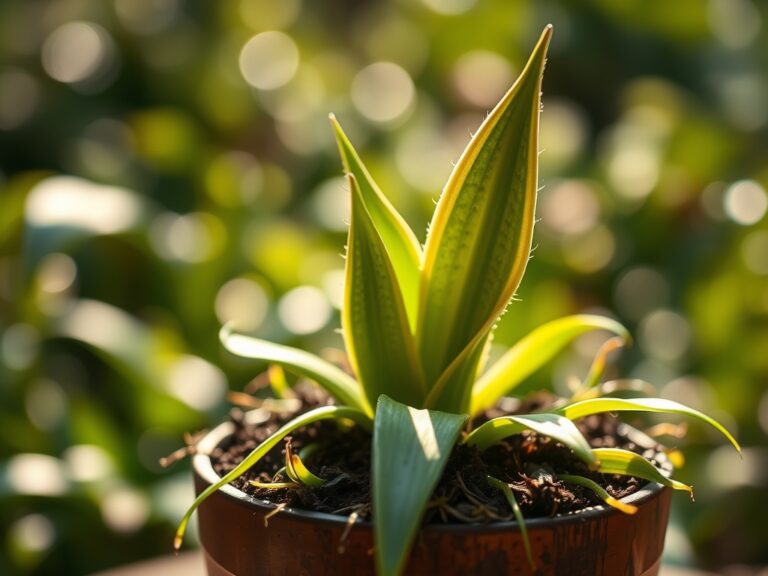
Establishing Mature Growth
Once the plant is established, apply the specialized fertilizer once every four to six weeks. Ensure the soil is already slightly damp before applying the liquid nutrients to prevent root shock. Monitor the plant for apical growth, which indicates the transition to the vegetative peak.
Pro-Tip: Rotate the pot 90 degrees every two weeks to counter phototropism. This ensures even distribution of auxins within the plant tissue, preventing the stem from leaning or becoming structurally imbalanced toward the light source.
The Clinic:
Physiological disorders in cacti often manifest slowly due to their low metabolic rate. Identifying these early is critical for survival.
- Symptom: Nitrogen Chlorosis. The plant appears pale yellow, starting from the base and moving upward.
- Solution: Increase nitrogen slightly, but do not exceed a 10-10-10 ratio for more than one application.
- Symptom: Etiolation. The stem becomes thin, pale, and stretched toward the light.
- Solution: This is a light deficiency, not a nutrient issue. Increase light intensity to at least 10,000 lux and prune the weak growth if necessary.
- Symptom: Epidermal Cracking. Horizontal splits appear in the skin of the cactus.
- Solution: This is caused by over-pressurization of the cells (excessive turgor). Reduce watering frequency and lower the concentration of your fertilizer.
- Symptom: Soft Brown Spots at Base. This indicates root rot or fungal infection.
- Fix-It: Immediately cease all watering. Remove the plant from its pot and use a hori-hori knife to excise any necrotic (black/mushy) tissue. Treat the wound with sulfur powder and allow it to callous for 7 days before repotting in fresh, dry substrate.
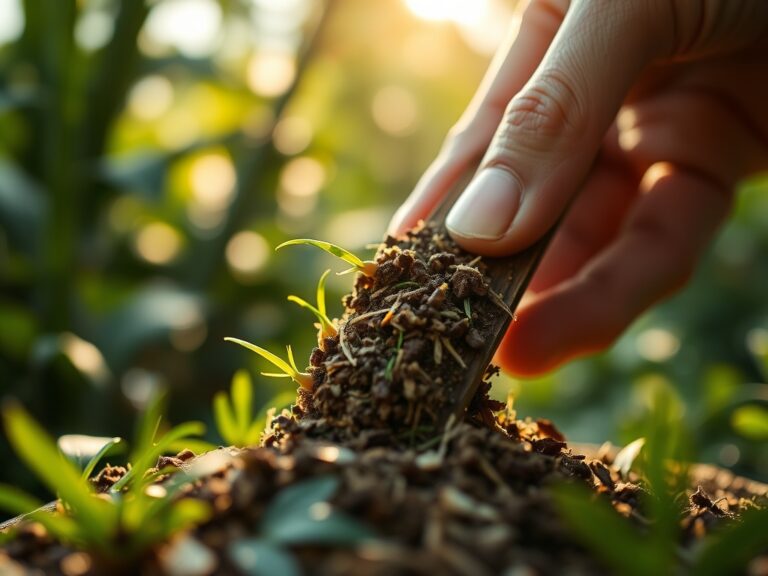
Maintenance:
Precision is the hallmark of professional cactus care. Use a soil moisture meter to ensure the substrate is completely dry through the bottom third of the pot before adding water. When you do water, apply approximately 1.5 inches of water across the entire surface area until it drains freely from the bottom. This "flush" method prevents the buildup of mineral salts. Use bypass pruners to remove spent blooms or dead spines, making clean cuts to prevent tissue tearing. During the winter months (November to February), withhold all fertilizer and reduce watering to once every six to eight weeks to respect the plant's natural senescence.
The Yield:
For flowering species like Mammillaria or Echinopsis, the "yield" is the successful production of seeds or the preservation of the bloom. To maximize bloom duration, keep the ambient temperature at a steady 68 degrees Fahrenheit once buds appear. If harvesting seeds, wait until the fruit pod is completely dry and brittle. Open the pod carefully and store seeds in a cool, dark environment with a relative humidity below 30% to maintain "day-one" viability for the next sowing cycle.
FAQ:
How often should I use a specialized cactus fertilizer?
Apply fertilizer only during the active growing season, typically from March to September. Frequency should be once every 4 to 6 weeks. Never fertilize during winter dormancy, as the plant cannot process the nutrients, leading to root burn.
Can I use standard houseplant fertilizer for my cacti?
No. Standard fertilizers are too high in nitrogen, which causes weak, watery growth and cellular rupture in desert species. Using a specialized cactus fertilizer with a low N-P-K ratio ensures structural integrity and long-term health.
What are the signs of over-fertilization?
Look for a white, crusty buildup of mineral salts on the soil surface or the pot rim. The plant may also show signs of epidermal cracking or sudden, stunted growth due to root hair dehydration from high salt concentrations.
What is the ideal soil pH for indoor cacti?
Most desert cacti thrive in a slightly acidic to neutral range, specifically between 6.0 and 7.5 pH. Use a digital probe to monitor the rhizosphere; if the pH exceeds 8.0, nutrient lockout may occur, preventing the plant from absorbing iron.