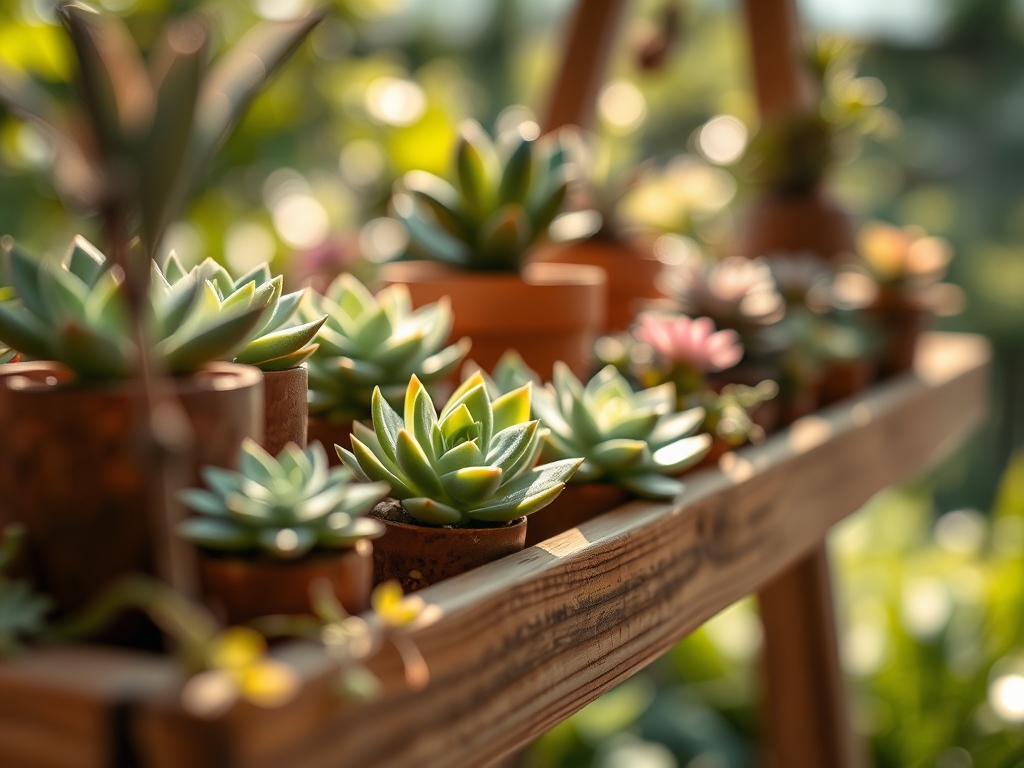
8 Expert Strategies to Prepare an Arid Succulent Shelf
Turgor pressure dictates the structural integrity of a Crassulacean acid metabolism (CAM) plant; a firm leaf indicates a cell wall pushed to its limit by internal fluid. When you press your thumb against a healthy Echeveria, the resistance is a direct metric of hydraulic health. Learning how to prepare a plant shelf for succulents requires more than aesthetic placement. It demands an engineered microclimate where airflow, light intensity, and substrate drainage converge to replicate high-altitude or desert scrub environments. Success is measured in the rigid geometry of the rosette and the absence of opportunistic fungal pathogens in the rhizosphere.
Establishing a shelf system involves managing the specific gravity of your pots and the spectral quality of your light source. You are building a vertical ecosystem. Every level of the shelf presents a different temperature gradient and humidity pocket. A failure to calibrate these variables results in etiolation, where the plant stretches toward light, weakening its cellular structure and depleting its carbohydrate reserves. This guide provides the technical framework to ensure your collection maintains peak metabolic efficiency through precise horticultural intervention and environmental control.
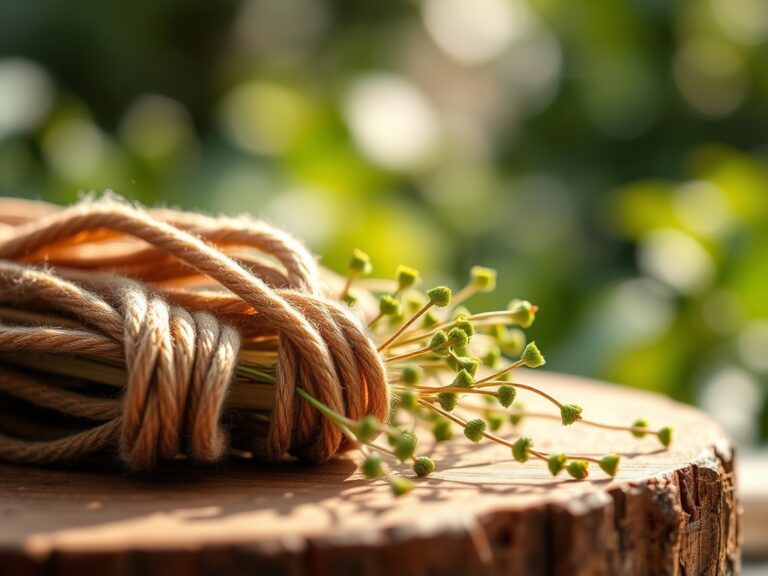
Materials:
The substrate is the foundation of the Cation Exchange Capacity (CEC), which determines how well your plants can access essential nutrients. For arid species, you require a friable medium that prevents water logging. The ideal mix consists of 50% inorganic grit (pumice or calcined clay) and 50% organic matter. Target a soil pH between 5.5 and 6.5 to ensure nutrient availability.
Nutrient requirements for succulents are specific; high nitrogen leads to weak, bloated growth susceptible to pests. Use a low-nitrogen fertilizer with an NPK ratio of 5-10-10 or 1-2-2. Phosphorus (P) and Potassium (K) are critical for root development and cellular membrane thickness. Ensure your shelving material is non-porous, such as powder-coated steel or sealed industrial wood, to prevent the harbor of pathogens. Use a soil moisture meter to verify the hydration status of the substrate before any irrigation event.
Timing:
Timing is governed by the photoperiod and the internal biological clock of the species. Most succulents enter a state of dormancy during extreme heat or cold. In Hardiness Zones 9 through 11, many species can remain outdoors year-round, but for those in Zones 4 through 8, the transition to an indoor shelf must occur when night temperatures consistently drop below 50 degrees Fahrenheit (10 degrees Celsius).
The biological clock of the plant transitions from vegetative growth to reproductive stages based on light duration. As autumn approaches, the reduction in daylight triggers a slowdown in transpiration. Preparing your shelf in late summer allows plants to acclimate to indoor light levels before the winter solstice. Moving a plant during its peak growth phase can cause systemic shock, leading to leaf abscission as the plant reallocates resources to survive the environmental shift.
Phases:
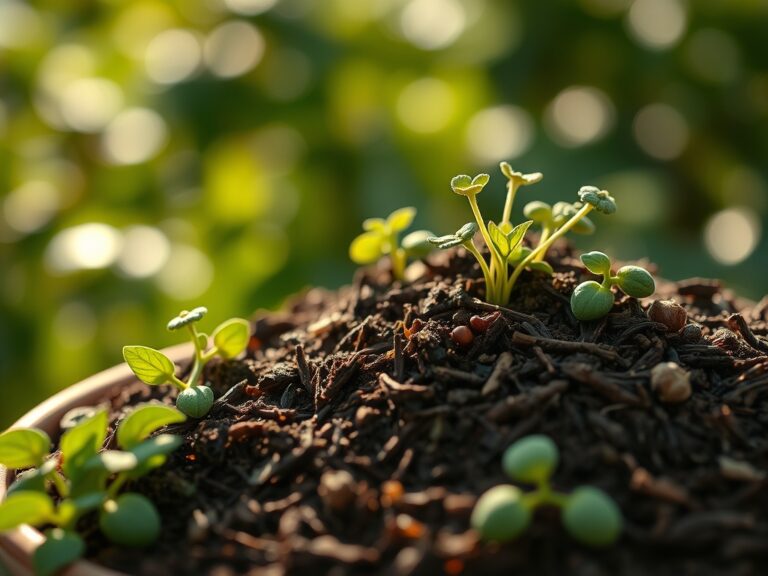
Sowing and Propagation
When starting from seed or leaf cuttings, use a sterile, fine-textured seed starting mix. Maintain a consistent temperature of 70 to 75 degrees Fahrenheit. For leaf cuttings, allow the wound to callous for 3 to 5 days before placing it on the substrate. This prevents the entry of soil-borne pathogens into the vascular system.
Pro-Tip: Utilize a heat mat to stimulate auxin production at the base of the cutting. Auxins are plant hormones that migrate to the shaded side of the stem, promoting root initiation through cell elongation and differentiation.
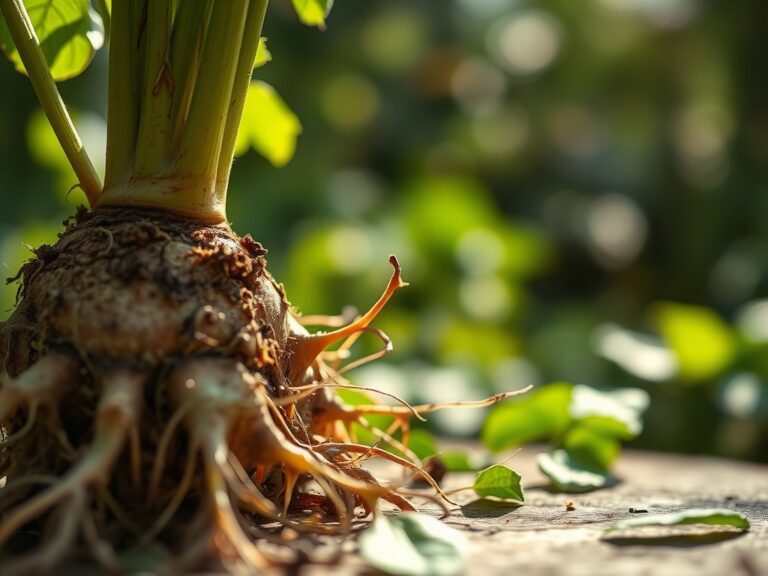
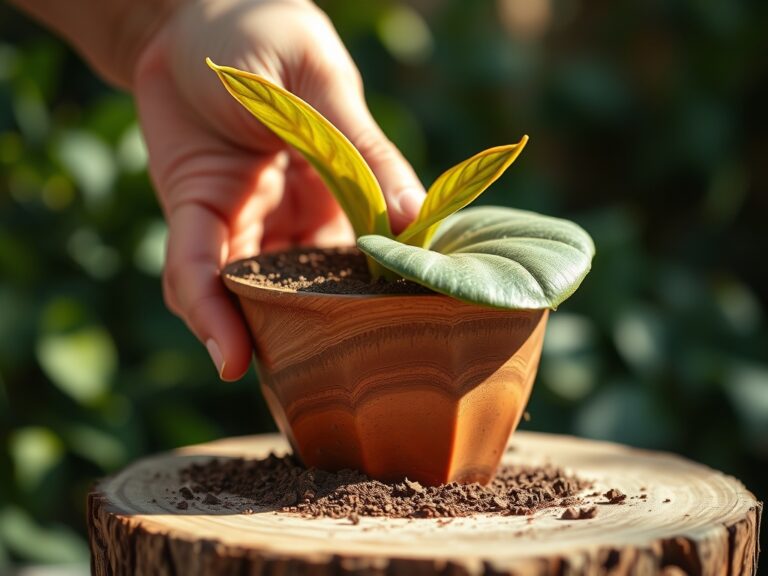
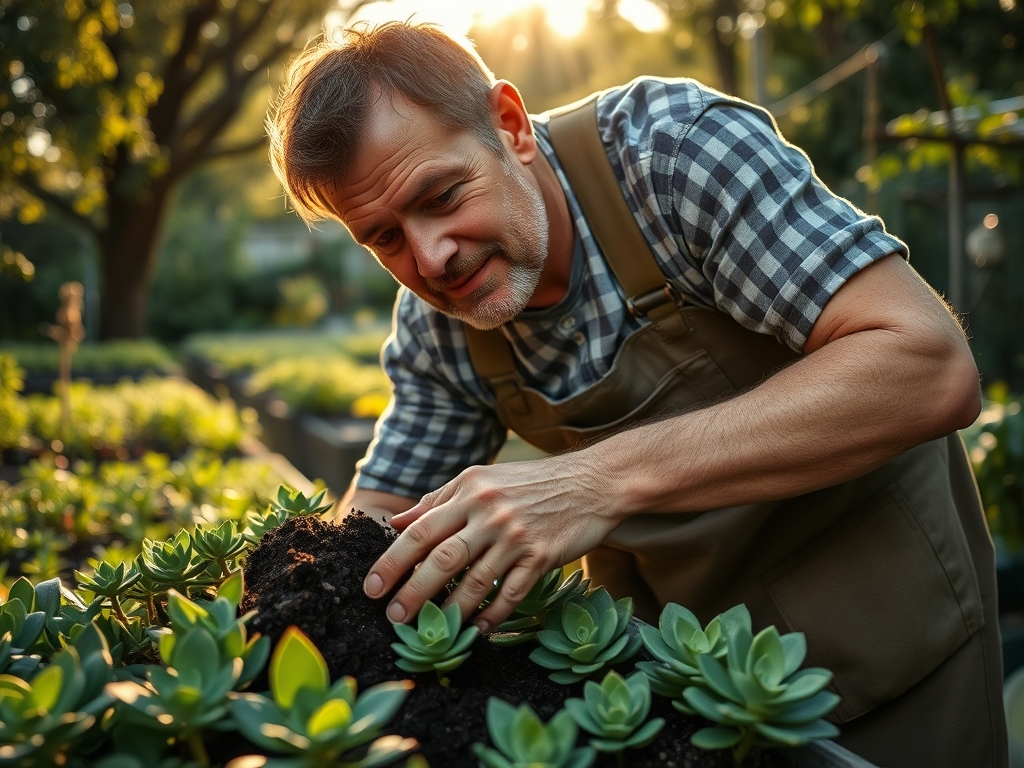
Transplanting
Select a container only 1 inch wider than the root ball. Excessive soil volume leads to "perched water tables," where the bottom of the pot remains saturated, suffocating the roots. Gently tease the roots to break any circular growth patterns.
Pro-Tip: Inoculate the roots with mycorrhizal fungi during transplanting. This symbiotic relationship expands the root surface area, enhancing the uptake of phosphorus and water in exchange for plant sugars.
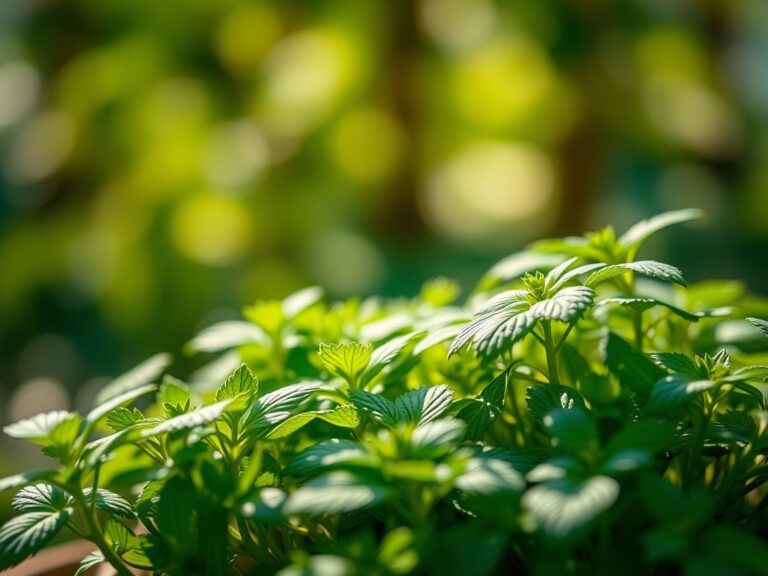
Establishing
Place newly shelved plants in a location with indirect bright light for the first 10 days. Gradually increase light exposure to prevent photoinhibition, where excessive light damages the photosynthetic apparatus. Monitor for new growth as a sign that the root system has successfully integrated into the new medium.
Pro-Tip: Rotate pots 90 degrees every week to counter phototropism. This ensures even distribution of light across the canopy, preventing the plant from leaning and maintaining a symmetrical growth habit.
The Clinic:
Physiological disorders often mimic infectious diseases. Accurate diagnosis is essential for corrective action.
- Symptom: Etiolation (Leggy Growth).
- Solution: Increase light intensity to at least 2,000 foot-candles or provide 12 to 14 hours of supplemental full-spectrum LED light.
- Symptom: Edema (Corky bumps on leaves).
- Solution: Reduce watering frequency and increase airflow. Edema occurs when roots absorb water faster than the leaves can transpire it, causing cells to rupture.
- Symptom: Nitrogen Chlorosis (Yellowing of older leaves).
- Fix-It: Apply a balanced, water-soluble fertilizer at half strength. Nitrogen is a mobile nutrient; the plant will move it from old growth to new growth if the soil is depleted.
- Symptom: Soft Rot (Mushy, darkened stems).
- Solution: Immediate excision of affected tissue using a sterilized hori-hori knife. Reduce humidity levels below 40% to inhibit bacterial proliferation.
Maintenance:
Precision is the hallmark of professional maintenance. Do not water on a calendar schedule. Instead, use a soil moisture meter to ensure the substrate is dry through the bottom third of the pot. When irrigating, apply water until it drains freely from the base; this flushes out accumulated mineral salts that can burn sensitive root hairs.
Use bypass pruners to remove spent flower stalks or necrotic leaves. This prevents the accumulation of organic debris, which serves as a primary vector for pests. Maintain a consistent temperature range between 65 and 80 degrees Fahrenheit during the day, with a slight drop at night to mimic natural desert thermoclines. This temperature differential is vital for the CAM process, allowing the plant to open its stomata and exchange gases efficiently under the cover of darkness.
The Yield:
While most shelf-grown succulents are ornamental, some species like Aloe vera or Sempervivum provide medicinal or aesthetic harvests. To harvest Aloe gel, select the outermost, mature leaves. Use a sharp, sterile blade to cut the leaf at the base.
Hold the leaf upright for 15 minutes to allow the yellow aloin sap to drain; this latex is a skin irritant and should be discarded. For floral harvests, cut the stalk when the first third of the bells have opened. Place the stalk immediately in room temperature water to maintain turgor. Post-harvest, store the mother plant in a stable environment to allow the wound to callous, preventing opportunistic infections in the parent's vascular bundle.
FAQ:
How much light do succulents need on a shelf?
Succulents require 6 to 8 hours of bright, indirect light daily. For indoor shelves, use full-spectrum LED grow lights positioned 6 to 12 inches above the plants to maintain a minimum of 2,000 foot-candles.
What is the best pot material for succulents?
Terra cotta is the professional standard. Its porous nature allows for lateral evaporation through the pot walls, which oxygenates the rhizosphere and prevents the root rot associated with non-breathable plastic or ceramic containers.
How often should I fertilize my succulents?
Apply a low-nitrogen, water-soluble fertilizer at half-strength once a month during the active growing season (spring and summer). Cease all fertilization during the winter dormancy period to prevent the buildup of toxic mineral salts in the substrate.
Why are my succulent leaves falling off?
Sudden leaf drop is typically a response to environmental shock or overwatering. Check the substrate moisture with a probe. If the soil is saturated, withhold water and improve airflow to stabilize the plant's internal hydraulic pressure.
Can I use regular potting soil for succulents?
Standard potting soil retains too much moisture for arid species. You must amend it with 50% coarse grit, such as perlite or pumice, to ensure rapid drainage and prevent the anaerobic conditions that lead to root senescence.