8 Urban Steps to Prepare a Vertical Vegetable Garden Wall
Learning how to prepare a garden for a vertical vegetable garden begins with understanding substrate mechanics and structural load distribution. Urban growers face limited square footage but abundant vertical surfaces. Wall-mounted systems transform 4 square feet of floor space into 32 square feet of growing area when stacked eight modules high. The preparation phase determines whether roots establish proper auxin distribution or languish in compacted media that restricts cation exchange capacity.
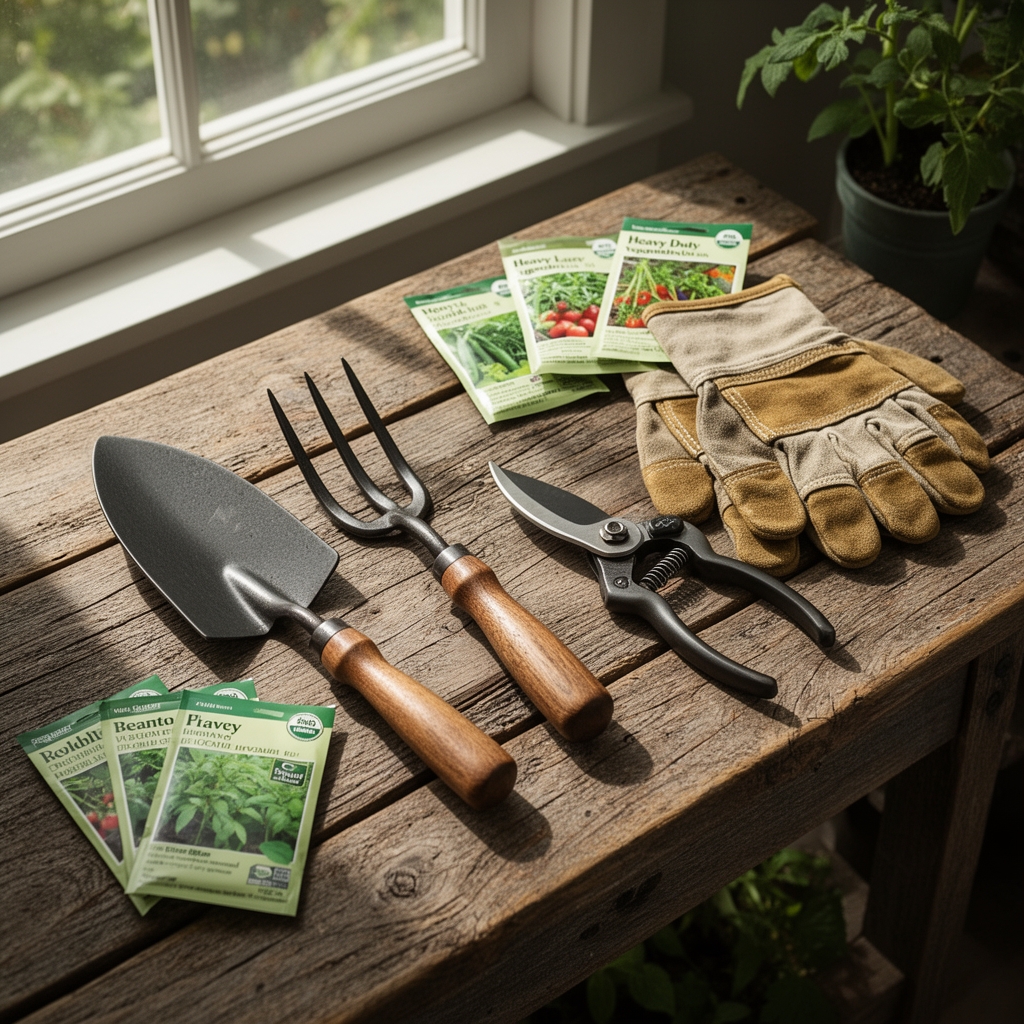
Materials
Substrate composition must balance water retention with drainage velocity. Combine 40% coconut coir (pH 5.5-6.8), 30% perlite, 20% vermicompost, and 10% biochar. This blend maintains porosity above 35% while holding 60% of its volume in available water. Amend with 4-4-4 organic feather meal at 2 tablespoons per gallon of substrate to provide slow-release nitrogen over 8-10 weeks.
Structural components require corrosion-resistant materials. Galvanized steel brackets rated for 15 pounds per square foot accommodate soil weight plus mature plant biomass. Modular felt pockets with reinforced stitching prevent substrate migration during irrigation events. Install a drip irrigation manifold with pressure-compensating emitters delivering 0.5 gallons per hour to each pocket.
The wall surface needs a vapor barrier. Mount 6-mil polyethylene sheeting with sealed seams to prevent moisture infiltration into building materials. Position the barrier 1.5 inches from the wall to create an air gap that prevents fungal colonization of structural components.
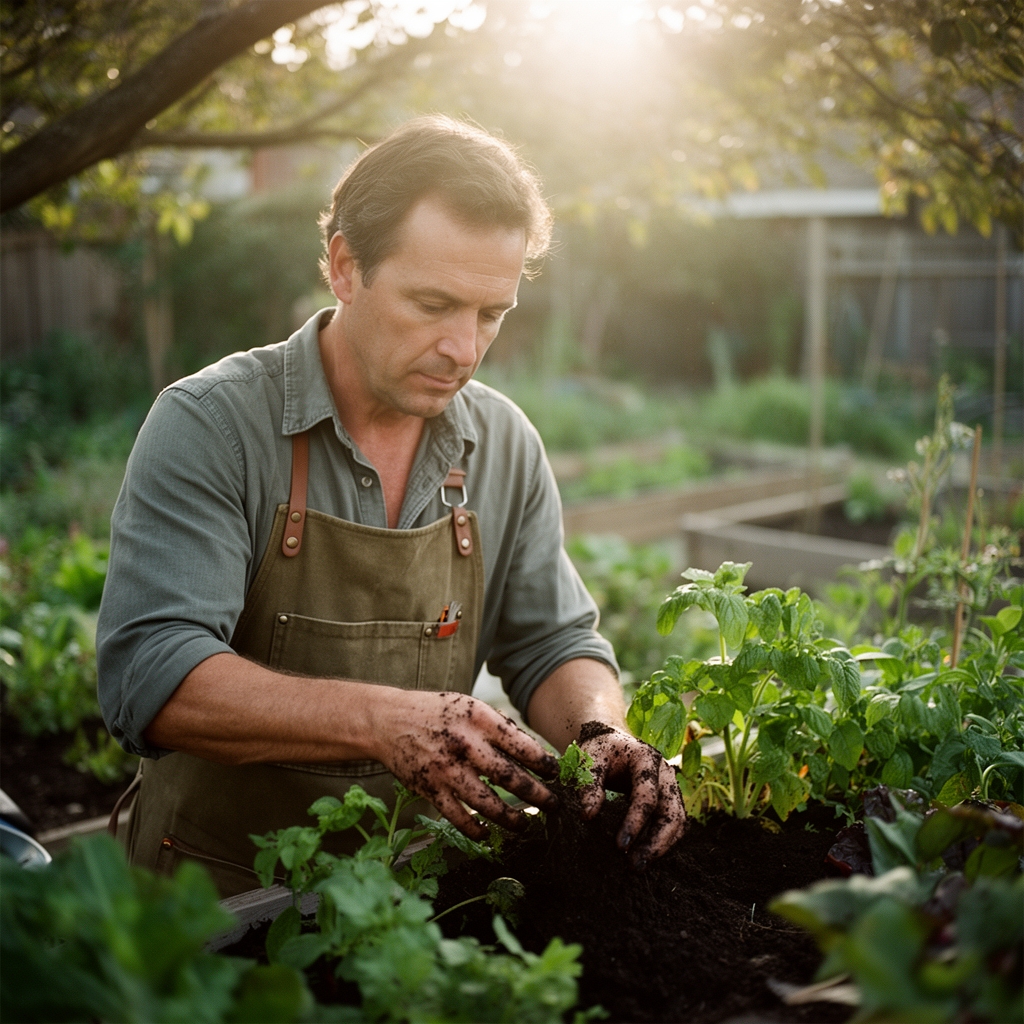
Microbial inoculants enhance nutrient uptake. Apply mycorrhizal fungi containing Rhizophagus irregularis at transplant, using 1 teaspoon per root ball. These symbionts extend effective root surface area by 400% and improve phosphorus acquisition in contained systems where root exploration is limited.
Timing
Preparation timing aligns with USDA Hardiness Zones and last frost dates. In Zones 5-7, begin wall assembly 6 weeks before the average last spring frost. This allows substrate to stabilize and beneficial bacteria populations to establish before transplanting.
For warm-season crops like tomatoes and peppers, transplant when nighttime temperatures consistently exceed 55°F. Cool-season varieties including lettuce, kale, and Swiss chard tolerate installation 3 weeks before the last frost when daytime temperatures reach 45°F.
Fall planting windows extend the growing season. In Zone 7, install cool-season crops by September 15 for harvest through November. Zone 9 growers can establish vertical systems year-round but should avoid June-August installation when wall surface temperatures exceed 95°F and stress transplants.
Phases
Sowing Phase
Direct seeding into vertical pockets works for lettuce, arugula, and radishes. Plant 4-6 seeds per pocket at depths equal to twice the seed diameter. Maintain substrate temperature at 65-70°F using heat mats if ambient conditions fall below this range. Germination occurs in 5-7 days for most salad greens.
Pro-Tip: Pre-moisten substrate to field capacity before sowing. Seeds in vertical systems dry 40% faster than horizontal beds due to increased air circulation. Target moisture content at 50% of substrate volume, measured by weight comparison.
Transplanting Phase
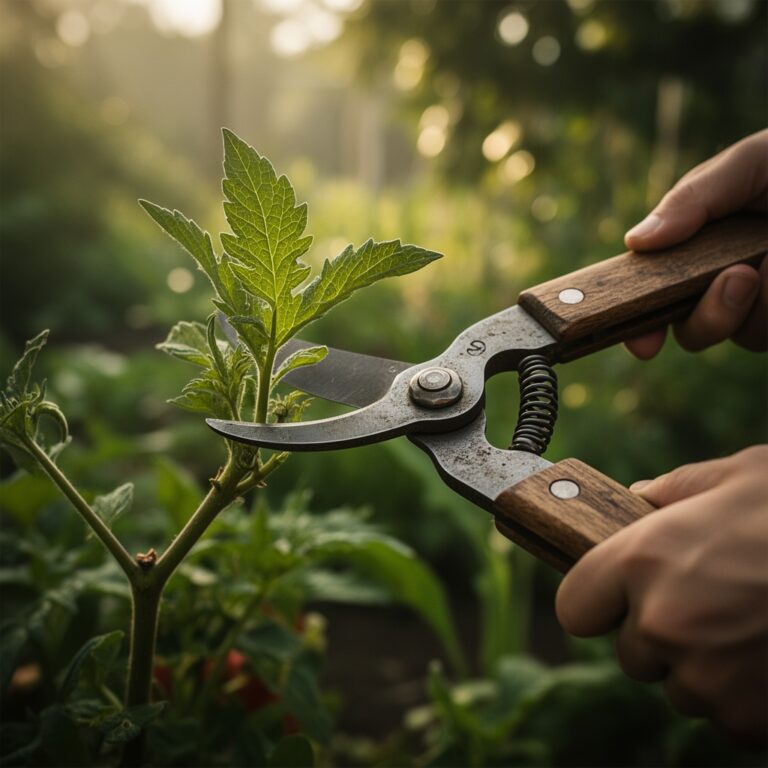
Harden off seedlings over 7 days before installation. Reduce water by 30% and expose plants to outdoor conditions for progressively longer periods. This triggers cuticle thickening that reduces transpiration stress in the wall environment.
Remove transplants from containers and score root balls vertically with three 0.25-inch cuts. This pruning severs circling roots and stimulates lateral root generation. Position the crown 0.5 inches below the pocket rim to prevent substrate washout during irrigation.
Pro-Tip: Apply transplant solution containing kelp extract at 1 tablespoon per gallon. The cytokinins in kelp reduce transplant shock and accelerate establishment by 35% compared to water-only treatments.
Establishing Phase
The first 21 days determine long-term productivity. Monitor substrate moisture daily using a probe inserted 3 inches deep. Maintain consistent moisture at 40-50% volumetric water content. Fluctuations beyond this range stress root systems and reduce yields by 25%.
Install support structures for vining crops when plants reach 6 inches tall. Use biodegradable jute twine in a vertical trellis pattern, spacing lines 8 inches apart. Train tendrils by wrapping stems clockwise around supports at 45-degree angles to maximize light interception.
Pro-Tip: Foliar feed with fish emulsion (5-1-1) diluted to 2 tablespoons per gallon every 10 days. Vertical systems limit root exploration volume, making supplemental feeding through leaves 60% more efficient than additional substrate amendments.
Troubleshooting
Symptom: Lower leaves yellowing with green veins intact. Solution: Iron deficiency from pH drift. Test substrate pH using a slurry method. If pH exceeds 7.0, drench pockets with chelated iron at 1 tablespoon per gallon. Adjust irrigation pH to 6.2 using citric acid.
Symptom: Wilting at midday despite moist substrate. Solution: Root rot from Pythium species. Reduce irrigation frequency by 30%. Apply biological fungicide containing Trichoderma harzianum at labeled rates. Improve drainage by adding 15% additional perlite to remaining pockets.
Symptom: Stunted growth with purple leaf undersides. Solution: Phosphorus deficiency common in cool substrate below 60°F. Warm root zone using black landscape fabric on pocket exteriors. Apply liquid phosphorus (0-5-0) at 1 teaspoon per gallon weekly for 3 weeks.
Symptom: White, cottony growth on stems near substrate line. Solution: Powdery mildew from poor air circulation. Increase spacing between plants by removing every third pocket. Apply potassium bicarbonate solution (1 tablespoon per gallon) as a foliar spray weekly until symptoms resolve.
Symptom: Holes in leaves with metallic beetles present. Solution: Flea beetle damage. Install yellow sticky cards at 2 per vertical column. Apply spinosad at dusk when pollinators are inactive, repeating every 7 days for 3 applications.
Maintenance
Irrigation delivers 1 inch of water per week, split into daily applications. Run drip systems for 15 minutes each morning when evapotranspiration rates peak. Adjust volume seasonally, reducing to 0.75 inches weekly in cooler months when growth slows.
Fertilize every 14 days with liquid nutrients at half-strength. Alternate between fish emulsion (5-1-1) and seaweed extract (0-0-1) to provide balanced nutrition. Flush systems monthly with clear water to prevent salt accumulation that raises electrical conductivity above 2.0 dS/m.
Prune determinate varieties to three main stems. Remove lateral shoots when they reach 2 inches to concentrate energy into fruit production. Harvest leafy greens using the cut-and-come-again method, removing outer leaves at 4 inches tall while leaving the growing point intact.
Monitor for pest pressure weekly. Scout early morning when insects are least active. Remove damaged foliage promptly to prevent pathogen establishment. Rotate crop families annually to break disease cycles, never planting tomatoes in pockets that held peppers the previous season.
FAQ
How deep should vertical garden pockets be for vegetables?
Root depth requirements vary by species. Lettuce and herbs require 6-inch pockets. Tomatoes and peppers need 10-12 inches. Shallow-rooted crops like strawberries perform well in 5-inch systems.
What is the maximum height for a vegetable wall without pump assistance?
Gravity-fed drip irrigation works reliably up to 6 feet. Heights exceeding this require a low-pressure pump (5-10 PSI) to ensure even distribution. Upper pockets dry faster due to increased airflow.
Can vertical gardens support fruiting vegetables?
Yes, but select compact cultivars. Choose determinate tomatoes under 4 feet tall and dwarf pepper varieties. Provide supplemental calcium at 1 tablespoon per gallon every 2 weeks to prevent blossom end rot in restricted root environments.
How often should substrate be replaced?
Annual replacement maintains optimal structure. Cation exchange capacity degrades 30% per season. Compost spent substrate rather than discarding it. The decomposed material benefits traditional garden beds.
What wall exposure produces the best yields?
South-facing walls receive 8-10 hours of direct sun in northern latitudes. East-facing exposure works for cool-season crops needing 4-6 hours. Avoid north-facing installations where light intensity falls below 2000 foot-candles.