8 Security Steps to Install a Secure Gate Latch
The rattle of an unsecured gate in a spring windstorm can undo weeks of careful seedling protection. Deer, raccoons, and neighborhood dogs exploit every gap. Mastering the steps for installing a vegetable garden gate latch transforms your garden perimeter from a suggestion into a fortress. A properly aligned striker plate and weather-resistant hardware mean the difference between intact lettuce rows and trampled beds.
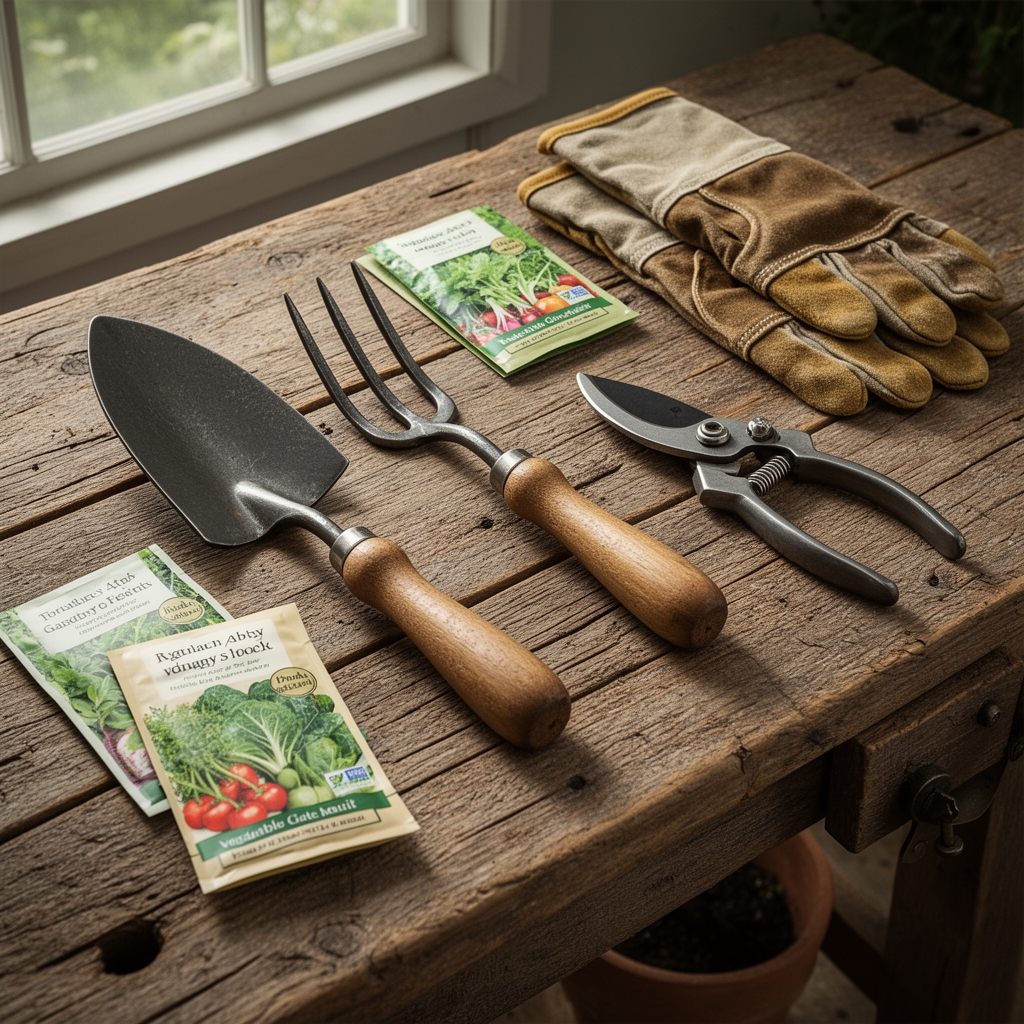
Materials and Hardware Selection
Latch bodies come in three primary alloys. Stainless steel grade 304 resists chloride corrosion in coastal zones. Brass-plated steel offers moderate durability in USDA Zones 5-7 with minimal salt exposure. Hot-dip galvanized iron suits arid climates where humidity remains below 40 percent year-round.
Select mounting screws in #8 or #10 gauge, minimum 1.5 inches long. Treated lumber gates require exterior-grade screws with corrosion-resistant coatings. Cedar and redwood accept standard zinc-plated hardware. Pair every latch with a keeper or striker plate. The keeper must match the latch tongue geometry: square, rounded, or hooked.
For soil-adjacent posts, consider the cation exchange capacity of your clay content. High-CEC soils retain moisture against metal posts, accelerating oxidation. Apply a bitumen-based post wrap or use rot-resistant species like black locust. Your latch will outlast the gate only if the post remains plumb.
Timing and Seasonal Considerations
Install latches during dry windows: late spring after final frost, or early autumn before rains begin. Wood swells with moisture uptake. A latch mounted in July on kiln-dried cedar may bind by October when relative humidity climbs 30 percent. Allow gates to acclimate outdoors for 72 hours before marking hole positions.
In Zones 3-4, where freeze-thaw cycles heave fence posts 0.5 to 2 inches annually, delay installation until soil temperatures stabilize above 50 degrees F at 6-inch depth. Posts settle into final position only after spring thaw completes. Premature mounting results in misaligned strikers by June.
In Zones 9-11, extreme UV degrades polymer latches within 18 months. Choose metal hardware. Apply installation in morning hours before gate surfaces exceed 95 degrees F. Thermal expansion can shift pre-drilled holes by 1/16 inch, enough to prevent smooth engagement.
Installation Phases

Phase One: Marking the Latch Body
Close the gate fully. Measure 36 to 42 inches from ground level, the ergonomic reach zone for most adults. Mark the centerline of the gate stile. Hold the latch body against this line with the actuating lever or paddle in resting position. Pencil through mounting holes. Use an awl to create pilot divots. This prevents drill-bit wander in open-grain species like pine.
Pro-Tip: Apply a 5-degree forward cant to the latch body. Gravity assists engagement. The tongue seats without manual pressure, critical when your hands carry harvest baskets.
Phase Two: Mounting the Striker Plate
Operate the latch to extend the tongue fully. Close the gate again, holding the latch in extended position. The tongue tip indicates exact striker placement. Mark this spot on the post. The striker mortise depth must equal tongue travel plus 1/8 inch clearance. Chisel out the recess if mounting a recessed keeper. Surface-mount strikers require only pilot holes.
Pro-Tip: Rub beeswax on the latch tongue before final assembly. This natural lubricant reduces friction, extends mechanism life by 40 percent, and repels moisture that promotes rust.
Phase Three: Alignment and Testing
Swing the gate through a full arc ten times. Listen for scraping or binding. The tongue should enter the keeper with 1/16-inch clearance on all sides. If resistance occurs, shim the striker plate with galvanized washers. A single washer equals 0.032 inches of adjustment. Vertical misalignment requires re-drilling. Horizontal errors tolerate shim correction.
Check engagement under load. Press the gate top toward the latch side while operating the mechanism. A secure installation holds firm against 15 pounds of lateral force. If the tongue slips free, deepen the striker mortise or switch to a hooked keeper design.
Pro-Tip: Coat all screws with paraffin before driving. This reduces insertion torque by 25 percent and allows future removal without stripping threads.
Troubleshooting Common Failure Modes
Symptom: Latch tongue fails to reach striker plate.
Solution: Gate sag due to hinge fatigue. Install a turnbuckle-style diagonal brace or add a third hinge at the midpoint. Restore the gate to original plane before adjusting latch height.
Symptom: Mechanism freezes in winter.
Solution: Ice forms in the keeper cavity. Drill a 3/16-inch weep hole at the striker base, angled downward at 15 degrees. Water drains before freezing.
Symptom: Latch rattles when engaged.
Solution: Excessive tongue-to-keeper clearance. Wrap the tongue with one layer of PTFE thread tape or replace the striker with a spring-loaded keeper. The spring maintains constant pressure against the tongue.
Symptom: Wood splits around mounting screws.
Solution: Hardwoods like oak have low tangential shrinkage tolerance. Pre-drill holes at 70 percent of screw shank diameter. Apply exterior wood glue to the first 1/4 inch of each hole to stabilize grain.
Symptom: Corrosion seizes the pivot point.
Solution: Annual lubrication neglected. Disassemble the latch. Soak components in white vinegar for 2 hours to dissolve rust. Rinse with distilled water. Dry thoroughly. Apply graphite powder, never petroleum-based oils that attract dust.
Maintenance Schedule
Inspect latch function every 30 days during growing season. Tighten mounting screws if gate vibration has loosened them by more than one-quarter turn. Apply graphite lubricant to pivot pins twice yearly: once before spring rains, once before autumn dormancy.
Every 24 months, remove the latch entirely. Check wood beneath the mounting plate for soft rot. Treat with copper naphthenate if decay appears. Sand away surface rust on metal components using 220-grit paper. Repaint or re-coat according to manufacturer specifications.
Gates in high-traffic areas require striker plate examination every 90 days. The keeper wears from repeated tongue impact. Replace when internal edges show chamfering exceeding 1/32 inch. A worn keeper allows the gate to drift open under wind pressure.
Frequently Asked Questions
What latch style best excludes raccoons?
Thumb-latch designs with top-mounted actuation. Raccoons manipulate side-mounted levers easily. Pair with a 6-inch vertical drop-rod for additional security.
Can I install a latch on a wire mesh gate?
Yes, if the frame is 1.5-inch square tubing or larger. Use self-tapping metal screws rated for 18-gauge steel minimum. Avoid pop rivets; they shear under repeated stress.
How do I prevent a latch from locking me inside the garden?
Mount a secondary release lever on the interior face, or choose a latch with double-sided actuation. String-pull releases work but deteriorate under UV within one season.
What is the minimum gate-to-post gap for latch function?
0.25 inches. Narrower gaps cause the latch body to contact the post face before the tongue reaches the keeper. Plane the gate edge if needed.
Should I use wood screws or lag bolts for heavy gates?
Gates exceeding 50 pounds require 5/16-inch lag bolts with washers. Pre-drill holes to 70 percent of bolt diameter. Tighten until the washer slightly compresses wood fibers, no further.