9 Cleaning Steps to Prepare a Natural DIY Plant Mister
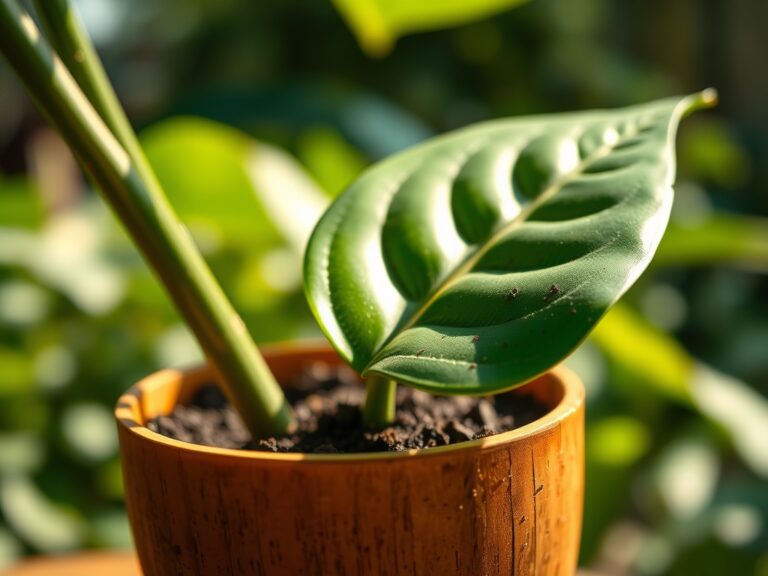
Turgor pressure defines the structural integrity of a botanical specimen; it is the difference between a turgid, upright leaf and a wilted, senescent stem. Maintaining this internal hydraulic pressure requires consistent humidity, particularly for tropical understory species that lack thick cuticular waxes. To achieve this, you must understand how to prepare a DIY plant mister using reclaimed glass or high density polyethylene (HDPE) containers. This process ensures that the delivery system for foliar hydration remains free of pathogens and mineral deposits that could clog stomata or introduce fungal spores into the rhizosphere.
Success in indoor horticulture depends on the precision of your tools. A neglected spray bottle often harbors biofilm or residual chemicals that disrupt the delicate gaseous exchange occurring on the underside of the leaf. By following a rigorous nine step sterilization and calibration protocol, you create a delivery mechanism that supports transpiration without compromising the plant's immune system. This guide provides the technical framework to convert a standard vessel into a professional grade horticultural tool.
Materials:
The efficacy of a mister is secondary to the health of the substrate it supports. While the mister manages the phyllosphere, the soil manages the root zone. For most indoor tropicals, you require a friable loam with a pH between 5.8 and 6.5. This acidity range optimizes the Cation Exchange Capacity (CEC), allowing the roots to access essential macronutrients.
Specific NPK requirements for misted plants often lean toward vegetative growth. Use a water soluble fertilizer with a ratio of 3-1-2 (Nitrogen-Phosphorus-Potassium). Nitrogen is the primary driver of chlorophyll production; Phosphorus supports root architecture; Potassium regulates the opening and closing of stomata. Ensure your potting medium contains 20 percent perlite to prevent anaerobic conditions and 10 percent worm castings to introduce beneficial microbes.
Timing:
Effective misting schedules are dictated by the Hardiness Zone and the current Biological Clock of the plant. In Zones 8 through 11, ambient humidity may fluctuate wildly. You must monitor the transition from the vegetative stage to the reproductive stage. During the vegetative phase, high turgor is critical for cell elongation.
Misting should occur in the early morning, specifically between 6:00 AM and 8:00 AM. This allows excess moisture to evaporate before the "lights out" period, preventing the incubation of Botrytis cinerea (gray mold). Never mist when the plant is under direct solar stress or when temperatures exceed 85 degrees Fahrenheit, as this can cause localized tissue scorching through the magnification of light.
Phases:
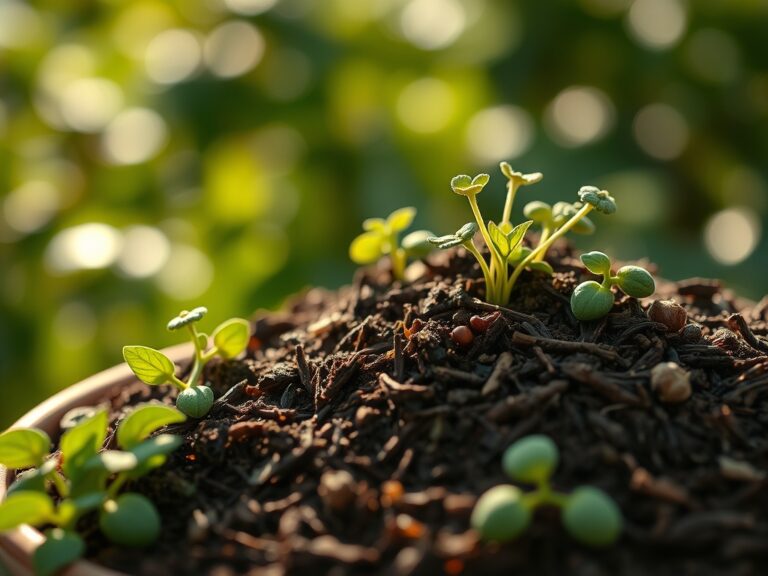
Sowing and Initial Hydration
When starting seeds, the mister is your most vital tool. A heavy stream of water can displace seeds or compact the soil surface. Use the DIY mister to maintain a consistent 70 percent humidity level around the seed coat. This softens the testa and triggers germination.
Pro-Tip: Maintain high humidity to prevent the desiccation of the radicle. This supports Mycorrhizal Symbiosis, as the beneficial fungi require a moist interface to colonize the emerging root system.
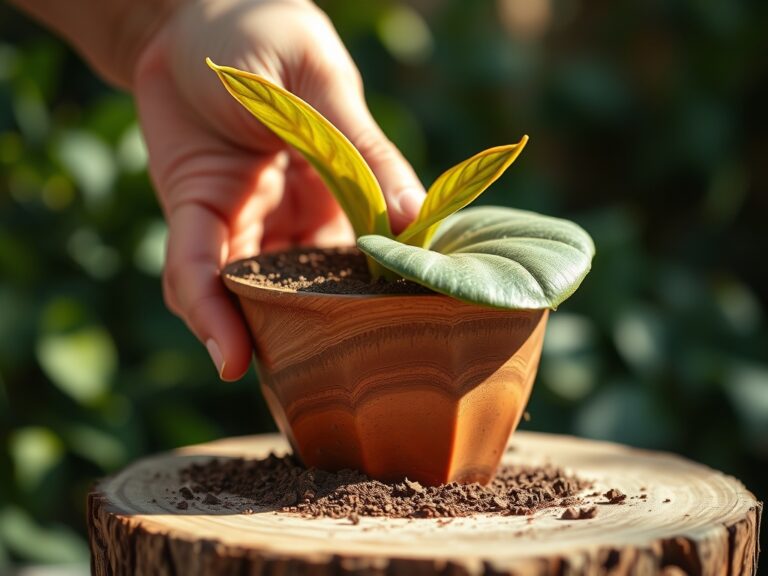
Transplanting and Recovery
Transplant shock occurs when the root hairs are damaged, reducing the plant's ability to draw water. During this phase, foliar misting bypasses the compromised root system to provide immediate hydration. Focus the mist on the abaxial (underside) of the leaves where the density of stomata is highest.
Pro-Tip: Misting during transplanting helps manage Auxin Suppression. By reducing water stress, the plant can continue to distribute auxins to the root tips, encouraging rapid re-establishment in the new substrate.
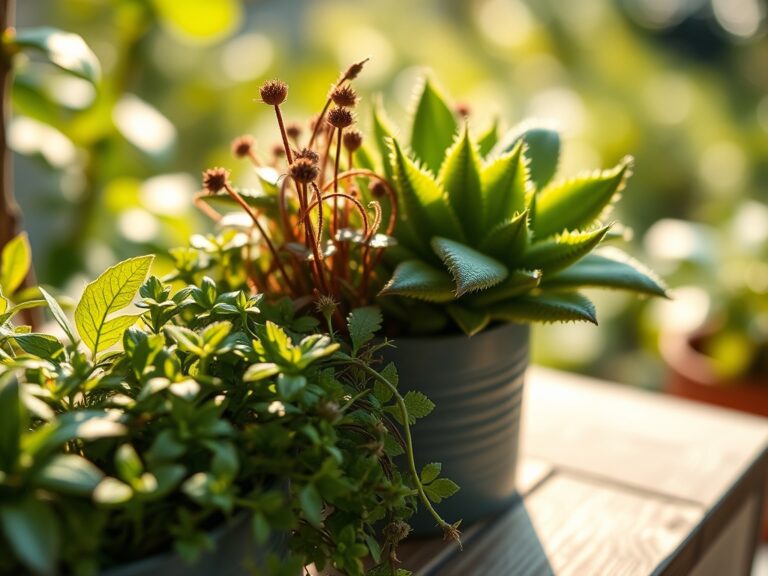
Establishing and Maturation
As the plant reaches maturity, the mister serves to clean dust from the leaf surface. Dust layers can reduce the Photoperiod efficiency by reflecting light that should be absorbed by the chloroplasts. A clean leaf maximizes the rate of photosynthesis.
Pro-Tip: Regular misting assists in Phototropism. By keeping the foliage clean and hydrated, the plant can more effectively orient its leaves toward the light source, optimizing energy capture.
The Clinic:
Physiological disorders often manifest when the hydration or nutrient balance is skewed. Use this diagnostic framework to identify and rectify issues.
Symptom: Interveinal Chlorosis (Yellowing between leaf veins).
Solution: This typically indicates a Magnesium deficiency. Magnesium is the central atom in the chlorophyll molecule.
Fix-It: Add 1 teaspoon of Epsom salts per gallon of water to your DIY mister and apply as a foliar spray once every two weeks.
Symptom: Tip Burn or Necrosis on new growth.
Solution: This suggests Calcium immobility. Calcium does not move easily through the phloem; it requires consistent transpiration.
Fix-It: Ensure the mister is used with distilled water to avoid sodium buildup, and maintain a steady watering schedule of 1 inch of water per week at the soil level.
Symptom: Nitrogen Chlorosis (General paling of older leaves).
Solution: The plant is scavenging Nitrogen from old growth to support new nodes.
Fix-It: Apply a high nitrogen liquid fertilizer with an NPK of 10-5-5 directly to the rhizosphere.
Maintenance:
Precision maintenance requires the right instrumentation. Use a soil moisture meter to verify that the top 2 inches of soil have dried before re-watering. For woody plants, use bypass pruners to remove dead tissue, making clean cuts at a 45 degree angle just above a node.
If you are working with deep-rooted perennials, use a hori-hori knife to check for soil compaction. Apply 1.5 inches of water per week at the drip line, which is the outermost circumference of the plant's canopy. This encourages the roots to grow outward, creating a more stable structural base. Clean your DIY mister every 30 days using a solution of one part white vinegar to four parts water to dissolve calcium carbonate deposits.
The Yield:
For flowering or fruiting plants, the "yield" is the culmination of your hydration strategy. Harvest during the "cool of the day," typically just after the morning misting when turgor is at its peak. This ensures the cells are fully hydrated, extending the shelf life of the harvest.
Use sharp snips to avoid tearing the vascular tissue. Post-harvest, submerge the stems in 65 degree Fahrenheit water immediately. This "pre-cooling" slows down the rate of senescence and respiration, preserving the sugars and essential oils within the plant tissue for "day-one" freshness.
FAQ:
What is the best water for a DIY mister?
Use distilled or reverse osmosis water. Tap water contains chlorine and fluoride which can cause leaf tip necrosis. Mineral salts in tap water also clog the spray nozzle over time, disrupting the fine mist pattern required for delicate foliage.
How often should I clean my DIY mister?
Clean the vessel every 30 days. Use a 20 percent white vinegar solution to dissolve mineral scale. Rinse thoroughly with deionized water to ensure no acidic residue remains, as this can alter the pH of the leaf surface upon application.
Can I add fertilizer to my plant mister?
Yes, this is known as foliar feeding. Use a highly diluted, water soluble fertilizer at 25 percent of the recommended strength. Ensure the NPK ratio is balanced, such as 10-10-10, to prevent localized nutrient burn on the leaf cuticle.
Why is my mister leaving white spots on leaves?
White spots are typically calcium or magnesium carbonate deposits from hard water. These deposits can block stomata and reduce photosynthetic efficiency. Switch to distilled water and wipe the leaves with a damp, microfiber cloth to restore gas exchange capabilities.