8 Critical Steps to Repot and Stake a Large Monstera
The scent of damp pine bark and the metallic tang of mineral-rich perlite signal the start of a necessary architectural shift for a maturing Monstera deliciosa. When the plant reaches a height where its primary stem begins to lean and the lower leaves lose their turgor pressure; the internal hydraulic system is struggling to move water against gravity. You must intervene to maintain structural integrity and nutrient uptake. Following the correct steps for repotting a Monstera ensures the root system can expand into a high-porosity medium without suffering from transplant shock or root asphyxiation. A successful repotting requires more than a larger vessel; it demands an understanding of the rhizosphere and the mechanical support needed to mimic the plant's natural epiphytic climbing habits.
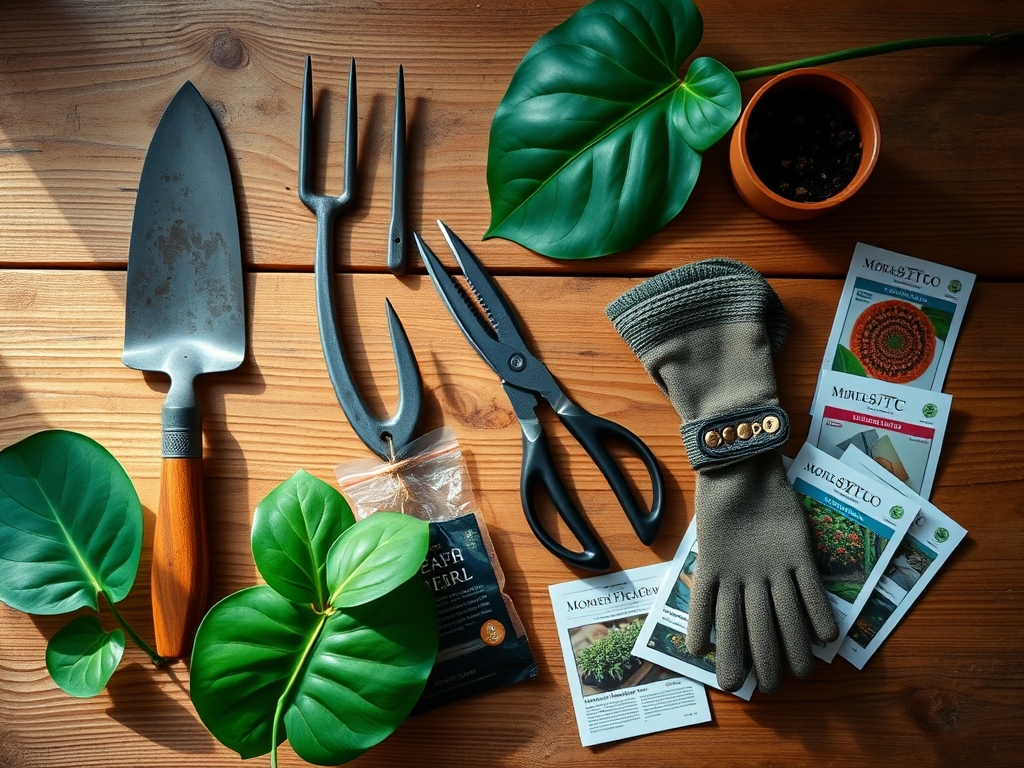
Materials:
The substrate must be a friable loam with high macroporosity to prevent anaerobic conditions. Aim for a pH range between 5.5 and 6.5 to optimize nutrient availability. The Cation Exchange Capacity (CEC) is enhanced by including high-quality organic matter.
- Substrate Mix: 40 percent orchid bark, 30 percent coco coir, 20 percent perlite, and 10 percent worm castings.
- Nutrient Profile: Use a slow-release fertilizer with an NPK ratio of 3-1-2. This ratio supports the high nitrogen demand for foliar expansion while providing sufficient potassium for cellular wall strength.
- Support Structure: A cedar plank or a moss pole at least 2 inches in diameter and taller than the current highest node.
- The Vessel: A pot 2 to 3 inches wider in diameter than the current container, featuring at least three drainage apertures.
Timing:
Monstera deliciosa follows a strict biological clock governed by light intensity and temperature. In Hardiness Zones 10 through 12, these plants can remain outdoors year-round. However, for indoor specimens in temperate zones, the window for repotting opens in late spring when the photoperiod exceeds 12 hours of daylight. This timing aligns with the transition from semi-dormancy to the active vegetative stage. Ensure the ambient temperature remains between 70 and 85 degrees Fahrenheit. Avoid repotting during the onset of senescence or when the plant is under thermal stress from winter heating systems.
Phases:

Sowing the Foundation
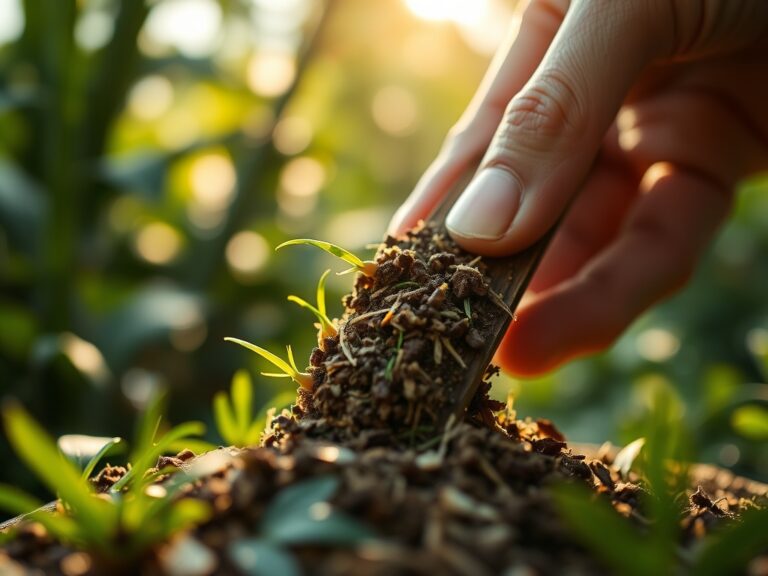
Before removing the plant, hydrate the specimen 24 hours in advance. This increases cell turgidity and makes the roots more flexible. Lay the plant on its side and gently slide the root ball out. If the plant is root-bound, use a hori-hori knife to slice vertically through the outer 0.5 inches of the root mass to encourage outward growth.
Pro-Tip: Slicing the outer roots breaks apical dominance in the root tips. This triggers the release of auxins that stimulate lateral branching; increasing the surface area for water absorption.
Transplanting and Staking
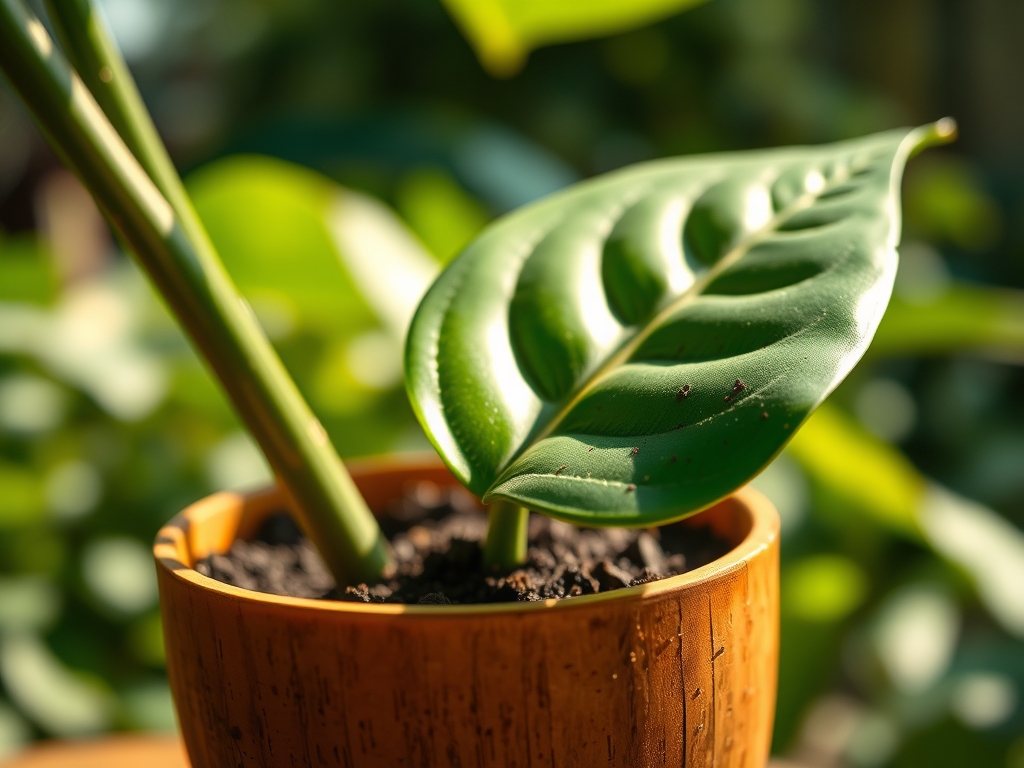
Position the support pole at the back of the pot before adding the plant. The "back" of a Monstera is the side where aerial roots emerge. Secure the main stem to the pole using soft plant ties, ensuring the ties are placed between nodes. Fill the void with your prepared substrate, tamping down lightly to eliminate large air pockets while maintaining a bulk density that allows for rapid drainage.
Pro-Tip: Proper orientation utilizes the plant's natural negative geotropism. By aligning the aerial roots toward the moist support, you trigger a physiological response where the plant allocates more energy to upward growth rather than sprawling.
Establishing the Rhizosphere
Thoroughly saturate the medium until water flows freely from the drainage holes. This settles the substrate around the roots, ensuring direct contact for nutrient exchange. Place the plant in a location with a light intensity of 200 to 400 foot-candles but avoid direct solar radiation for the first 10 days.
Pro-Tip: Maintaining high humidity during the first week reduces the transpiration rate. This allows the plant to focus its metabolic energy on establishing mycorrhizal symbiosis within the new soil volume rather than struggling to maintain leaf turgor.
The Clinic:
Physiological disorders often manifest shortly after repotting if environmental variables are not controlled.
- Symptom: Yellowing of lower leaves (Chlorosis).
- Solution: This typically indicates Nitrogen deficiency or over-saturation. Check soil moisture with a soil moisture meter. If the soil is dry, apply a liquid 10-10-10 fertilizer at half strength.
- Symptom: Brown, crispy leaf margins.
- Solution: Low humidity or high salt accumulation. Flush the substrate with distilled water to lower the electrical conductivity (EC) of the soil.
- Symptom: Sudden drooping of the entire canopy.
- Solution: Transplant shock or root damage. Increase ambient humidity to 70 percent and ensure the temperature does not fluctuate more than 10 degrees.
Maintenance:
Post-repotting maintenance requires precision. Provide 1.5 inches of water per week, or whenever the top 2 inches of soil feel dry to the touch. Use bypass pruners to remove any yellowing or damaged foliage at the base of the petiole to prevent fungal pathogens from colonizing necrotic tissue. Monitor the support pole; it must remain damp to encourage aerial roots to penetrate the surface. Every 90 days, wipe the laminae with a damp cloth to remove dust, which can reduce photosynthetic efficiency by up to 30 percent.
The Yield:
While Monstera deliciosa is primarily grown for its architectural foliage, mature plants in optimal conditions may produce an inflorescence followed by a compound fruit. The fruit is ready for harvest when the hexagonal scales begin to lift and shed naturally at the base. Handle the fruit with care; it contains calcium oxalate crystals until fully ripe. Once harvested, store the fruit at room temperature and consume only the sections where the scales have fallen off to ensure maximum sugar content and safety.
FAQ:
How do I know when to repot?
Observe the drainage holes for protruding roots or check if the water runs straight through the pot without saturating the soil. If the plant requires water more than twice a week, the root-to-soil ratio is too high.
Can I use regular potting soil?
Standard potting soil is often too dense, leading to low oxygen levels in the rhizosphere. You must amend it with coarse materials like perlite or bark to ensure a drainage rate of at least 1 inch per minute.
What is the best support for a large Monstera?
A sturdy cedar plank or a high-quality moss pole provides the best grip for aerial roots. Ensure the support is anchored to the bottom of the pot to handle the significant weight of mature foliage.
How deep should I plant the stem?
Maintain the same soil line as the previous pot. Burying the stem too deep can lead to stem rot; while planting too shallow can cause the plant to become unstable and tip over before the roots establish.