6 Root-Mass Steps to Repot a Peace Lily Safely
The smell of damp peat and the cool, firm turgor of a hydrated Spathiphyllum leaf indicate a plant ready for transition. When the root system begins to circle the interior of the vessel, the plant experiences reduced hydraulic conductivity and nutrient lockout. Following the proper steps for repotting a peace lily ensures the specimen maintains its metabolic rate without entering a state of transplant shock. This process requires a precise understanding of the rhizosphere and the physical properties of the new growing medium to facilitate gas exchange.
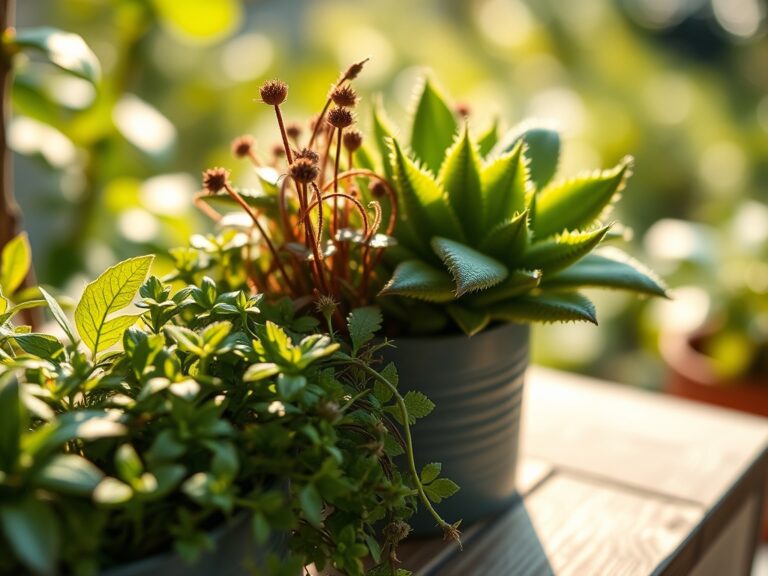
A successful repotting operation hinges on the timing of the intervention and the quality of the substrate. Peace lilies are highly sensitive to salt accumulation and fluoride levels in the water supply. By refreshing the medium, the gardener resets the Cation Exchange Capacity (CEC), allowing the plant to more efficiently absorb essential ions. The goal is to provide a structural environment where the fleshy roots can expand without encountering anaerobic pockets. Monitoring the leaf angle and petiole strength provides immediate feedback on the plant's internal water pressure. A healthy peace lily exhibits dark green foliage with no marginal necrosis, signifying a balanced uptake of magnesium and nitrogen.
Materials:
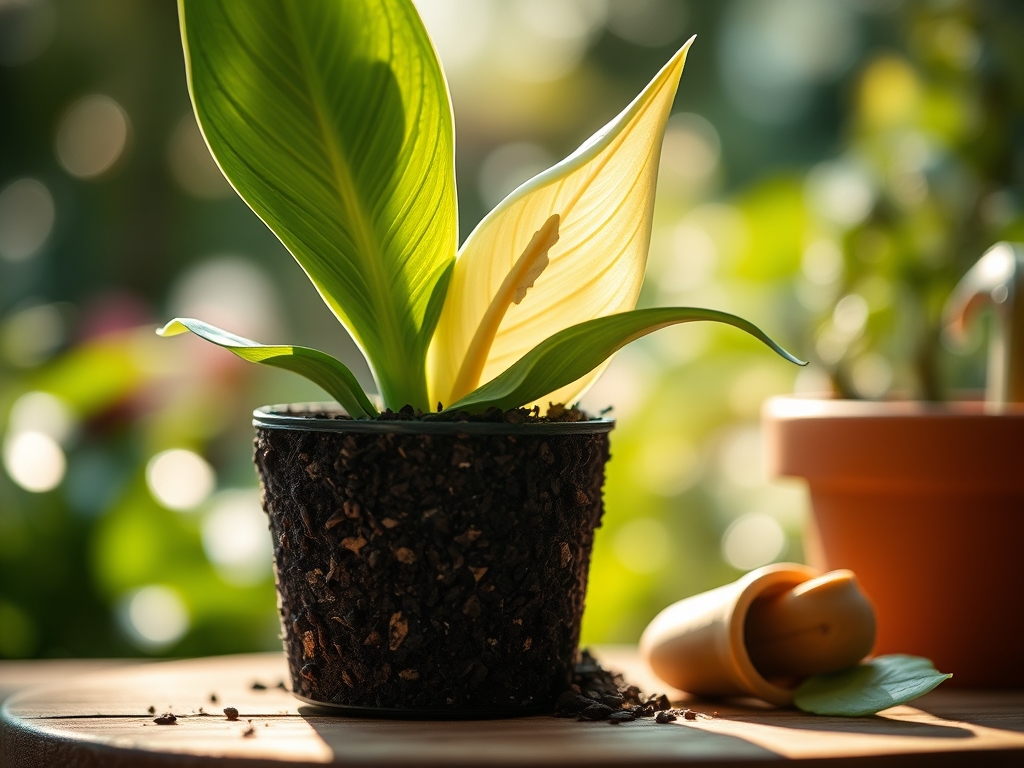
Substrate selection is the most critical technical decision in this process. Peace lilies require a pH range of 5.8 to 6.5 to optimize nutrient availability. The ideal medium is a friable loam consisting of 60% peat or coconut coir, 20% perlite, and 20% pine bark. This mixture ensures high porosity and drainage while maintaining sufficient moisture retention.
For nutrition, integrate a slow-release granular fertilizer with an NPK ratio of 20-20-20 or a specialized 10-10-10 formula at half strength. Avoid high-phosphorus "bloom boosters" which can cause salt toxicity in the root tips. The physical texture should be gritty enough to prevent compaction but soft enough to allow delicate root hairs to penetrate the gaps. Ensure the new container is only 2 inches wider in diameter than the current pot to prevent "perched water tables," where excess soil remains saturated for too long, leading to root decay.
Timing:
Peace lilies are typically kept indoors in USDA Hardiness Zones 1 through 10, but their biological clock is still dictated by light intensity and ambient temperature. The optimal window for repotting is during the early spring, specifically between March and May, just as the plant enters its active vegetative growth stage.
During this period, increased photoperiods trigger the production of auxins at the apical meristems, which signal the roots to expand. Avoid repotting during the winter senescence phase when the plant's metabolic rate drops. If the ambient temperature is consistently below 65 degrees Fahrenheit, the recovery process will be sluggish. Aim for a stable environment of 70 to 80 degrees Fahrenheit with a relative humidity of at least 50% to minimize transpiration stress during the move.
Phases:
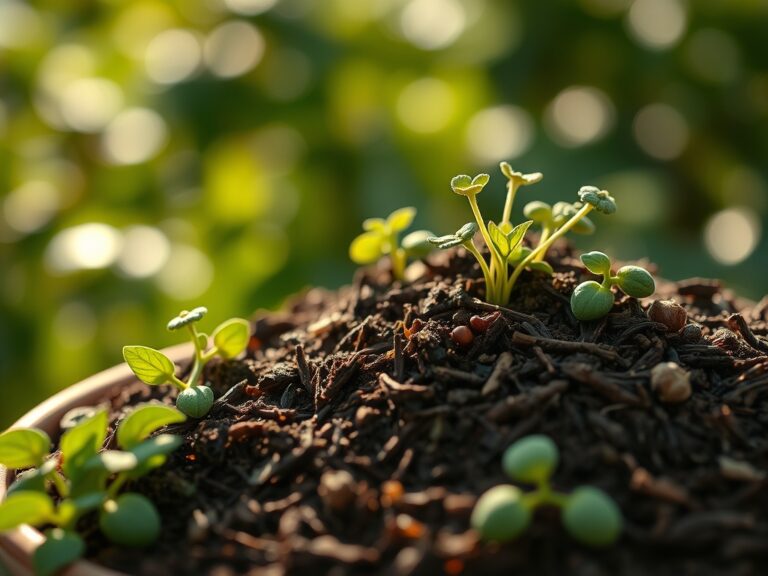
Sowing and Preparation
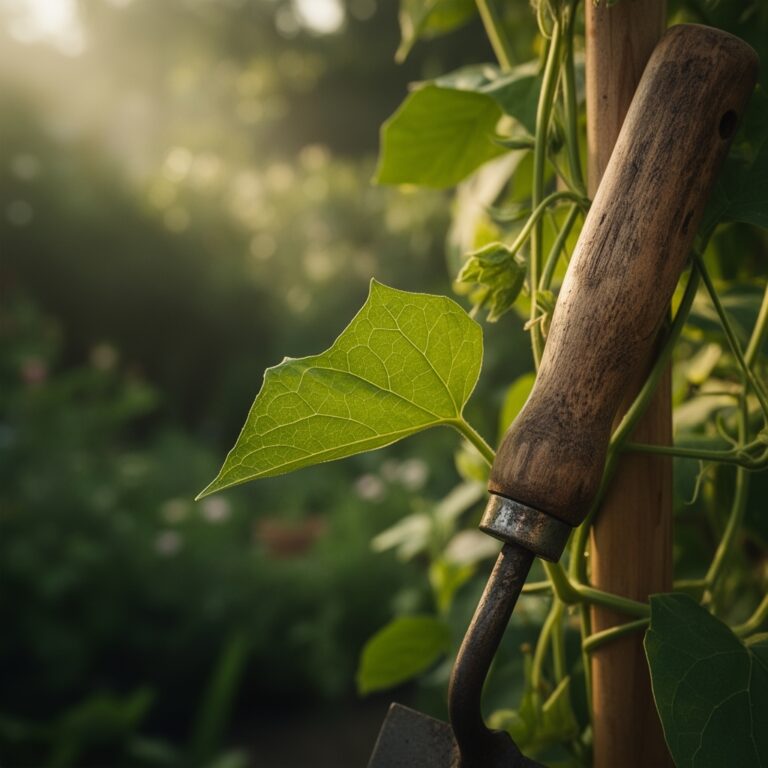
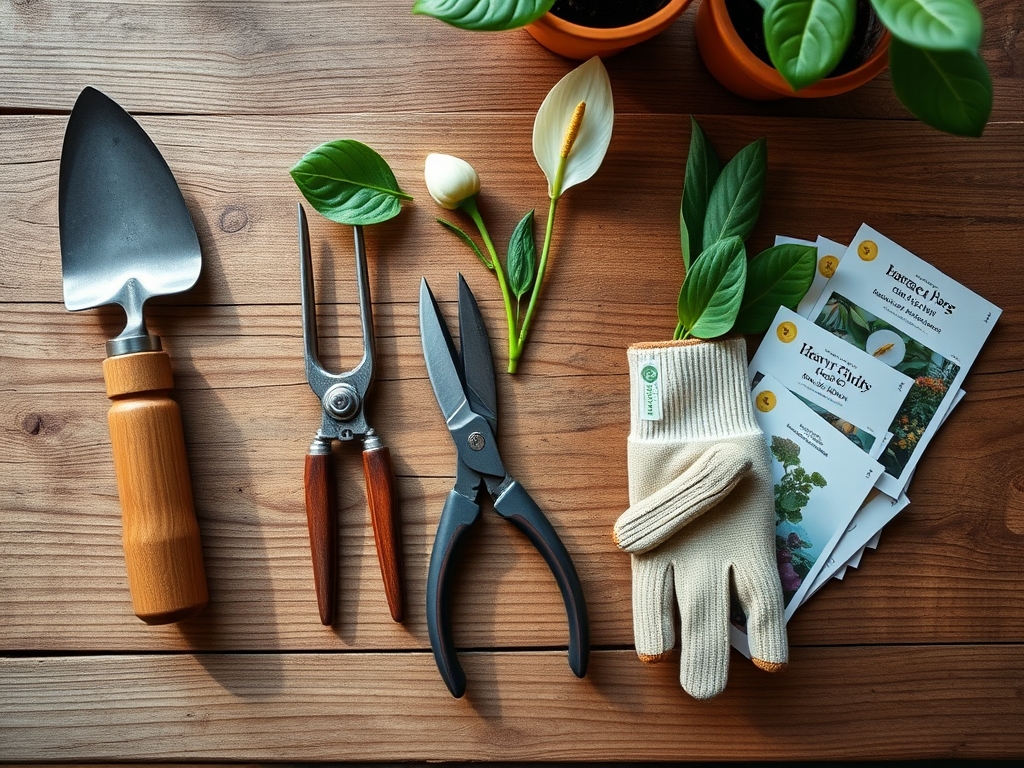
Before the physical move, hydrate the peace lily 24 hours in advance. This ensures the cells are at maximum turgor pressure. Prepare the workspace by sterilizing a hori-hori knife with 70% isopropyl alcohol to prevent the transfer of pathogens like Pythium. Gently slide the plant from its container; if it is stuck, use the knife to slice around the inner perimeter.
Pro-Tip: Maintaining high cell turgor prevents the vascular system from collapsing during the transition. When cells are fully hydrated, the plant can better manage the temporary loss of root-to-soil contact through osmotic regulation.
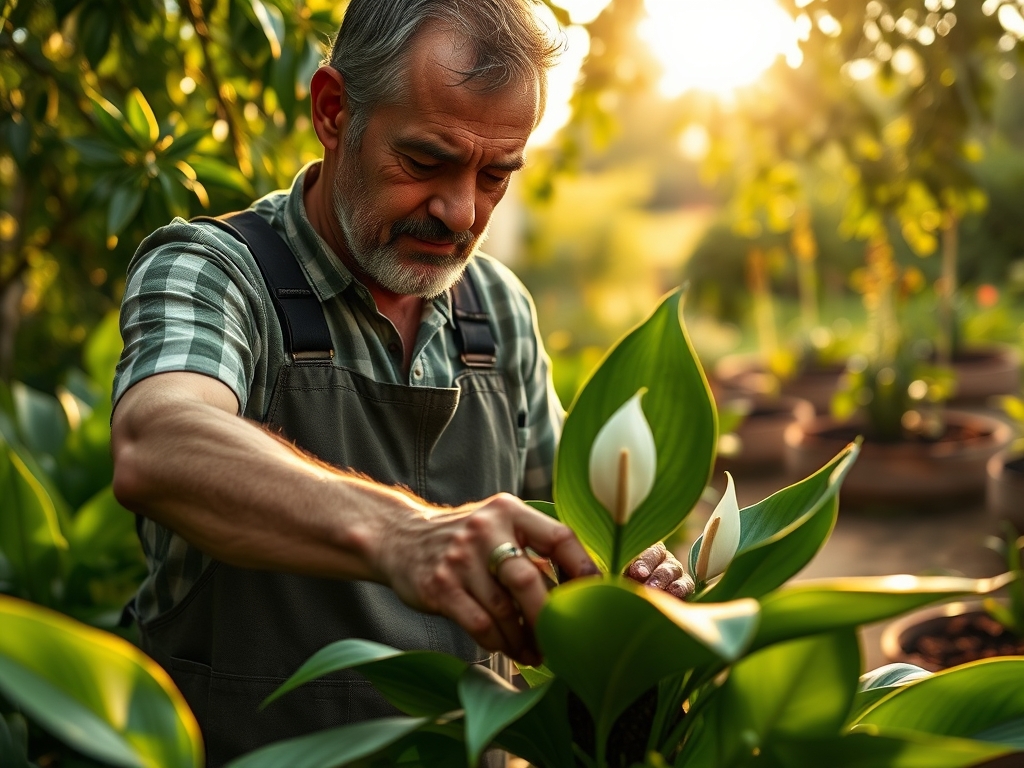
Transplanting the Root Mass
Examine the root ball for signs of circling. Use your fingers to tease the roots outward, breaking the "memory" of the old pot. If the mass is extremely dense, use bypass pruners to make three or four vertical snips around the exterior. Place a layer of the prepared substrate in the bottom of the new pot so that the crown of the plant sits 1 inch below the rim.
Pro-Tip: Pruning the roots stimulates the production of lateral roots through a process called "apical dominance release" in the root system. By removing the tips, you trigger the plant to redirect energy into new, more efficient feeder roots that increase nutrient uptake.
Establishing the Specimen
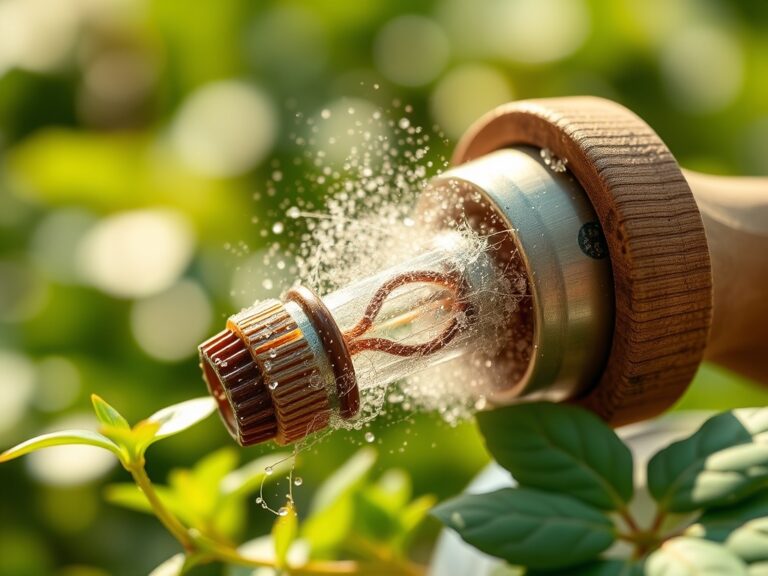
Backfill the gaps with the friable loam, tapping the sides of the pot to settle the soil rather than pressing down with your hands. Compressing the soil with force destroys the macropores necessary for oxygen to reach the rhizosphere. Water the plant thoroughly until liquid drains from the bottom to ensure there are no air pockets around the roots.
Pro-Tip: Settling soil with water rather than manual pressure preserves the soil structure and encourages mycorrhizal symbiosis. These beneficial fungi require oxygen-rich gaps to colonize the roots and assist the plant in phosphorus absorption.
The Clinic:
Symptom: Interveinal Chlorosis
Solution: This is often a sign of magnesium deficiency or a pH imbalance. If the pH rises above 7.0, the plant cannot sequester iron or magnesium.
Fix-It: Apply a chelated iron supplement or a small dose of Epsom salts (magnesium sulfate) at a rate of 1 teaspoon per gallon of water.
Symptom: Marginal Leaf Burn
Solution: This indicates fluoride or chlorine toxicity, common in municipal water. It can also result from over-fertilization.
Fix-It: Flush the soil with two gallons of distilled water for every one gallon of pot volume to leach out accumulated salts and minerals.
Symptom: Episodic Wilting
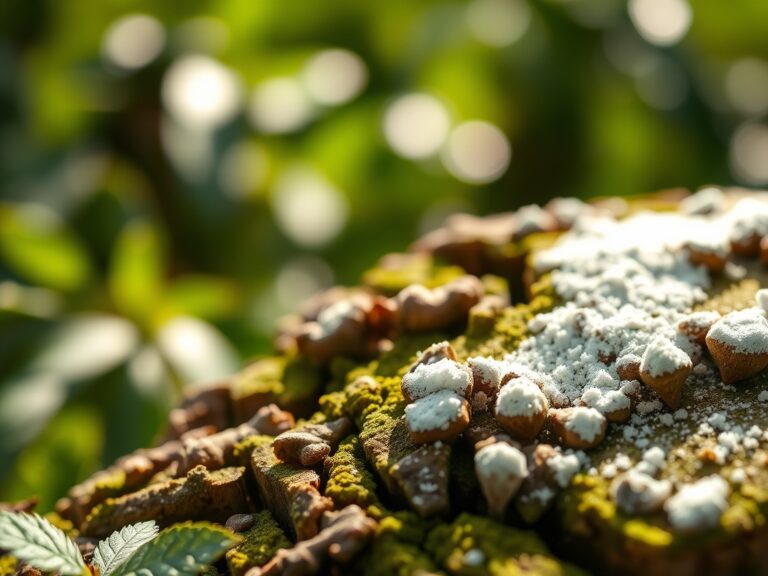
Solution: If the plant wilts despite moist soil, it is likely suffering from root rot (Phytophthora). The roots have lost the ability to transport water.
Fix-It: Remove the plant, prune away all mushy, brown roots, and repot into a fresh, sterile medium with 50% perlite for maximum aeration.
Maintenance:
Post-repotting care requires precision. Use a soil moisture meter to ensure the substrate remains at a "Moist" reading (level 4-6) without reaching "Saturated" (level 10). Generally, providing 1.5 inches of water per week is sufficient, but this must be adjusted based on the evaporation rate in your specific microclimate.
Place the plant in a location with 1,000 to 2,500 foot-candles of indirect light. Direct solar radiation will cause photo-oxidation and bleach the leaves. Use bypass pruners to remove any yellowing leaves at the base to prevent the plant from wasting energy on senescing tissue. Every six months, wipe the leaves with a damp cloth to remove dust, which can block stomata and reduce photosynthetic efficiency by up to 30%.
The Yield:
While peace lilies are not edible, their "yield" is measured in spathe production and air filtration efficiency. To maximize the white blooms, ensure the plant receives consistent levels of potassium. Once a flower begins to turn green or brown, cut the stalk as close to the base as possible using a sharp blade. This prevents the plant from diverting energy into seed production and encourages the next vegetative flush. For a "day-one" fresh appearance, maintain a consistent temperature; sudden fluctuations of more than 10 degrees can cause the spathes to droop prematurely.
FAQ:
How do I know when to repot?
Observe roots emerging from drainage holes or water running straight through the pot. If the plant wilts within two days of a deep watering, the root mass has likely displaced too much soil to retain moisture.
Can I use garden soil?
No. Garden soil is too dense and lacks the necessary porosity for indoor containers. It often contains pathogens and weed seeds. Use a sterile, peat-based or coir-based potting mix with a pH between 5.8 and 6.5.
What is the best pot material?
Plastic or glazed ceramic pots are ideal for peace lilies because they retain moisture. Terra cotta is highly porous and may cause the substrate to dry out too quickly for this moisture-loving species.
Should I fertilize immediately after repotting?
Wait four to six weeks before applying liquid fertilizer. Most high-quality potting mixes contain a "starter charge" of nutrients. Adding more immediately can burn the new, sensitive root tips during their recovery phase.