6 Steps to Prepare a Level Home Garden Deck Site
Crushed basalt smells like ozone and wet iron when the first rain hits the excavation site. The turgor pressure in a healthy root system depends on stable soil structure; if the ground beneath your garden deck shifts, the surrounding rhizosphere suffers from compaction and poor drainage. Learning how to prepare a site for a garden deck requires more than basic leveling. It demands an understanding of soil mechanics and hydrological flow to ensure the structure does not impede the biological health of your landscape.
Materials:
Substrate preparation requires a friable loam with a Cation Exchange Capacity (CEC) between 15 and 25 meq/100g. This ensures the soil can hold essential nutrients like ammonium and potassium against leaching. For the surrounding planting beds, maintain a soil pH of 6.2 to 6.8 to maximize nutrient bioavailability.
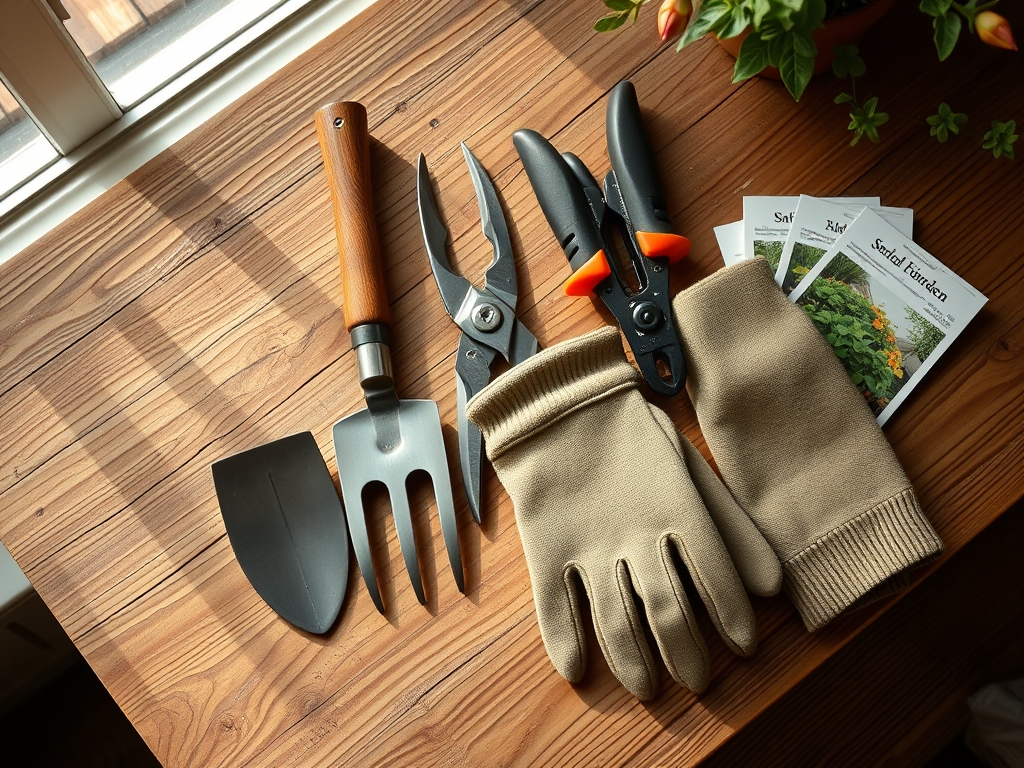
Required inputs include:
- Structural Fill: Sharp sand or 3/4 inch minus crushed rock for the sub-base.
- Weed Barrier: Heavy duty geotextile fabric with a flow rate of at least 90 gallons per minute per square foot.
- Nutrient Buffer: Organic compost with an NPK ratio of 1-0.5-1 to stabilize the microbial population in the disturbed margins.
- Tools: A hori-hori knife for precise root pruning and a soil moisture meter to monitor the post-construction hydration levels.
Timing:
The ideal window for site preparation occurs during the dormant season or early spring, specifically between Hardiness Zones 4 and 8. You must complete heavy excavation before the "Biological Clock" triggers the transition from vegetative to reproductive stages in nearby perennials. In most temperate regions, this means finishing the project at least three weeks before the local last frost date.
Soil temperature should be at least 45 degrees Fahrenheit (7 degrees Celsius) to prevent structural frost heaving during the setting of footings. Avoid working saturated soil; if a handful of soil forms a slick ribbon longer than two inches when squeezed, the moisture content is too high and will lead to anaerobic conditions and root rot in the adjacent flora.
Phases:

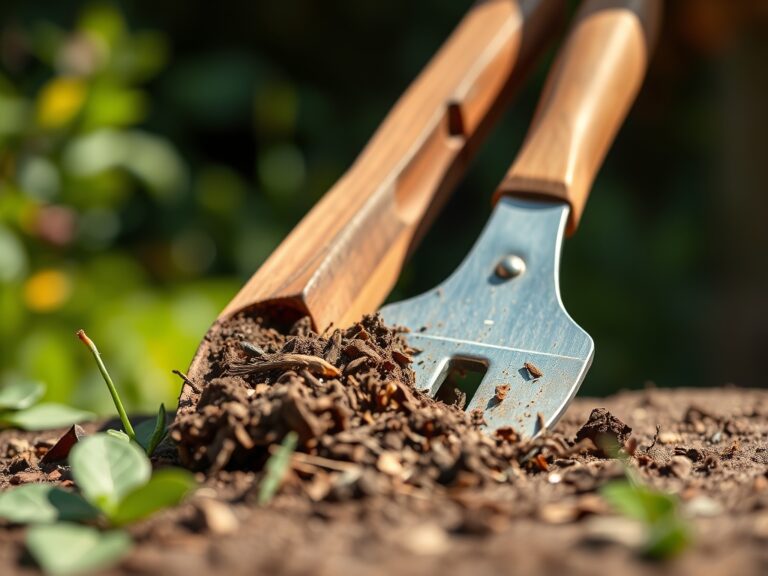
Sowing and Clearing
Clear all biomass from the footprint. Strip the sod to a depth of 4 inches to remove the primary root mat and weed seed bank. This prevents the decomposition of organic matter under the deck, which otherwise creates localized nitrogen sinks and methane gas.
Pro-Tip: Remove all decaying organic matter because anaerobic decomposition beneath a low clearance deck can lower the pH of the surrounding soil through the production of organic acids. This process disrupts the mycorrhizal symbiosis necessary for nutrient uptake in your nearby garden plants.
Transplanting and Footing
Excavate for concrete piers or deck blocks. If you must move existing shrubs, ensure you maintain a root ball diameter at least 12 times the trunk caliper. Dig the new hole twice as wide as the root ball but no deeper.
Pro-Tip: When transplanting, do not over-amend the planting hole. Keeping the soil texture consistent with the surrounding native earth prevents the "bucket effect," where water collects in the looser soil and drowns the roots. This maintains turgor pressure and prevents immediate transplant shock.
Establishing and Leveling
Spread a 2 inch layer of compactable gravel over the geotextile fabric. Use a plate compactor to reach 95 percent Proctor density. This ensures the deck remains level while allowing lateral water movement toward the garden beds.
Pro-Tip: Proper leveling prevents water pooling against the foundation. Directing runoff toward the garden utilizes the phototropism of your plants; they will naturally lean toward the light and moisture sources provided by the deck's perimeter drainage.
The Clinic:
Physiological disorders often appear in the plants surrounding a new deck due to altered microclimates and soil compaction.
- Symptom: Interveinal chlorosis (yellowing between leaf veins) on new growth.
- Solution: This indicates Iron deficiency or high pH. Test soil; if pH is above 7.0, apply elemental sulfur to acidify.
- Symptom: Marginal leaf scorch or necrosis.
- Solution: This suggests Potassium deficiency or salt buildup from treated lumber runoff. Flush the area with 2 inches of water and apply a high-potash fertilizer.
- Symptom: Stunted growth with purple-tinted foliage.
- Solution: This is a classic Phosphorus deficiency, often caused by cold soil or restricted root zones. Incorporate bone meal or rock phosphate into the top 6 inches of the rhizosphere.
Fix-It: For general Nitrogen chlorosis (overall paling of older leaves), apply a liquid seaweed or fish emulsion with a 5-1-1 NPK ratio to provide immediate bioavailable nitrogen.
Maintenance:
Post-construction maintenance is critical for the survival of the surrounding landscape. Plants near the deck will experience higher ambient temperatures due to heat radiation from the wood or composite material. Provide 1.5 inches of water per week delivered at the drip line. Use a soil moisture meter to ensure the moisture reaches a depth of 6 to 8 inches.
Use bypass pruners to remove any branches that contact the deck surface. This prevents fungal pathogens from migrating from the wood to the plant tissue. Annually check the deck footings for heave or settlement using a laser level; a shift of even 0.5 inches can alter the drainage patterns of your entire garden.
The Yield:
If your deck integrates built-in planters for edibles or cut flowers, harvest timing is dictated by cellular senescence. For leafy greens, harvest in the early morning when turgor pressure is at its peak. This ensures the cell walls are fully hydrated, providing maximum crispness.
Use a sharp hori-hori knife to make clean cuts at a 45 degree angle. This minimizes the surface area of the wound and allows the plant to seal the vascular tissue quickly. Immediately submerge the stems in 40 degree Fahrenheit water to maintain "day-one" freshness and slow the metabolic rate of the harvested tissue.
FAQ:
How deep should I excavate for a garden deck?
Excavate at least 4 to 6 inches for the sub-base. This depth allows for a weed barrier and 2 to 4 inches of compacted gravel to ensure proper drainage and structural stability for the deck footings.
Can I build a deck over existing tree roots?
Avoid cutting roots larger than 2 inches in diameter. Cutting major structural roots compromises the tree's stability and disrupts water transport. Use "floating" deck footings or pier blocks to minimize soil compaction and root damage.
What is the best way to prevent weeds under a deck?
Install a professional-grade geotextile fabric covered by 2 inches of gravel. This blocks UV light, preventing germination, while allowing water to permeate the soil, which maintains the health of the surrounding garden rhizosphere.
Does a deck affect the soil pH?
Runoff from pressure-treated lumber or composite materials can slightly alter the soil pH over time. Regularly test the soil at the deck's drip line and adjust with lime or sulfur to maintain a range of 6.2 to 6.8.