6 Protection Steps to Prepare a Plant-Themed Balcony for Wind
Wind gusts at 20 mph can topple potted plants, shear delicate foliage, and dry out growing medium within hours on an exposed balcony. Learning how to prepare a plant-themed balcony means engineering a microclimate that anchors roots, deflects turbulent air, and maintains moisture reserves even when convective currents accelerate evapotranspiration rates. Structural reinforcement, substrate selection, and species placement form the backbone of wind-resistant container gardening at elevation.
Materials
Wind Barrier Framework
Lattice panels (cedar or composite) measuring 6 feet tall by 3 feet wide, mounted with galvanized steel brackets rated for 40 mph gusts. Clear acrylic sheets (0.25 inch thickness) for transparent wind deflection without sacrificing light transmission.
Substrate Components (pH 6.0-6.8)
Coco coir (60 percent by volume) for water retention and cation exchange capacity above 100 meq/100g. Perlite (20 percent) to maintain macropore aeration. Composted pine bark fines (15 percent) to supply slow-release carbon. Worm castings (5 percent) delivering NPK at 1-0-0 plus beneficial microorganisms. Optional mycorrhizal inoculant (Glomus intraradices) at 0.5 ounces per cubic foot.
Fertilizer Regime
Balanced organic meal (4-4-4) derived from feather meal, bone meal, and kelp at 2 tablespoons per gallon of substrate. Liquid kelp extract (0-0-1) applied biweekly at 1 tablespoon per gallon of water to enhance auxin distribution and cell wall elasticity.
Container Selection
Terra cotta or composite resin pots with 12-inch minimum diameter and drainage holes totaling 1 square inch per gallon of volume. Avoid lightweight plastic that inverts under wind load.
Timing
Hardiness Zone Calibration
Zone 6: Begin hardening off transplants April 15-May 1, after final frost date.
Zone 7: March 20-April 5 for cool-season species; May 1-15 for tender perennials.
Zone 8: February 15-March 1 for first wave; staggered plantings through April.
Zone 9-10: Year-round establishment with caution during Santa Ana or monsoon wind events (July-September).
Wind Pattern Assessment
Monitor local NOAA wind rose data for prevailing direction. Install balcony plants during low-wind windows (sustained speeds below 10 mph) to minimize transplant shock and allow root establishment before exposure.
Phases

Phase 1: Anchoring and Barrier Installation (Week 1)
Secure lattice panels to balcony railings at 18-inch intervals using through-bolts with lock washers. Position tallest barriers perpendicular to prevailing wind direction to create low-pressure eddies on the leeward side. Attach acrylic sheets to windward exposure, leaving 2-inch gaps at the base for airflow and drainage. Anchor empty containers with 5-pound bricks or sandbags before filling.
Pro-Tip: Drill additional drainage holes at 45-degree angles along the lower sidewalls of containers to prevent waterlogging when wind-driven rain saturates substrate.
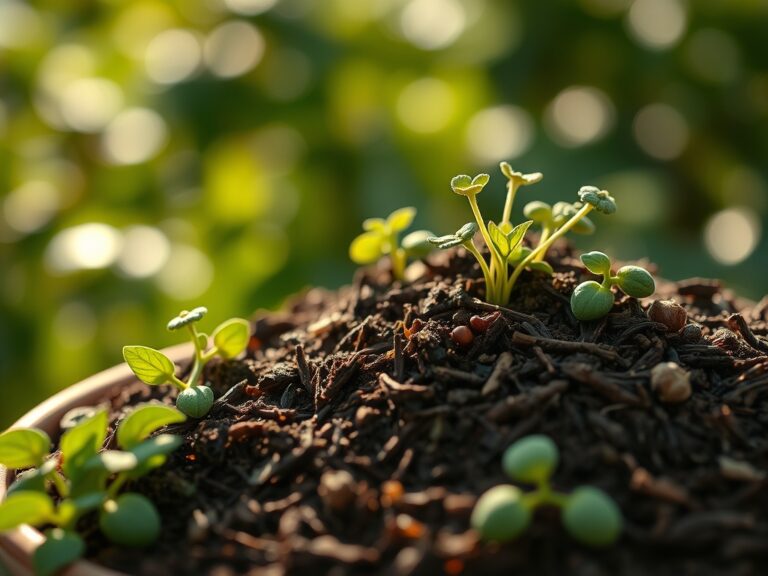
Phase 2: Substrate Preparation and Inoculation (Week 2)
Blend substrate components in a 5-gallon bucket until homogeneous. Mix mycorrhizal inoculant directly into the root zone layer (bottom 4 inches) rather than broadcasting throughout the entire volume. This concentrates fungal spores where emerging radicles will contact them first. Pre-moisten substrate to field capacity (squeeze test yields 1-2 drops) before filling containers.
Pro-Tip: Add 1 tablespoon of biochar per gallon of substrate to increase cation exchange capacity by 15-30 percent and buffer pH fluctuations caused by wind-accelerated mineralization.
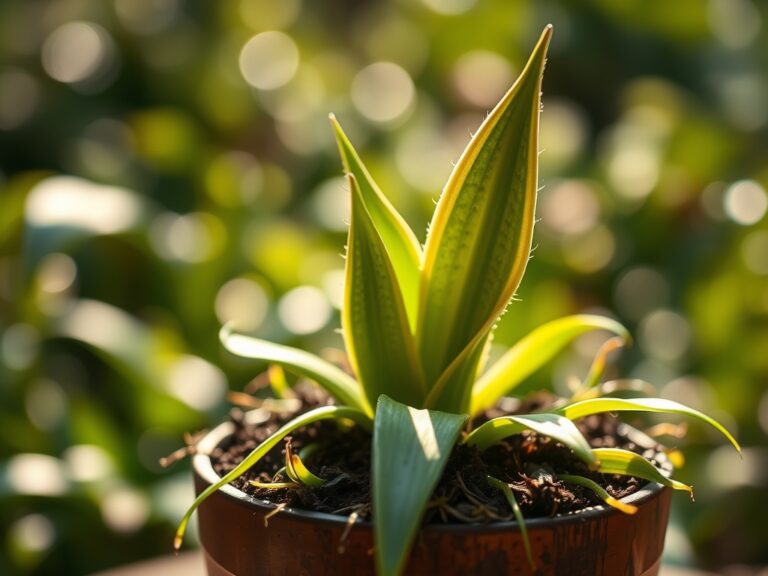
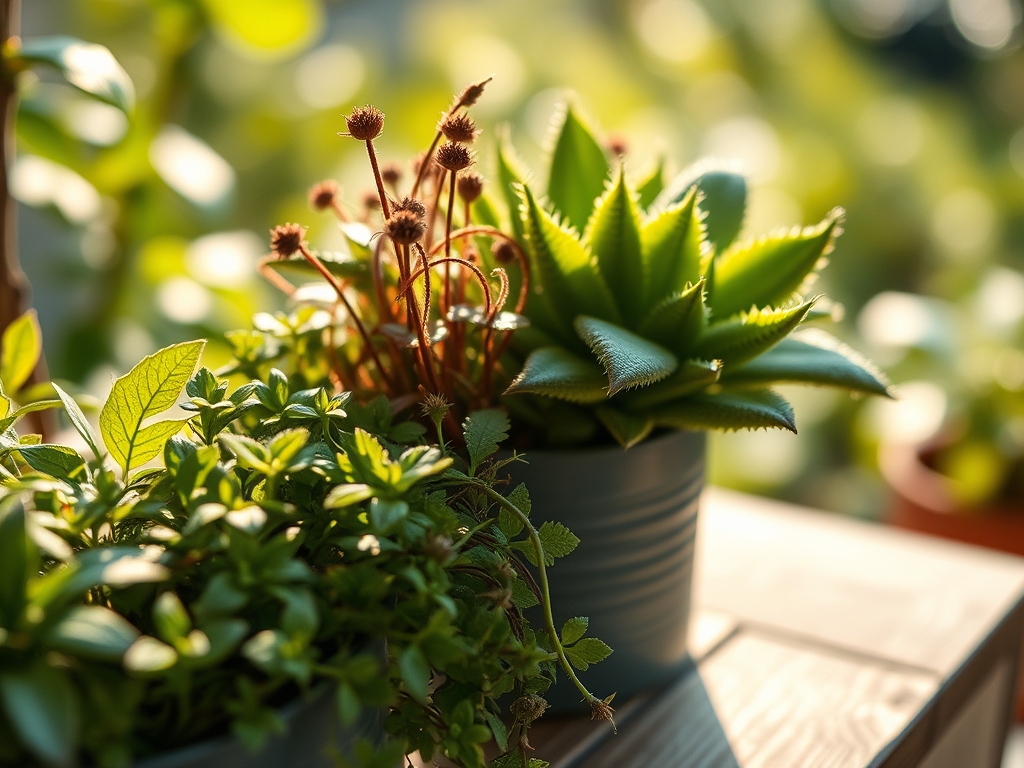
Phase 3: Species Selection and Strategic Placement (Week 3)
Choose plants with low sail area and flexible stems. Ornamental grasses (Festuca glauca, Carex), succulents (Sedum, Sempervivum), and compact shrubs (dwarf boxwood, lavender) resist wind shear better than broad-leaved tropicals. Position tallest specimens against barriers; arrange shorter plants in stepped tiers toward the balcony's edge. Space containers 6-8 inches apart to allow airflow without creating venturi effects that amplify wind speed.
Pro-Tip: Prune new transplants at 30-degree angles to encourage lateral branching. This lowers the center of gravity and distributes wind load across multiple stems rather than a single central leader.
Phase 4: Root Establishment Protocol (Weeks 4-8)
Water immediately after transplanting with diluted kelp solution (0.5 tablespoons per gallon) to stimulate root hair development. Apply 2 inches of shredded hardwood mulch around the base of each plant, leaving a 1-inch gap at the stem to prevent collar rot. Stake top-heavy specimens with bamboo poles inserted at 60-degree angles, securing ties with elastic plant tape that allows 0.25 inches of trunk movement to stimulate reaction wood formation.
Pro-Tip: Apply foliar spray of 1 percent potassium silicate solution every 10 days during weeks 4-8. Silica deposition in epidermal cells increases tissue rigidity and reduces water loss through cuticle microfractures caused by wind abrasion.
Troubleshooting
Symptom: Leaf Margin Necrosis (Brown, Crispy Edges)
Solution: Wind-induced desiccation. Increase irrigation frequency to maintain substrate moisture at 40-50 percent field capacity. Install shade cloth (30 percent density) on windward side to reduce transpiration by 20 percent.
Symptom: Stem Lodging (Permanent Lean or Breakage)
Solution: Insufficient lignification. Supplement with calcium nitrate at 1 teaspoon per gallon weekly for 3 weeks. Calcium strengthens middle lamella between cell walls. Reduce nitrogen if growth is excessively succulent.
Symptom: Container Tipping Despite Anchoring
Solution: Top-heavy canopy or shallow root system. Transplant into containers 2 inches wider with a 2:1 height-to-diameter ratio. Add 1 inch of pea gravel at the base for ballast.
Symptom: Wilting Despite Adequate Moisture
Solution: Root system damaged by wind rocking. Apply rooting hormone (0.1 percent IBA solution) to substrate surface. Restrict canopy by 20 percent through selective pruning to reduce transpirational demand.
Symptom: Salt Crust on Substrate Surface
Solution: Accelerated evaporation concentrating salts. Leach containers with 2 gallons of water per gallon of substrate volume monthly. Switch to rainwater or reverse osmosis water (TDS below 100 ppm).
Maintenance
Irrigate when the top 1 inch of substrate feels dry to touch, typically every 2-3 days in wind speeds above 12 mph. Deliver 0.5 gallons per 12-inch container until 10 percent leaches from drainage holes. Fertilize every 14 days from April through September with 4-4-4 organic meal at half the initial rate (1 tablespoon per gallon). Deadhead spent flowers within 48 hours to prevent wind from dispersing seed energy reserves. Inspect lattice attachments monthly; retighten bolts if loosened by thermal expansion. Replace acrylic panels if crazing or yellowing reduces light transmission below 85 percent. Prune 10-15 percent of canopy volume in late winter to reduce sail area before spring wind peaks.
FAQ
How often should I water plants on a windy balcony?
Monitor substrate daily. Wind can double evapotranspiration rates, requiring irrigation every 24-48 hours compared to sheltered gardens where 3-5 day intervals suffice.
Which plant species tolerate balcony wind best?
Grasses (blue fescue, Japanese forest grass), succulents (hens and chicks, stonecrop), and Mediterranean herbs (rosemary, thyme, sage) evolved in exposed habitats and maintain structural integrity above 25 mph.
Can I use plastic containers on a windy balcony?
Only if weighted. Add 3-5 pounds of gravel at the base or choose containers with wall thickness exceeding 0.25 inches and UV inhibitors to prevent brittleness.
What is the minimum barrier height needed?
Install barriers 1.5 times the height of your tallest plant. A 4-foot shrub requires 6-foot screening to reduce wind velocity by 50 percent in the protected zone.
Should I bring containers indoors during severe wind warnings?
Yes, if sustained winds exceed 35 mph or gusts reach 50 mph. Even anchored containers face structural damage and desiccation stress beyond these thresholds.