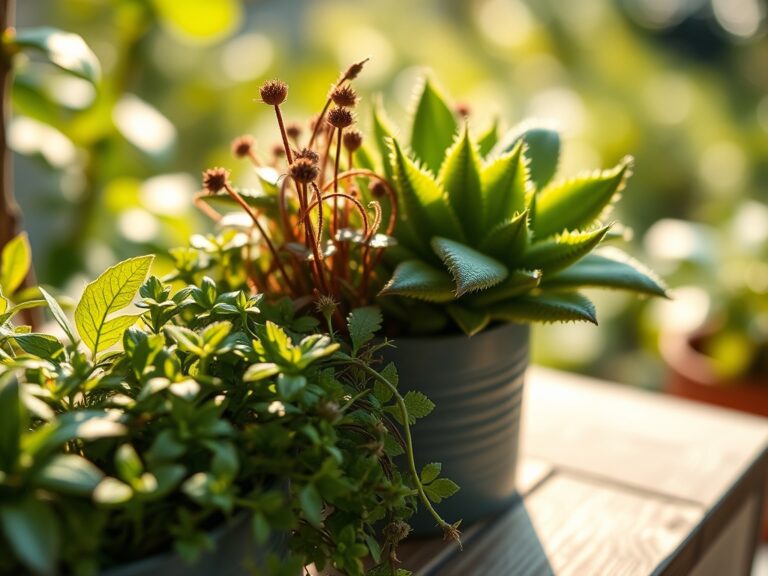
7 Professional Steps to Prepare a DIY Herb Potting Mix
The scent of damp, decomposed organic matter signals the presence of active microbial life within a growing medium. When a leaf maintains high turgor pressure, it stands rigid due to the internal fluid pushing against the cell walls; this is the direct result of a root system functioning in an optimized rhizosphere. Learning how to prepare a DIY potting mix for herbs allows a grower to bypass the inconsistent drainage and nutrient depletion found in generic, peat-heavy commercial bags. Most store-bought options compact within a single season, suffocating the delicate root hairs of Mediterranean or culinary species. By controlling the ratios of aeration, moisture retention, and mineral content, you create a substrate that supports vigorous vegetative growth. Professional herb cultivation requires a mix that balances a high Cation Exchange Capacity (CEC) with rapid drainage to prevent anaerobic conditions. This guide provides the technical specifications needed to engineer a professional-grade medium that ensures your herbs thrive from the first cotyledon to final harvest.
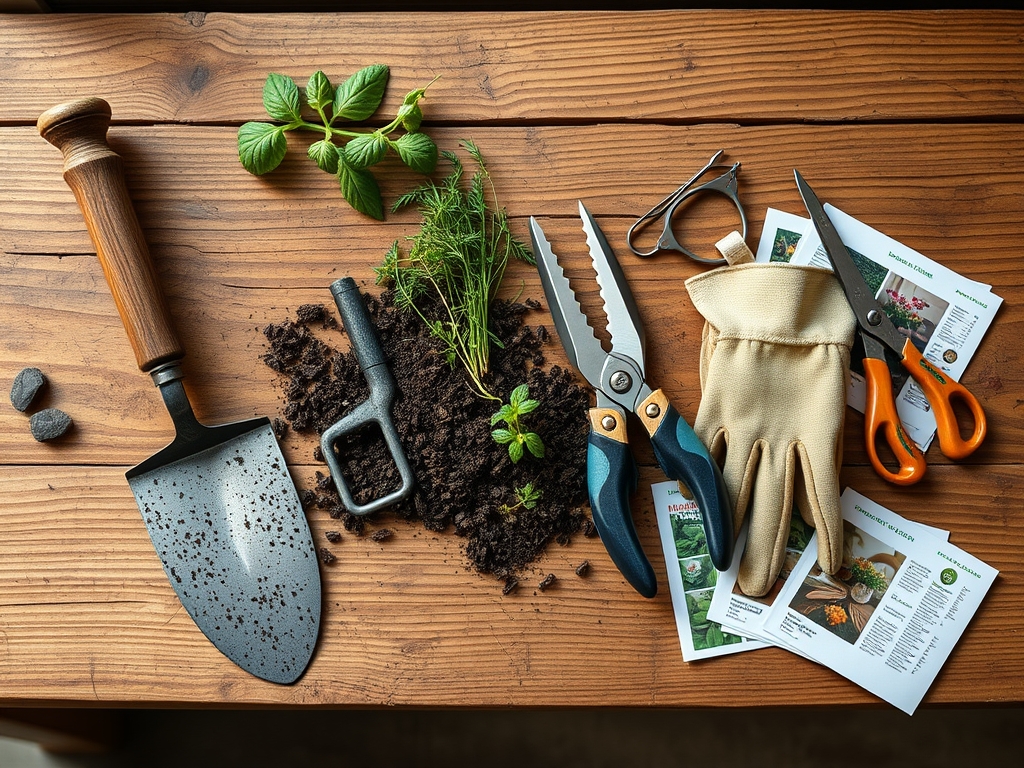
Materials:
The objective is to produce a friable loam texture that does not clump when squeezed. The ideal pH for a general herb mix ranges between **6.0 and 7.0**, though specific Mediterranean varieties like lavender prefer a slightly more alkaline **7.5**.
- Base Component: 2 parts coconut coir or screened peat moss. These provide the structural matrix and moisture retention.
- Aeration Component: 1 part coarse perlite or horticultural grade pumice. This ensures oxygen reaches the roots and prevents compaction.
- Biological Component: 1 part aged leaf mold or high-quality compost. This introduces beneficial microbes and humic acid.
- Nutrient Charge: For a balanced start, incorporate a slow-release organic fertilizer with an NPK ratio of 5-3-3.
- Mineral Buffers: Add 1 tablespoon of dolomitic lime per gallon of mix if using peat to offset acidity; add 2 tablespoons of greensand for trace minerals and potassium.
Timing:
Hardiness Zones dictate the window for utilizing your custom mix. In Zones 3 through 6, the window for outdoor herb placement begins after the last spring frost, typically between late April and mid-May. In Zones 7 through 10, the biological clock of the plant allows for much earlier deployment. Herbs transition from the vegetative stage (leaf production) to the reproductive stage (bolting/flowering) based on the photoperiod and temperature. For example, Cilantro (Coriandrum sativum) will bolt once temperatures consistently exceed 75 degrees Fahrenheit. To maximize leaf yield, your potting mix must be ready for transplanting when the plant has developed its second set of true leaves. This timing ensures the roots occupy the new medium before the plant enters its high-demand growth phase.
Phases:
Sowing
Start seeds in a fine-textured version of your mix, omitting the large compost chunks. Maintain a consistent temperature of 65 to 70 degrees Fahrenheit for optimal germination.
Pro-Tip: Use a heat mat to trigger the "Biological Why" of enzyme activation. Warmth signals the embryo to break dormancy by increasing the metabolic rate within the seed coat.
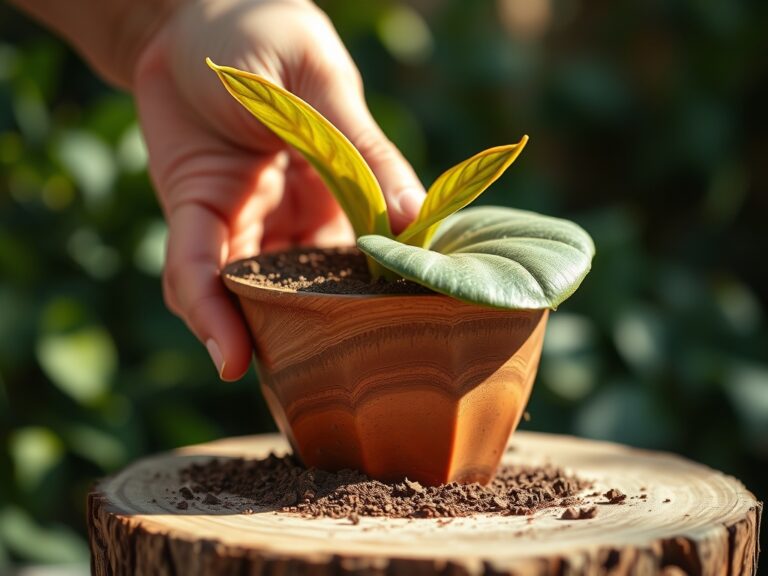
Transplanting
Move seedlings when they reach 3 inches in height. Ensure the new container has adequate drainage holes. Place the root ball at the same depth as it was in the starter tray to avoid stem rot.
Pro-Tip: Dust the root ball with endomycorrhizal fungi. This creates a mycorrhizal symbiosis where the fungi extend the root system's reach, increasing the uptake of phosphorus and water.
Establishing
During the first 14 days post-transplant, monitor for transplant shock. Keep the medium consistently moist but not saturated.
Pro-Tip: Avoid heavy pruning during this phase to prevent auxin suppression. Auxins are hormones produced in the growing tips that signal the roots to grow; cutting the tips too early stalls root development.
The Clinic:
Physiological disorders often stem from imbalances in the rhizosphere or environmental stressors.
- Symptom: Interveinal Chlorosis (Yellowing between leaf veins)
- Cause: Iron or Magnesium deficiency, often triggered by a pH above 7.2.
- Solution: Test pH. If high, apply chelated iron or lower pH using elemental sulfur.
- Symptom: Tip Burn on New Growth
- Cause: Calcium deficiency or inconsistent transpiration.
- Solution: Ensure the mix includes gypsum or lime. Maintain consistent moisture to allow calcium transport via the xylem.
- Symptom: Purpling of Lower Leaves
- Cause: Phosphorus deficiency, common in cold soils below 55 degrees Fahrenheit.
- Solution: Warm the root zone and apply a water-soluble high-phosphorus fertilizer.
- Fix-It: Nitrogen Chlorosis
- Symptom: General paling or yellowing of the entire plant, starting with older leaves.
- Fix: Apply a liquid fish emulsion (NPK 5-1-1) for immediate nitrogen availability.
Maintenance:
Precision is required to maintain the chemical balance of your DIY mix. Use a soil moisture meter to ensure the root zone stays within the "moist but well-drained" range. Most herbs require approximately 1.5 inches of water per week, delivered directly to the soil surface to avoid wetting the foliage. Use a hori-hori knife to check for soil compaction 4 inches below the surface; if the knife meets significant resistance, the mix may need more perlite in the next cycle. For harvesting and maintenance pruning, use sharp bypass pruners to make clean cuts at a 45-degree angle just above a node. This encourages axillary bud growth and prevents pathogen entry.
The Yield:
Harvesting should occur in the early morning when essential oil concentration is at its peak. For leafy herbs like basil or mint, harvest before the plant reaches the reproductive stage to avoid bitterness. Use the "one-third rule": never remove more than 33 percent of the plant's total biomass at one time. To maintain "day-one" freshness, submerge the stems in cool water immediately after cutting or store them in a sealed container at 40 degrees Fahrenheit. Proper post-harvest handling slows down the rate of senescence, the biological aging process, preserving the flavor and aromatic compounds.
FAQ:
Can I reuse my DIY potting mix next year?
Yes, but you must recharge it. Sift out old roots, add 20 percent new compost, and re-balance the NPK levels. Pathogens can linger, so solarize the soil in a clear plastic bag for four weeks if disease was present.
Why is my DIY mix repelling water?
This is hydrophobicity, common in dry peat or coir. To fix, add a few drops of organic wetting agent or unscented biodegradable soap to your water. This breaks the surface tension and allows the substrate to rehydrate effectively.
How do I know if my mix has enough drainage?
Perform a "Slump Test." Saturate the mix in a pot and watch the drainage. Water should begin exiting the bottom holes within 15 seconds. If it pools on top, increase the perlite or pumice ratio by 10 percent.
Do I need to sterilize my homemade compost?
For seed starting, yes. Heat the compost in an oven to 180 degrees Fahrenheit for 30 minutes. This kills weed seeds and soil-borne pathogens without destroying all beneficial mineral content, though it does reduce microbial populations temporarily.