6 Steps to Build a Sturdy Wooden Backyard Pergola
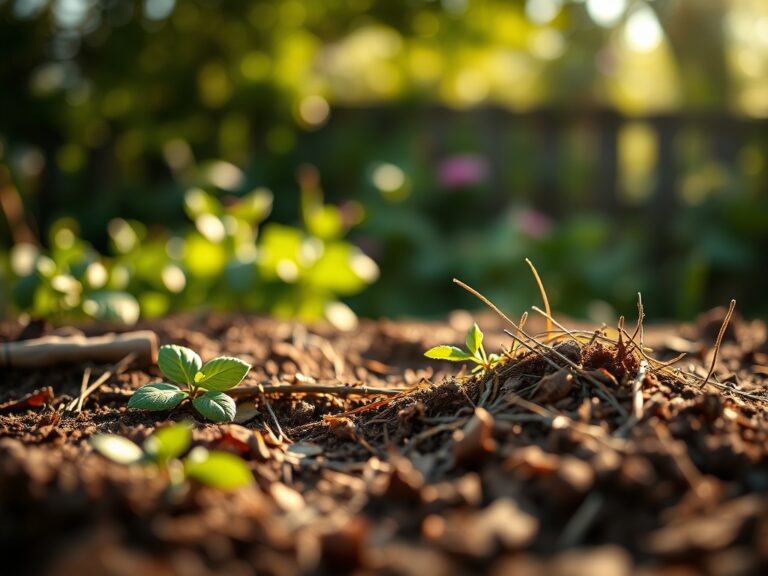
Freshly turned earth releases geosmin, a volatile organic compound that signals a healthy rhizosphere. When you begin the steps for building a garden pergola, you are not merely assembling timber; you are creating a structural support for climbing flora that relies on turgor pressure to maintain its vertical ascent. A sturdy pergola provides the necessary architecture for heavy woody vines to reach their full photoperiod potential. This installation requires a deep understanding of soil compaction and structural load to ensure the wood does not sink into the friable loam below.
Materials:
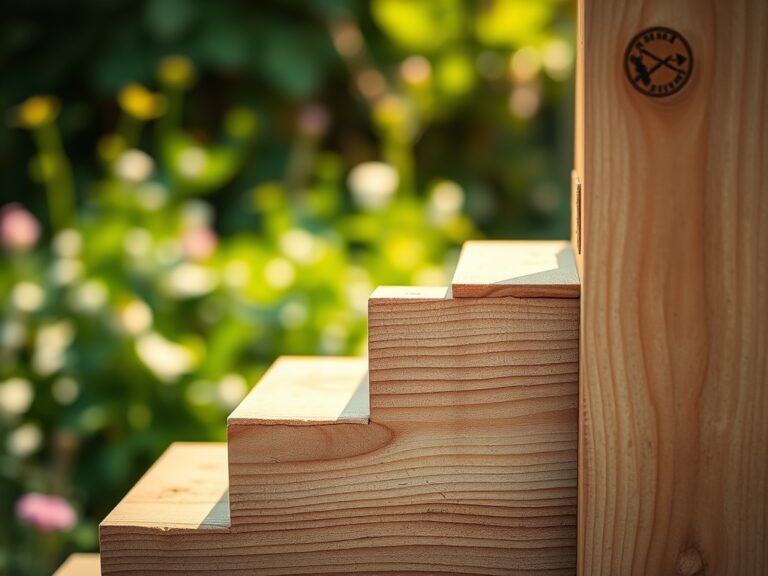
The foundation of any garden structure depends on the substrate. The ideal soil for surrounding a pergola is a **friable loam** with a **pH between 6.0 and 7.0**. This range ensures optimal nutrient availability through high Cation Exchange Capacity (CEC). Before setting posts, test your soil for its **NPK ratio**. A balanced **10-10-10 fertilizer** is standard for general growth; however, if you intend to grow flowering climbers like Wisteria, a higher phosphorus ratio such as **5-10-5** promotes floral primordia development. You will need **pressure-treated 6×6 posts**, **2×8 headers**, and **2×6 rafters**. Use **Grade 304 stainless steel fasteners** to prevent corrosion from the high moisture levels found in the garden microclimate.
Timing:
The biological clock of your garden dictates the construction schedule. In Hardiness Zones 5 through 8, construction should occur during the dormant season or early spring before the first frost-free date. This timing prevents the compaction of wet soil, which destroys soil pore space and inhibits root respiration. Aim for a window when the soil temperature is consistently above 45 degrees Fahrenheit but before the plants enter their rapid vegetative growth stage. Building during dormancy ensures that once the structure is complete, the climbing plants can utilize their full spring auxin surge to begin upward colonization of the rafters.
Phases:

Sowing the Foundation
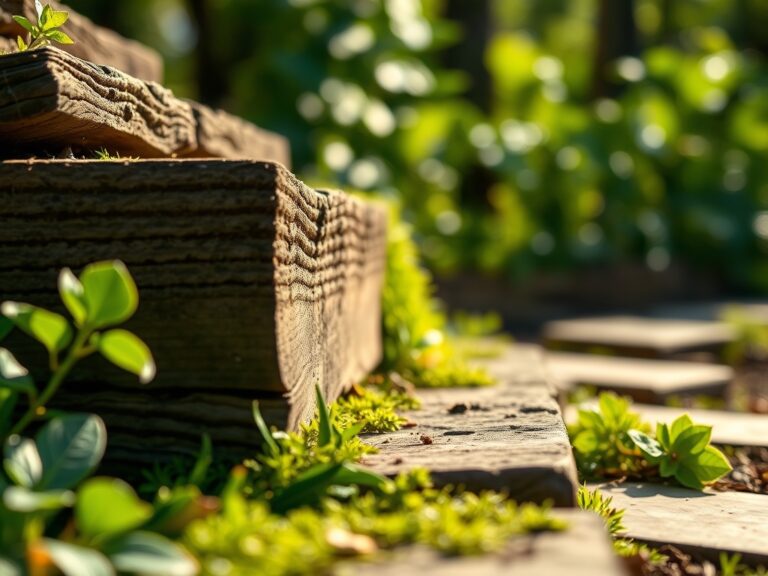
Excavate post holes to a depth of 36 inches or below your local frost line to prevent frost heave. The diameter of the hole should be three times the width of the post. Fill the bottom with 4 inches of crushed stone to facilitate drainage and prevent anaerobic conditions at the base of the timber.
Pro-Tip: Proper drainage at the post base prevents the accumulation of water that leads to fungal pathogens. By keeping the wood dry, you avoid the colonization of wood-decay fungi that thrive in low-oxygen, high-moisture environments.
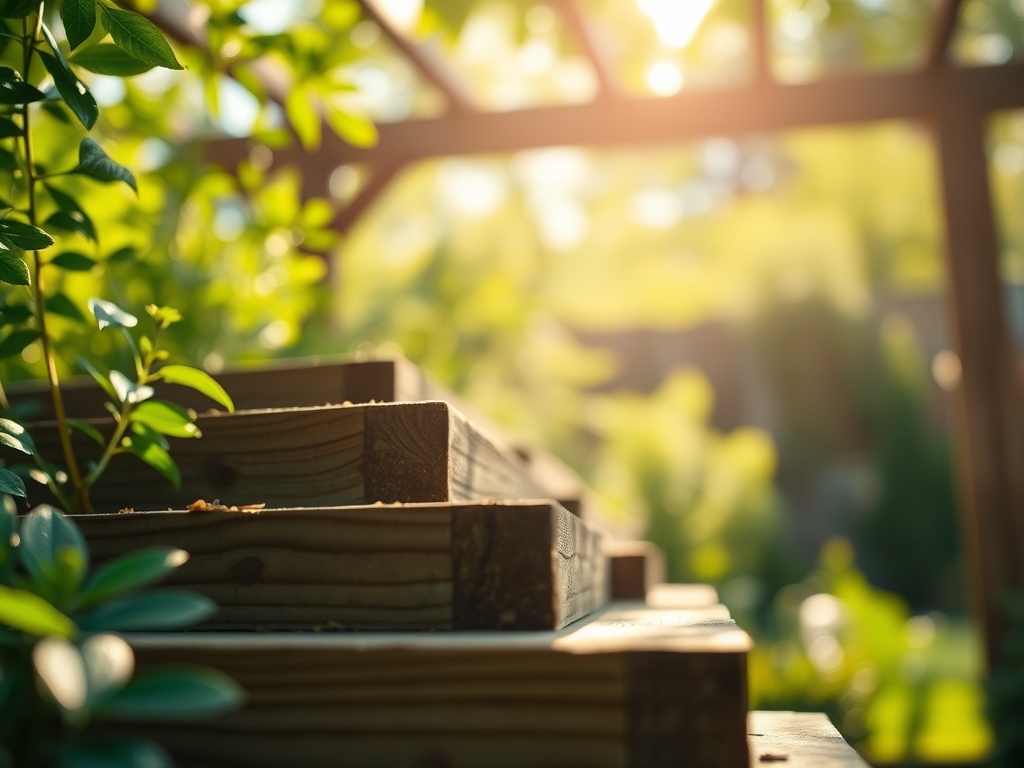
Transplanting the Vertical Elements
Once the concrete has cured for 72 hours, secure your vertical posts. Use a spirit level to ensure perfect plumb. High-quality construction requires the headers to be bolted to the posts using 1/2-inch galvanized carriage bolts. This creates a rigid frame capable of supporting the massive weight of a mature grapevine or climbing hydrangea, which can exceed 500 pounds at maturity.
Pro-Tip: Use a plumb bob to counteract the natural tendency of the structure to lean. This precision ensures that the weight of the canopy is distributed evenly, preventing structural failure during high-wind events that cause mechanical stress on the plant tissues.
Establishing the Canopy
Install the rafters with a spacing of 12 to 16 inches on center. This spacing provides enough surface area for tendrils to wrap around the wood. For plants that utilize adventitious roots for climbing, such as English Ivy, the rough-sawn texture of the wood provides better grip than sanded surfaces.
Pro-Tip: This spacing maximizes light penetration to the lower leaves. By preventing excessive shading, you reduce the rate of senescence in the interior foliage and maintain a higher rate of photosynthesis across the entire plant biomass.
The Clinic:
Physiological disorders in pergola-grown plants often stem from the interaction between the structure and the environment.
Symptom: Leaf scorch on the south-facing side of the pergola.
Solution: This is often caused by high transpiration rates exceeding the roots' ability to supply water. Increase irrigation frequency during peak solar radiation.
Symptom: Interveinal chlorosis in new growth.
Solution: This indicates a Manganese or Iron deficiency, often caused by high soil pH. Apply a chelated micronutrient drench to lower the pH and increase nutrient solubility.
Symptom: Stunted vine elongation and brittle stems.
Solution: Check for Boron deficiency. Boron is essential for cell wall formation and pollen tube growth. Apply a dilute borax solution at a rate of 1 tablespoon per 100 square feet.
Fix-It for Nitrogen Chlorosis: If the older leaves are turning a uniform pale yellow, the plant is scavenging nitrogen for new growth. Apply a high-nitrogen liquid fertilizer with a 20-10-10 NPK ratio to restore chlorophyll density.
Maintenance:
A pergola-based garden requires disciplined hydration and pruning. Deliver 1.5 inches of water per week at the drip line using a soaker hose to ensure deep root penetration. Use a soil moisture meter to verify that the moisture has reached a depth of 8 inches.
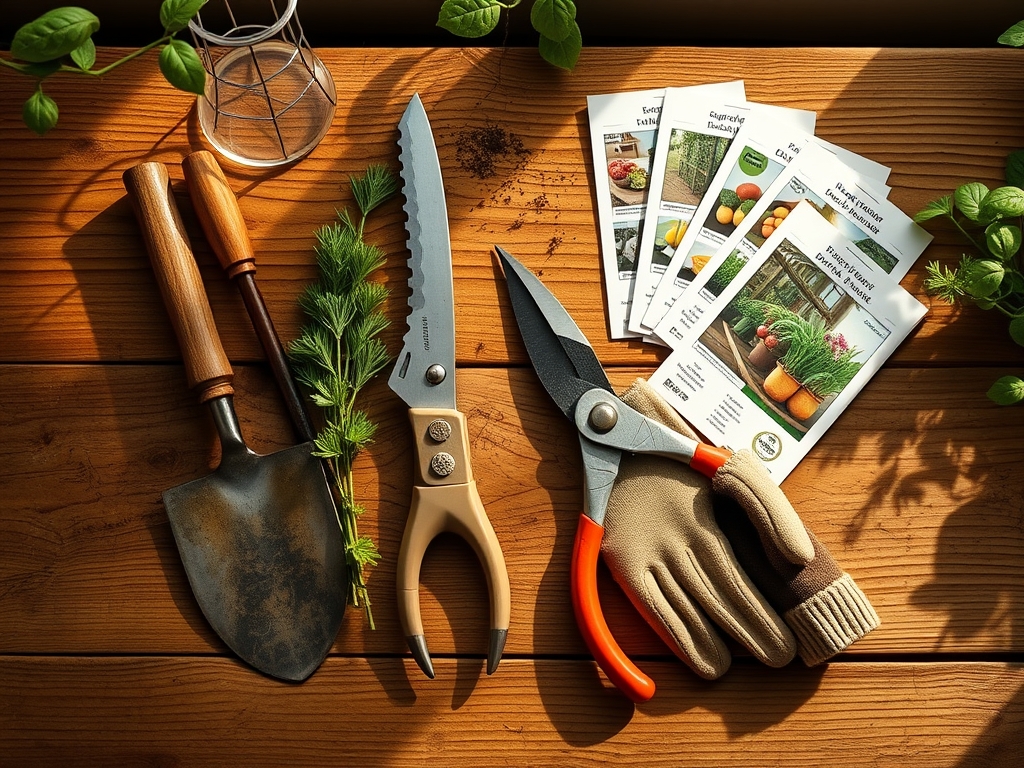
Every spring, use a hori-hori knife to remove weeds competing for nutrients in the rhizosphere. Use bypass pruners to remove dead or diseased wood, making cuts at a 45-degree angle just above a lateral bud. This technique directs the plant's energy toward productive growth and prevents water from pooling on the cut surface, which reduces the risk of infection.
The Yield:
For those growing fruiting vines like grapes on their pergola, harvest timing is determined by the Brix level, which measures sugar content. Use a refractometer to check for a Brix reading of 18 to 22 percent. Harvest in the early morning when the fruit is at peak turgidity. Use sharp snips to cut the clusters, leaving a small portion of the peduncle attached. Store the fruit at 32 degrees Fahrenheit with 90 percent humidity to maintain day-one freshness and prevent shriveling due to moisture loss.
FAQ:
How deep should pergola posts be buried?
Posts must be buried at least 36 inches deep or below the local frost line. This depth prevents structural shifting during freeze-thaw cycles and provides the leverage needed to support heavy vegetative loads and wind resistance.
What is the best wood for a garden pergola?
Western Red Cedar or Pressure-Treated Pine are the industry standards. Cedar contains natural thujaplicins, which are chemical compounds that resist decay and insect infestation. Pressure-treated lumber uses copper-based fungicides to prevent rot in high-moisture garden environments.
How do I prevent my pergola from sinking?
Install a 4-inch layer of compacted gravel or a concrete footer at the base of the post hole. This distributes the downward pressure across a wider surface area, preventing the vertical timber from penetrating the soft subsoil over time.
Can I grow heavy vines like Wisteria on a pergola?
Yes, provided the structure uses 6×6 posts and 2×8 headers. Wisteria produces significant torque as it matures; therefore, all joints must be secured with heavy-duty carriage bolts rather than simple wood screws to prevent structural collapse.