6 Steps to Install a Decorative Backyard Garden Screen
The smell of damp earth after a spring rain signals the peak of turgor pressure in cellular structures; it is the ideal moment for structural intervention. Establishing a vertical barrier requires more than aesthetic placement. You must understand the physics of wind resistance and the chemistry of the rhizosphere. Following the specific steps for installing a garden screen ensures your perimeter withstands environmental stressors while supporting the physiological needs of the surrounding flora.
Materials:

The foundation of any screen installation begins with the substrate. You require a **friable loam** with a Cation Exchange Capacity (CEC) between **15 and 25 milliequivalents per 100 grams**. This ensures the soil can hold essential nutrients against the leaching effects of irrigation. Before setting posts, test the soil pH; a range of **6.2 to 6.8** is optimal for most screening plants.
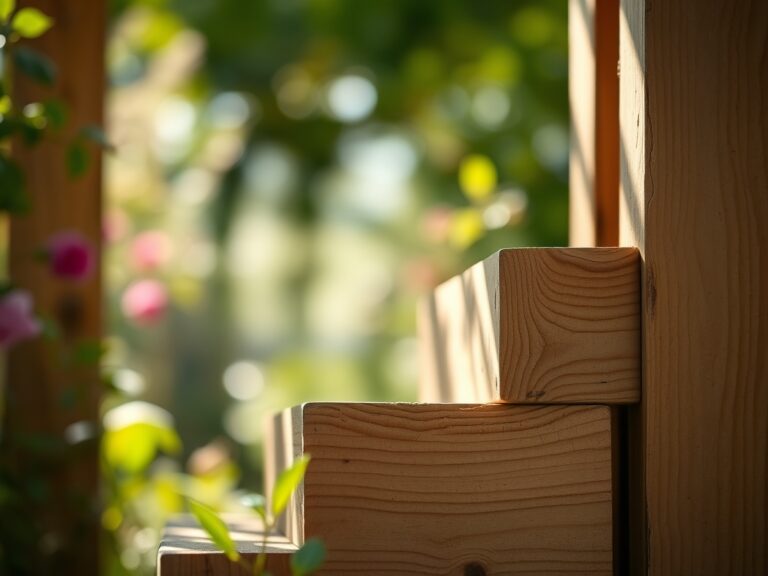
For the initial planting phase, prepare a specialized amendment mix. Use an NPK ratio of 5-10-5 for woody perennials to prioritize root development over rapid foliar growth. Phosphorus is critical during the establishment phase to catalyze ATP production within the root tips. Ensure you have high-grade pressure-treated timber or powder-coated steel frames to prevent fungal pathogens from colonizing the structure and migrating to your botanical specimens.
Timing:
Timing is dictated by the Hardiness Zone and the biological clock of your selected species. In Zones 5 through 7, installation should occur at least six weeks before the first hard frost or immediately after the spring thaw when soil temperatures reach a consistent 50 degrees Fahrenheit.
The biological clock of the plant transitions from the vegetative stage to dormancy as the photoperiod shortens. Installing during the late vegetative stage allows the root system to colonize the local soil profile without the metabolic demand of flower production or seed set. Avoid installation during peak summer temperatures exceeding 90 degrees Fahrenheit to prevent excessive transpiration and permanent wilting point stress.
Phases:

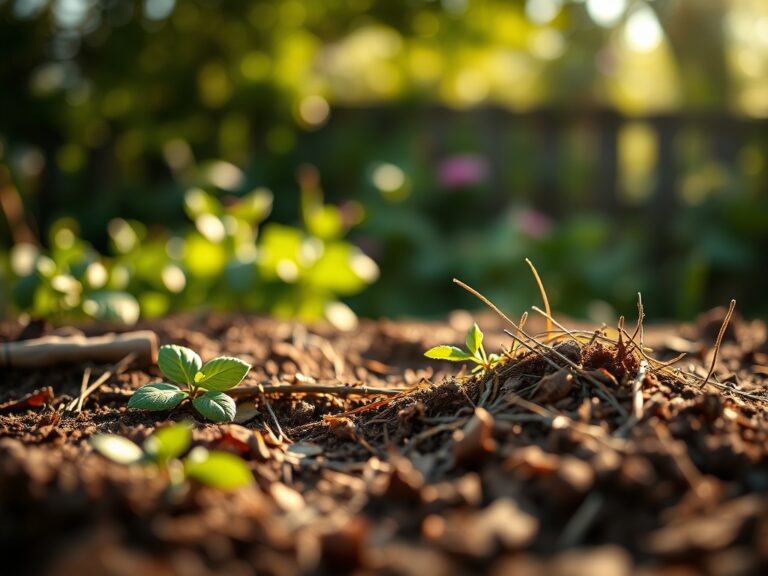
### Sowing and Site Preparation
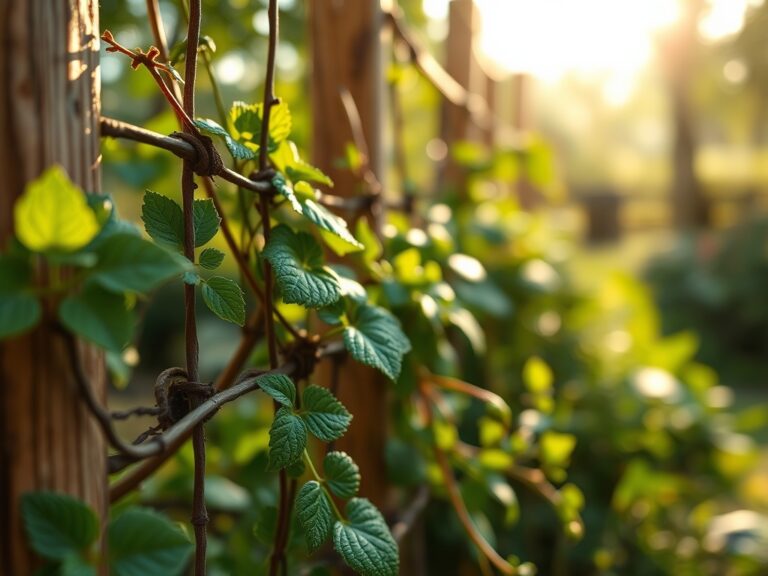
Clear the installation line of all competitive biomass. Dig post holes to a depth of **one-third the total height** of the screen to ensure structural integrity against lateral wind loads. If you are integrating climbing vines, sow seeds or prepare planting pockets **12 inches** from the base of the structure.
Pro-Tip: Utilize mycorrhizal inoculants in the planting hole. This promotes mycorrhizal symbiosis, extending the root system's reach for phosphorus and water by up to 100 times through fungal hyphae.
Transplanting
When moving container-grown specimens to the screen base, ensure the root ball remains intact. Use a hori-hori knife to score any circling roots. This mechanical disruption breaks apical dominance in the root tips and encourages lateral branching into the new soil matrix.
Pro-Tip: Align the plant so the most developed foliage faces the primary light source. This utilizes phototropism, the hormonal response where auxins migrate to the shaded side of the stem, causing cells to elongate and push the plant toward the sun.
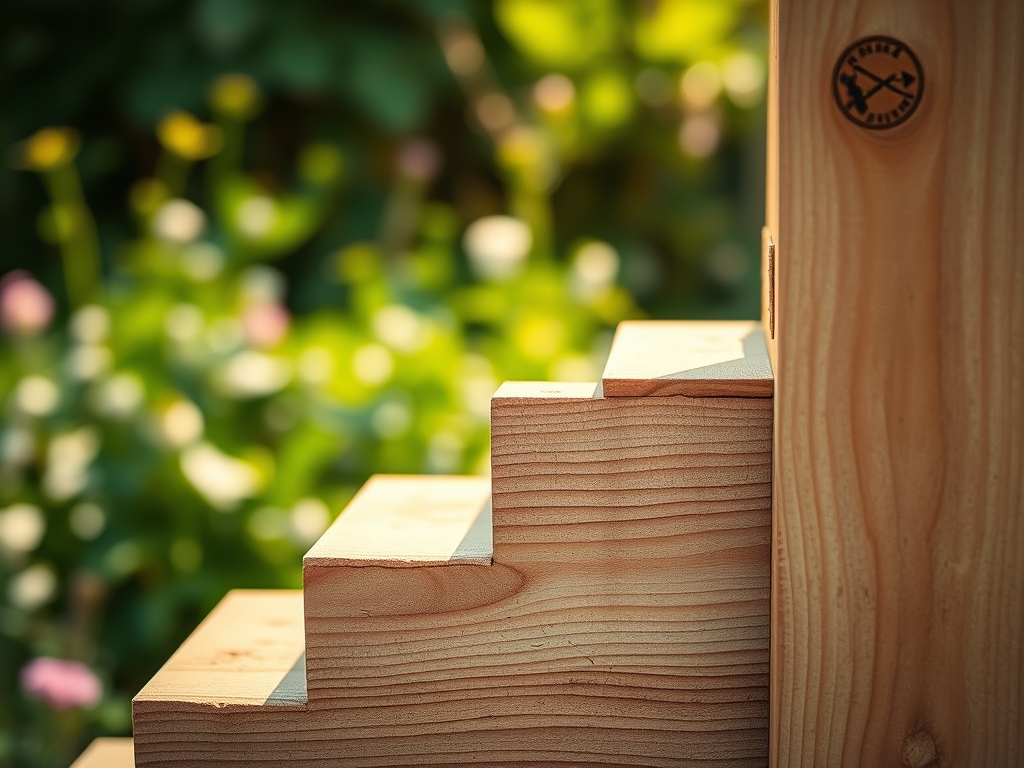
Establishing
Secure the screen panels using galvanized fasteners to prevent oxidation. If using a living screen, provide a temporary support system using soft jute twine. Monitor the turgor pressure of the leaves daily. If the foliage appears flaccid, the xylem is failing to transport water at the rate of transpiration.
Pro-Tip: Avoid over-pruning during the first season. Maintaining a high leaf-to-stem ratio preserves auxin suppression of lateral buds, allowing the plant to focus energy on vertical height and structural wood development.
The Clinic:
Physiological disorders often mimic pathogen attacks but result from environmental or nutritional imbalances.
Symptom: Interveinal chlorosis on new growth (yellowing between green veins).
Solution: This indicates an Iron deficiency, often caused by high soil pH locking out micronutrients. Apply chelated iron and sulfur to lower pH to 6.5.
Symptom: Marginal leaf burn or "scorching."
Solution: This suggests Potassium deficiency or salt accumulation. Flush the rhizosphere with clean water and apply a 0-0-50 potassium sulfate amendment.
Symptom: Stunted growth with purple-tinted undersides of leaves.
Solution: Phosphorus deficiency. The plant cannot complete energy transfers. Apply bone meal or a high-phosphate starter fertilizer.
Fix-It for Nitrogen Chlorosis: If the entire leaf turns pale yellow starting from the bottom of the plant, the specimen is scavenging nitrogen for new growth. Apply a quick-release 10-0-0 organic liquid fertilizer to restore chlorophyll density.
Maintenance:
Precision is the difference between a surviving screen and a thriving one. Deliver 1.5 inches of water per week directly at the drip line. Use a soil moisture meter to ensure the root zone at a 6-inch depth remains consistently moist but not anaerobic.
Use bypass pruners for all structural cuts. Unlike anvil pruners, bypass blades act like scissors, creating a clean wound that the plant can compartmentalize quickly through the production of callus tissue. In late winter, perform "renewal pruning" by removing one-third of the oldest wood to stimulate juvenile growth. Monitor the screen hardware annually; tighten bolts and check for structural fatigue caused by the increasing weight of the maturing biomass.
The Yield:
If your garden screen includes flowering species like Clematis or Lonicera, harvest blooms when the first two petals begin to unfurl. Use a sharp blade to cut at a 45-degree angle to maximize the surface area of the xylem for water uptake.
To maintain "day-one" freshness, immediately submerge the stems in 110-degree Fahrenheit water and move them to a cool, dark location for two hours. This "hardening off" process forces water into the vascular system, maximizing turgor and preventing premature senescence of the flower head.
FAQ:
How deep should I set the screen posts?
Set posts at a depth equal to 30 to 35 percent of the total above-ground height. For a 6-foot screen, dig at least 24 inches deep. Use gravel at the base to ensure drainage and prevent root rot.
What is the best NPK ratio for screen plants?
Use a balanced 10-10-10 for established plants. For new installs, use a 5-10-5 ratio. High phosphorus levels encourage the robust root architecture necessary to support the weight of the vertical screen over time.
Can I install a screen in heavy clay soil?
Yes, but you must amend the site. Incorporate 3 inches of organic matter to improve the Cation Exchange Capacity and aeration. Plant on a slight mound to prevent water from pooling around the crown and causing fungal infections.
How do I prevent the screen from blowing over?
Ensure the screen has 20 percent porosity to allow wind to pass through rather than creating a solid sail. Use heavy-duty anchors and ensure all wooden components are rated for ground contact to prevent structural failure at the soil line.