6 Steps to Build a Custom Home Garden Bridge
Damp earth emits a sharp, metallic scent of geosmin as the spade breaks the surface tension of a friable loam. To the trained eye, the turgor of a healthy leaf indicates a plant at peak hydraulic efficiency; however, the physical layout of the garden often requires structural intervention to manage foot traffic and protect the delicate rhizosphere. Implementing the steps for building a garden bridge allows for the seamless crossing of swales or irrigation channels without compacting the soil. Soil compaction reduces pore space, which limits oxygen availability to the roots and disrupts the gas exchange necessary for cellular respiration. A bridge acts as a permanent bypass, ensuring that the Cation Exchange Capacity (CEC) of the growing beds remains uncompromised by heavy footfalls. By elevating the path, you preserve the structural integrity of the soil aggregates and maintain the complex fungal networks that define a productive ecosystem. This project is not merely aesthetic; it is a tactical deployment of hardscaping to protect the biological vitality of your land.
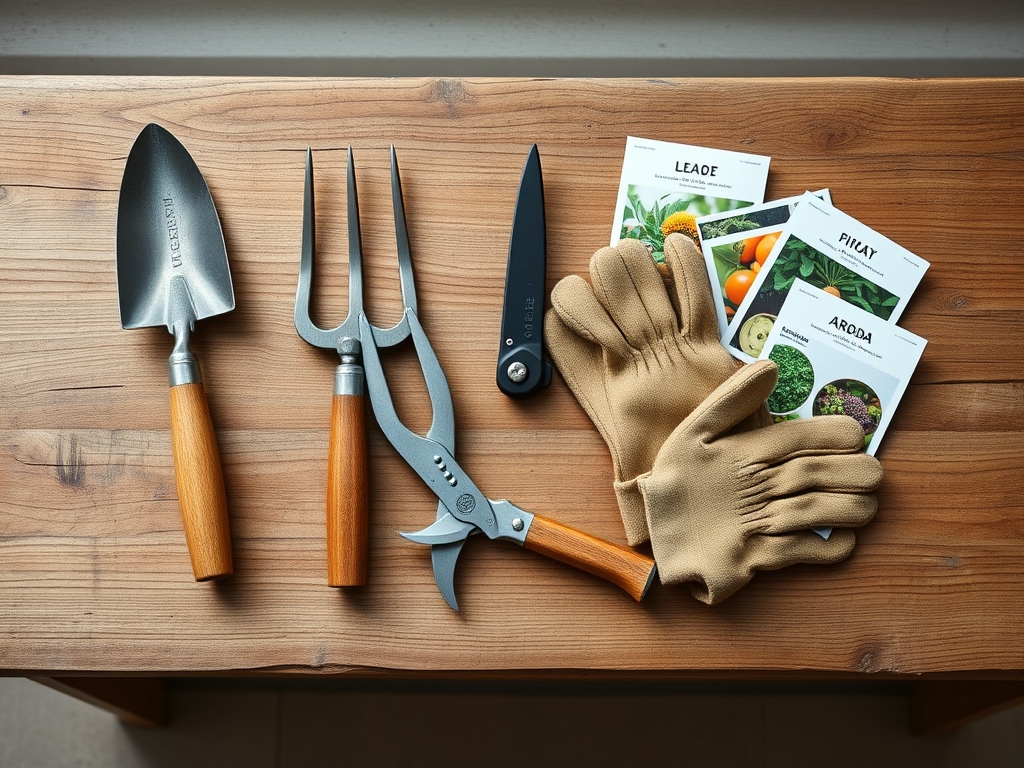
Materials:
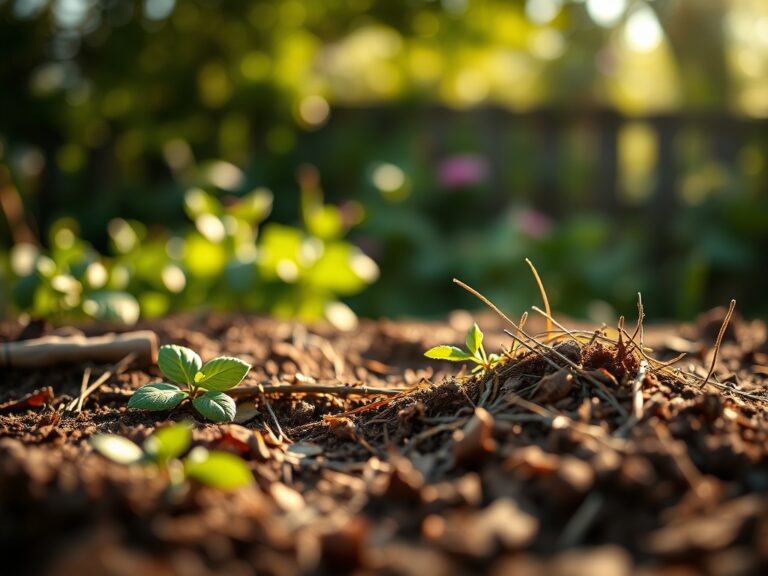
The foundation of any garden structure begins with the substrate it rests upon. For a bridge, the footings must be anchored in a soil with a **pH between 6.0 and 7.0** to prevent the rapid corrosion of galvanized hardware. The ideal substrate is a **friable loam** consisting of 40 percent sand, 40 percent silt, and 20 percent clay. This balance ensures adequate drainage while providing the mechanical stability required to support a timber load. Before construction, amend the surrounding soil with a balanced **10-10-10 NPK ratio** fertilizer to support the root systems of the groundcover plants that will stabilize the bridge embankments. High nitrogen levels (the first 10) promote the vegetative growth of grasses like Festuca rubra, which use their fibrous root systems to prevent erosion around the bridge footings. Ensure the soil has a high **Cation Exchange Capacity (CEC)**, ideally above 15 meq/100g, to retain the nutrients necessary for the post-construction recovery of the site.
Timing:
Construction should be synchronized with the local Biological Clock to minimize environmental stress. In Hardiness Zones 5 through 8, the optimal window for ground disturbance is late autumn or early spring, specifically when the soil temperature is between 45 and 55 degrees Fahrenheit. During this period, most perennial species are entering or exiting senescence, a state of biological dormancy where metabolic activity is minimized. Avoid construction during the peak of the photoperiod in mid-summer; high temperatures increase the transpiration rate, making any nearby vegetation highly susceptible to wilt if the root zone is disturbed. By building during the frost-date window (after the first hard frost but before the ground freezes solid at a depth of 4 inches), you ensure that the soil is stable enough for excavation without the risk of heavy spring rains causing immediate runoff or slope failure.
Phases:

Sowing the Foundation
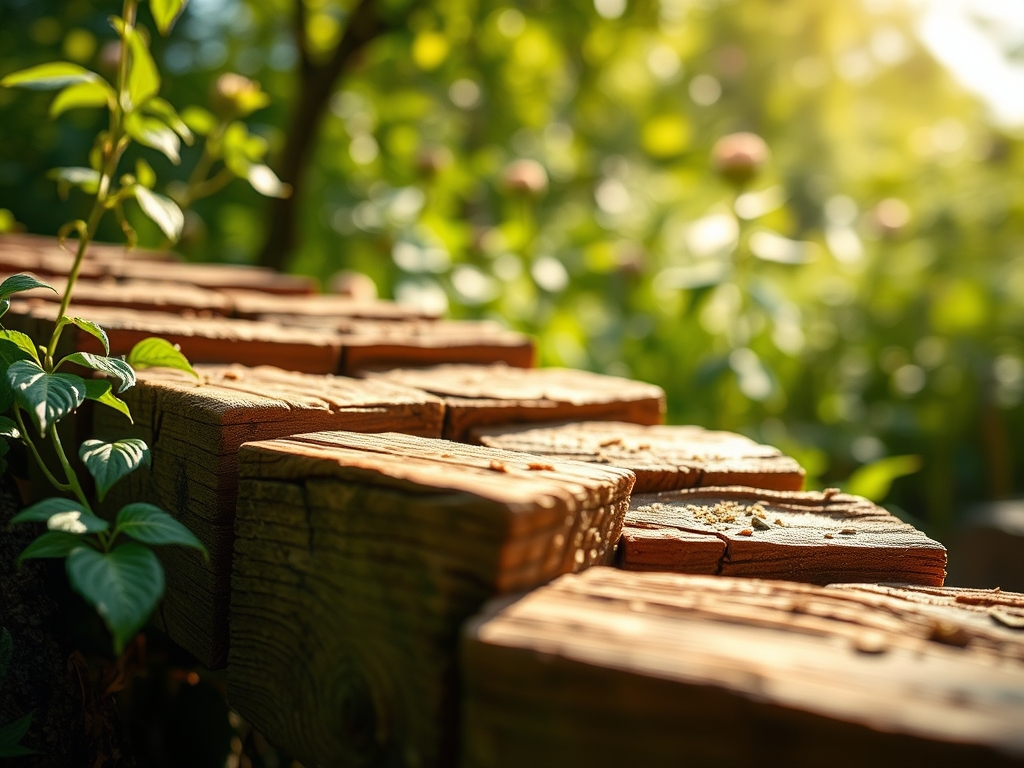
The first phase involves excavating the bridge footings to a depth of 12 inches below the frost line. This prevents heaving during freeze-thaw cycles. Line the base with 3 inches of crushed limestone to facilitate drainage and provide a stable, level surface for the pressure-treated sills.
Pro-Tip: Proper drainage prevents the accumulation of anaerobic bacteria. A Biological Why for this is that excess moisture displaces oxygen in the soil pores, leading to root rot (Phytophthora) in the surrounding plants due to a lack of aerobic respiration.
Transplanting and Anchoring
Once the sills are set, anchor the primary stringers using 3/8-inch galvanized carriage bolts. If you are moving established plants to accommodate the bridge, ensure you keep the root ball intact. Use a hori-hori knife to clean-cut any damaged roots.
Pro-Tip: When pruning roots during a transplant, always make sharp, clean cuts to stimulate the production of auxins. This Biological Why centers on auxin suppression; by removing the root tip, you break apical dominance, forcing the plant to produce lateral roots that establish more quickly in the new location.
Establishing the Decking
Install the walking surface using 2×6 cedar or redwood planks, leaving a 1/8-inch gap between boards for expansion and water shedding. This gap prevents the pooling of water, which can lead to fungal colonization on the wood surface.
Pro-Tip: Direct the bridge away from large trees to avoid phototropism issues. The Biological Why is that the bridge structure can create a "light shadow," causing groundcover plants to grow at an unnatural angle as they seek the blue-light spectrum necessary for photosynthesis.
The Clinic:
Physiological disorders in the garden often manifest after the soil has been disturbed by construction. Monitor the following symptoms:
-
Symptom: Interveinal chlorosis (yellowing between leaf veins) on nearby shrubs.
Solution: This indicates Nitrogen chlorosis or iron deficiency. Test the soil pH; if it has risen above 7.5 due to concrete runoff, apply chelated iron or elemental sulfur to lower the pH to 6.5. -
Symptom: Marginal leaf burn on young transplants.
Solution: This is often caused by high salt index fertilizers or "transplant shock" resulting in low turgor pressure. Increase irrigation to 2 inches per week to flush the root zone. -
Symptom: Stunted growth and purple-tinted foliage.
Solution: This is a classic Phosphorus deficiency. Apply a 0-20-0 superphosphate fertilizer to the rhizosphere to support ATP production and energy transfer within the plant.
Fix-It: If the soil becomes compacted during the bridge build, use a broadfork to aerate the area without flipping the soil profile. This restores the macropores needed for water infiltration.
Maintenance:
A bridge requires as much care as the plants it spans. Use a soil moisture meter twice weekly to check the hydration levels at the bridge footings; the goal is a consistent 25 to 30 percent moisture content. Apply 1.5 inches of water per week at the drip line of any plants flanking the bridge. During the spring, use bypass pruners to remove any encroaching vegetation that might trap moisture against the wood, as this encourages wood-decay fungi. Annually, check the structural integrity of the timber. If the wood feels soft, it may be a sign of saprophytic fungal activity. Treat the wood with a non-toxic, copper-based preservative that will not leach harmful heavy metals into the rhizosphere or affect the mycorrhizal symbiosis in the soil.
The Yield:
While a bridge does not produce a harvest in the traditional sense, the area beneath it becomes a microclimate. This shaded, high-humidity zone is ideal for harvesting mosses or shade-loving herbs. If you are growing edible crops nearby, harvest them when their turgor pressure is highest, typically before 8:00 AM. Use a sharp hori-hori knife for clean removals. For "day-one" freshness, immediately submerge the cut ends in 40-degree Fahrenheit water to slow the rate of senescence and preserve the volatile oils within the plant tissue.
FAQ:
What is the best wood for a garden bridge?
Use cedar or redwood for natural rot resistance. These species contain high concentrations of tannins and oils that inhibit fungal growth. Pressure-treated lumber is also an option but ensure it is rated for ground contact and won't leach chemicals.
How deep should the bridge footings be?
Footings must reach at least 12 inches below the local frost line. This prevents the soil from "heaving" during the winter, which can warp the bridge frame and snap the galvanized fasteners used in construction.
Does a bridge affect soil health?
Bridges actually improve soil health by preventing compaction. By directing foot traffic over a structural span, you protect the macropores and micropores in the soil, allowing for better water infiltration and healthier root gas exchange.
How do I prevent the bridge from becoming slippery?
Maintain a 1/8-inch gap between planks to allow for drainage. Regularly clear organic debris with a stiff brush to prevent the growth of algae or moss, which thrive in moist, shaded conditions on wooden surfaces.