9 Tips: Using a Border Spade for Precision Home Landscaping
The smell of damp, anaerobic clay gives way to the metallic scent of a sharpened steel blade slicing through a dense rhizosphere. This is the sensory reality of precision horticulture. When using a spade for home landscaping, the tool acts as a surgical instrument rather than a blunt force implement. A border spade, characterized by its narrower blade and shorter handle, allows for a level of control that a standard digging shovel cannot provide. This control is essential for maintaining the turgor pressure of delicate perennials during a transplant. A precise cut minimizes the surface area of root damage; this prevents excessive sap loss and reduces the risk of opportunistic fungal pathogens entering the vascular system. Successful landscaping requires an understanding of the physics of the soil and the biology of the root zone. By utilizing a spade with a flat face and a sharp edge, you can maintain the structural integrity of the soil profile. This ensures that the pore space necessary for oxygen exchange remains intact while you define the boundaries of your cultivated space.
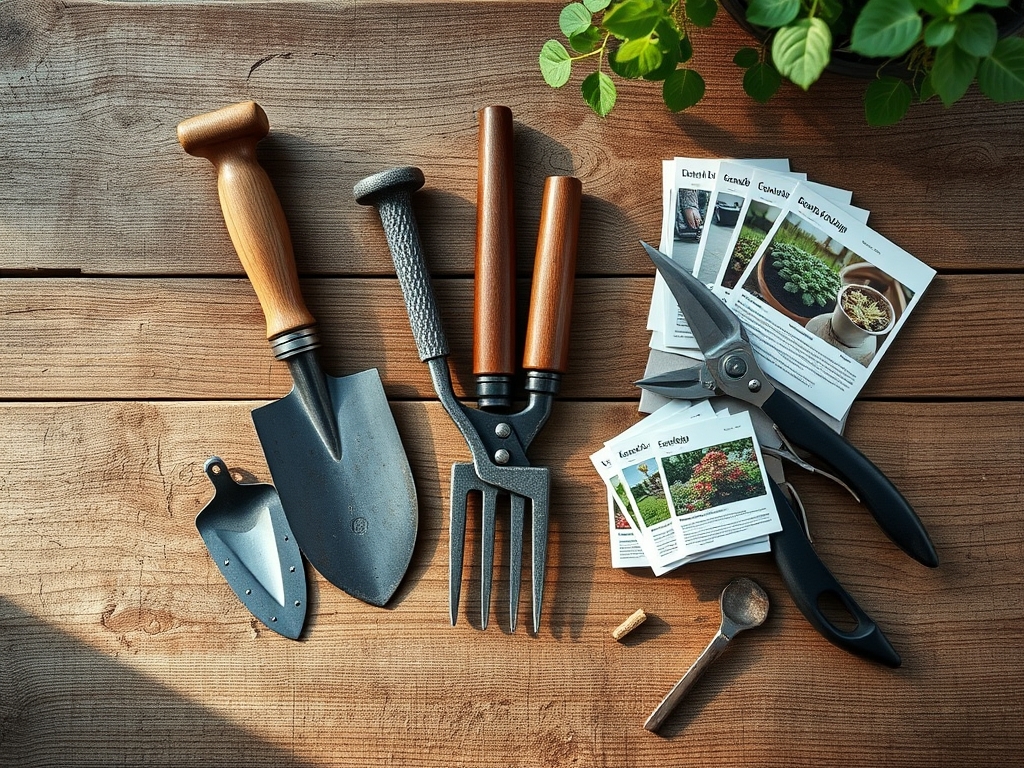
Materials:
Precision landscaping begins with the substrate. The ideal medium is a **friable loam** consisting of roughly 40 percent sand, 40 percent silt, and 20 percent clay. This balance ensures a high **Cation Exchange Capacity (CEC)**, allowing the soil to retain essential nutrients like ammonium, calcium, and magnesium. For most ornamental and vegetable crops, a soil pH between **6.2 and 6.8** is optimal to ensure nutrient bioavailability.
Before using your spade, verify your nutrient baseline. A standard maintenance NPK ratio of 10-10-10 is often sufficient for general establishment; however, high-phosphorus blends like 5-10-5 are preferred when encouraging root development during the transplant phase. If the soil feels greasy and stains your palms, the clay content is too high; if it fails to hold a shape when squeezed, it lacks the organic matter necessary for moisture retention. Amend heavy clays with gypsum or coarse organic compost to improve drainage and prevent root rot.
Timing:
Timing is dictated by the USDA Hardiness Zones and the specific frost-date windows of your microclimate. In Zones 5 through 7, the primary window for heavy spade work occurs when the soil temperature reaches a consistent 45 to 50 degrees Fahrenheit. Working the soil when it is saturated or frozen will collapse the soil structure; this leads to compaction that restricts root elongation.
Observe the Biological Clock of your specimens. The transition from the vegetative stage to the reproductive stage is a period of high metabolic demand. For deciduous shrubs, the ideal time for using a spade for home landscaping is during dormancy (late winter or early spring). This allows the plant to establish new root hairs before the photoperiod triggers leaf flush. Once the plant enters its reproductive phase, energy is diverted to flowering and seed production; transplanting at this stage often results in senescence or total plant failure due to the inability to meet the transpiration demands of the foliage.
Phases:
Sowing and Bed Preparation
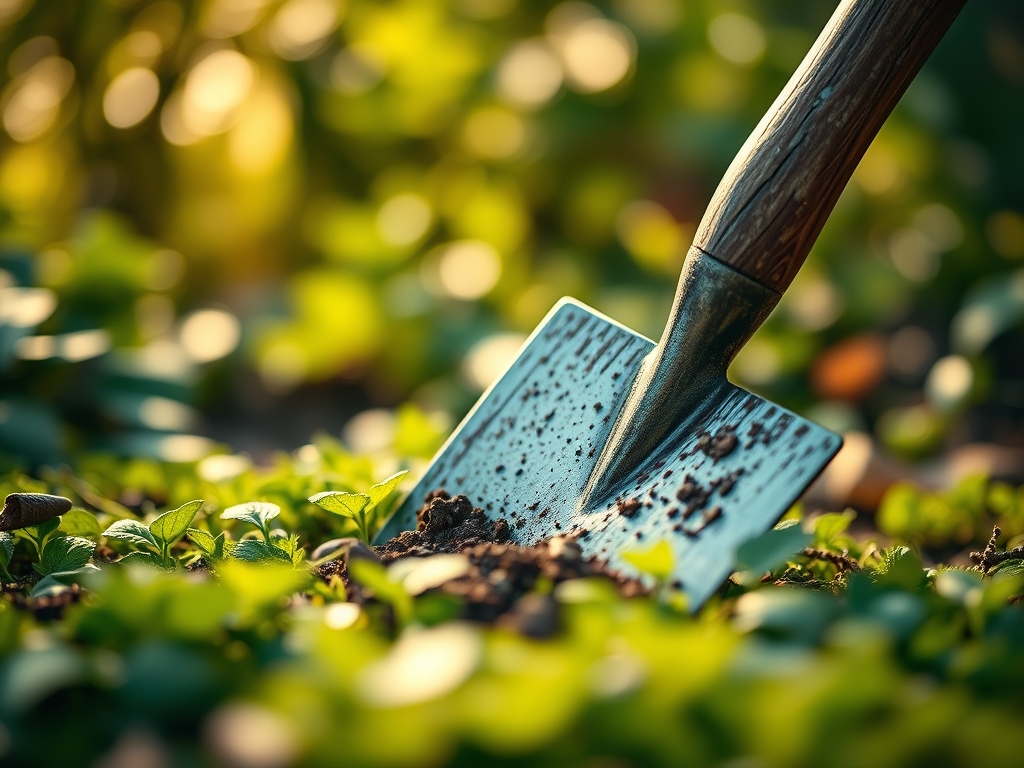
When preparing a new bed, use the border spade to "edge" the perimeter first. Drive the blade vertically to a depth of 6 to 8 inches. This creates a physical barrier that severs the stolons of invasive turfgrasses. Turn the soil only to the depth of the spade blade to avoid bringing dormant weed seeds to the surface.
Pro-Tip: Minimizing soil inversion protects the mycorrhizal symbiosis within the soil. These fungal networks extend the reach of the root system; they improve phosphorus uptake and water absorption.
Transplanting
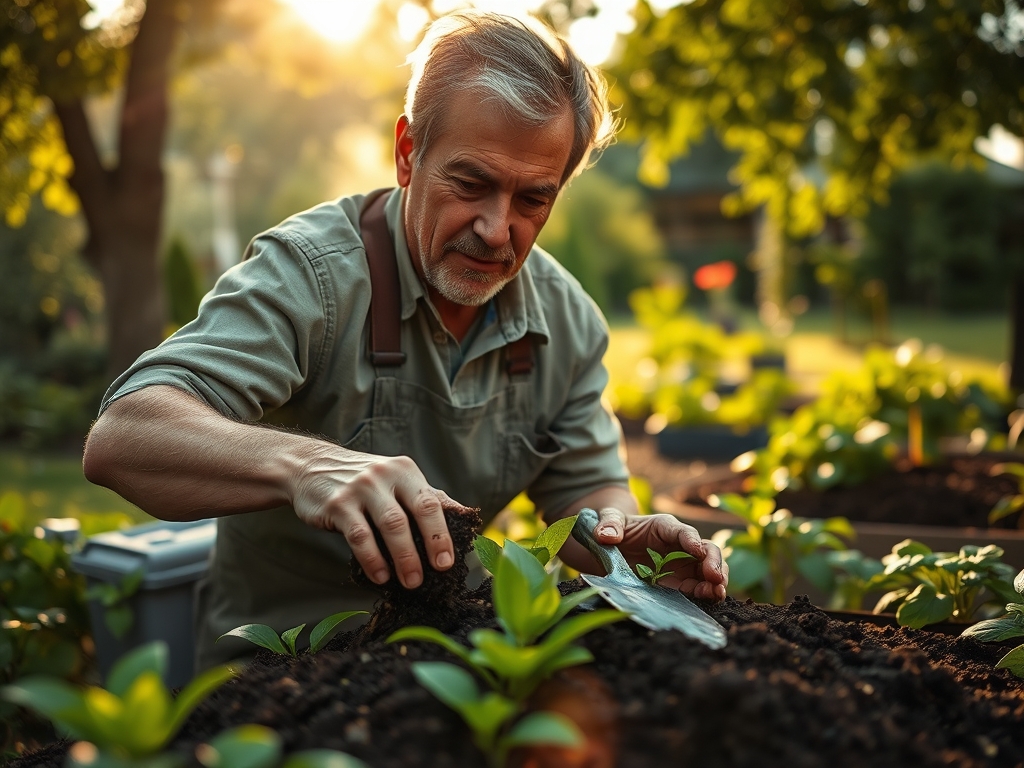
To move a plant, use the spade to cut a circle around the drip line. The goal is to keep the root ball intact. Tilt the spade handle away from the plant to use the head as a lever. This technique lifts the specimen while keeping the soil adhered to the fine feeder roots.
Pro-Tip: Maintaining the orientation of the plant relative to the sun prevents phototropic stress. Replanting at the same depth ensures the root collar remains exposed to oxygen; this prevents stem rot.
Establishing
After placing the plant, use the spade to backfill with a mixture of native soil and organic amendments. Firm the soil with the flat of the blade rather than your boot to avoid over-compaction. Create a small "well" or berm around the base to direct water toward the primary root mass.
Pro-Tip: Firming the soil removes large air pockets that cause root desiccation. This ensures direct contact between the root epidermis and the soil solution; it facilitates the immediate uptake of water and dissolved minerals.
The Clinic:
Physiological disorders often mimic disease but are usually rooted in soil mechanics or chemistry.
- Symptom: Interveinal chlorosis (yellowing leaves with green veins) on new growth.
- Solution: This indicates an Iron deficiency, often caused by a pH above 7.0. Use your spade to incorporate elemental sulfur to lower the pH.
- Symptom: Marginal leaf burn or "scorching" on older leaves.
- Solution: This suggests Potassium deficiency or salt accumulation. Flush the root zone with 2 inches of water and apply a high-potash fertilizer.
- Symptom: Wilting despite moist soil.
- Solution: This is likely Root Rot (Phytophthora). The soil is too compacted. Use the spade to aerate the perimeter and improve drainage.
Fix-It for Nitrogen Chlorosis: If the entire plant is pale green, apply a quick-release nitrogen source like blood meal. Incorporate it into the top 2 inches of soil using a hori-hori knife to avoid disturbing the main root structure.
Maintenance:
Precision landscaping requires consistent monitoring. Plants generally require 1.5 inches of water per week delivered at the drip line. Use a soil moisture meter to verify that the water is penetrating at least 6 inches deep. For maintenance pruning, use bypass pruners to make clean, angled cuts that shed water.
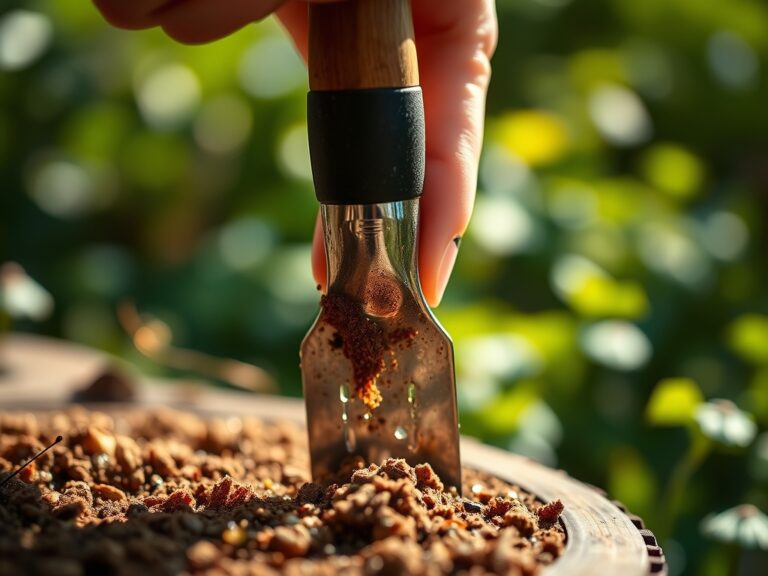
The border spade itself requires upkeep. Clean the blade after every use to prevent the spread of soil-borne pathogens. Sharpen the edge with a mill file at a 45-degree angle. A sharp spade requires less force; this reduces the risk of "glancing" blows that can crush plant stems or damage the handles of your tools. Store tools in a bucket of sand mixed with motor oil to prevent oxidation.
The Yield:
For those growing flowers or woody ornamentals, the "yield" is the successful harvest of blooms or cuttings. Harvest in the early morning when turgor pressure is at its peak. Use a sharp blade to make a clean cut at a node. Immediately plunge the stems into water cooled to 40 degrees Fahrenheit. This "cold shock" slows down the metabolic rate and closes the stomata; it preserves the freshness of the tissue for several days. For woody stems, a vertical slit at the base of the cutting increases the surface area for water uptake.
FAQ:
How deep should I dig when edging a garden bed?
Drive the spade 6 to 8 inches into the soil. This depth is sufficient to sever the roots of most turfgrasses and create a clean, professional edge that prevents grass from encroaching into the ornamental beds.
Can I use a spade to divide perennials?
Yes. Use a sharp border spade to slice through the center of the root crown during the plant's dormant phase. Ensure each division has at least three healthy buds and a substantial portion of the root mass for re-establishment.
What is the difference between a shovel and a spade?
A shovel has a curved, pointed blade designed for moving loose material. A spade has a flat, square blade and a straight edge; it is designed for cutting through roots, sod, and creating precise holes in the landscape.
How do I prevent my spade from rusting?
Clean the blade with a wire brush after each use to remove soil and moisture. Wipe the metal with a thin layer of mineral oil or store the head in a bucket of oiled sand to provide a protective barrier.
Why is my soil too hard for the spade to penetrate?
High clay content or extreme dehydration causes soil compaction. Apply 1 inch of water to the area 24 hours before digging to soften the substrate; alternatively, incorporate organic matter to improve the long-term friability of the soil.