7 Steps to Clean a Garden Spade After Heavy Digging
Damp earth clings to high carbon steel with a stubborn tenacity that initiates oxidation within minutes of contact. The smell of geosmin rising from a freshly turned trench signals more than just fertile soil; it marks the beginning of a chemical reaction where moisture and oxygen begin to degrade your primary digging tool. Proper maintenance is not about aesthetics. It is a functional necessity to prevent the cross contamination of soilborne pathogens like Fusarium or Phytophthora between beds. Following specific steps for cleaning a garden spade after use ensures the blade maintains its edge and the metal retains its structural integrity. Neglecting this routine leads to pitted steel and duller cuts, which increases the physical force required for every subsequent plunge into the rhizosphere. A clean spade glides through the soil profile with minimal resistance, preserving the turgor pressure of nearby root systems by making clean, surgical incisions rather than tearing through delicate vascular tissues.
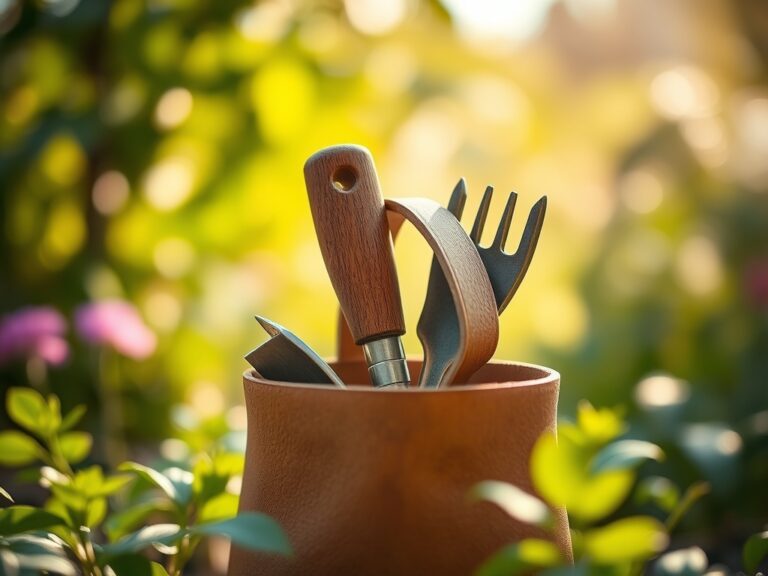
Materials:
To maintain a spade used in **friable loam** with a **pH of 6.5**, you must understand the substrate chemistry. Soil with a high **Cation Exchange Capacity (CEC)** often contains clay particles that bond electrostatically to metal surfaces. For cleaning, you require a stiff wire brush, a bucket of coarse builder’s sand, and linseed oil. If you are working in soils with high phosphorus levels (an **NPK ratio of 10-20-10**), the mineral buildup can be particularly abrasive. Use a file with a **10 inch mill bastard cut** to reset the bevel. Avoid synthetic lubricants that can leach petroleum distillates into the soil, as these disrupt the delicate balance of the soil food web and can inhibit the germination of sensitive seeds.
Timing:
In Hardiness Zones 5 through 7, the window for heavy digging usually occurs between the first thaw and the last spring frost. During the transition from the vegetative to the reproductive stage of your garden, the biological clock of the soil is at its peak activity. Cleaning must occur immediately after use, before the mud dries and hardens into a concrete-like crust. If you leave a spade coated in wet soil overnight when temperatures drop below 32 degrees Fahrenheit, the freezing water within the soil pores expands, which can micro-fracture wooden handles and accelerate rust in the socket.
Phases:

Sowing the Habit of Mechanical Removal
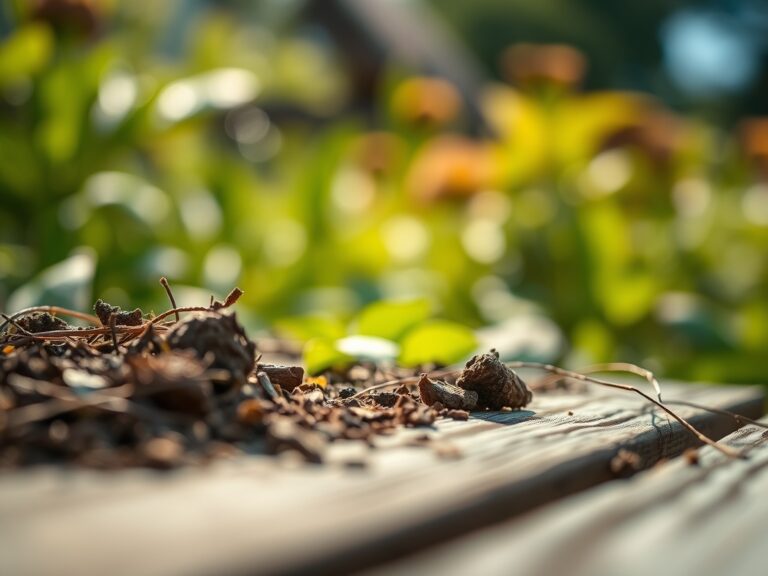
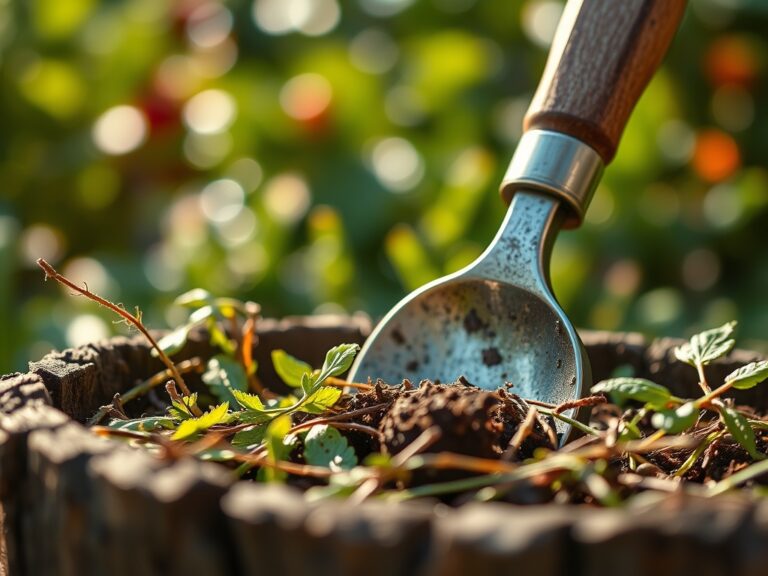
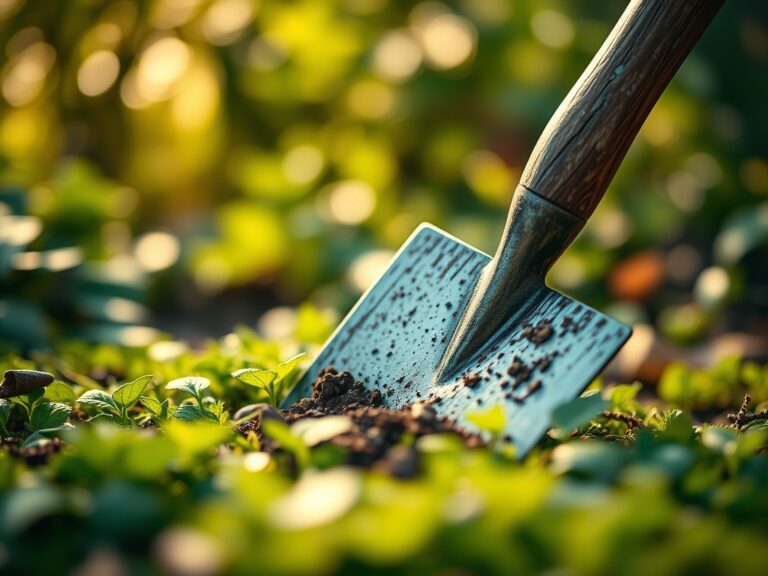
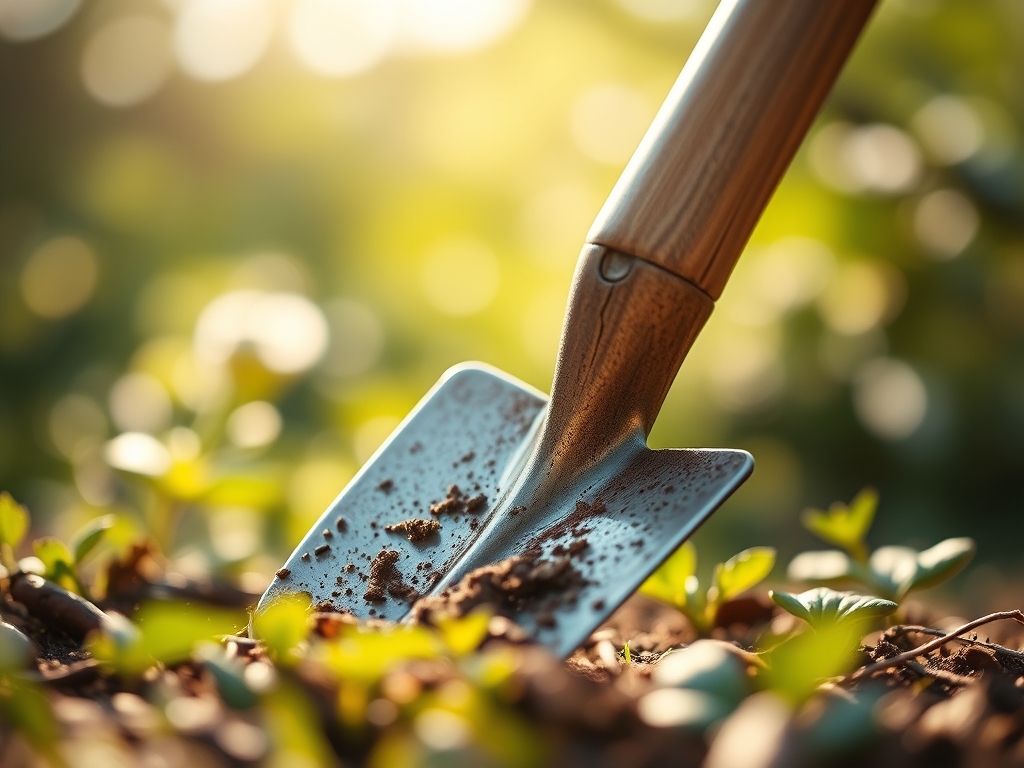
The first step involves the physical displacement of bulk soil. Use a wooden lath or a dedicated scraping tool to remove large clumps of earth from both the face and the back of the blade. Pay close attention to the "frogs" or the area where the handle meets the blade socket.
Pro-Tip: Removing soil prevents the transport of weed seeds and dormant fungal spores. This is a form of biological security that protects the mycorrhizal symbiosis in your established beds from invasive competition.
Transplanting to the Wash Station
Once the bulk material is gone, use a high pressure stream of water to blast away the remaining film. For stubborn clay, a stiff nylon brush is required. Do not use boiling water; while it sterilizes, it can also cause the metal to expand and contract too rapidly, potentially loosening the rivets.
Pro-Tip: Drying the tool immediately is essential to stop the process of oxidation. Rapid drying prevents the formation of ferric oxide, which would otherwise create a rough surface that increases friction during the next dig.
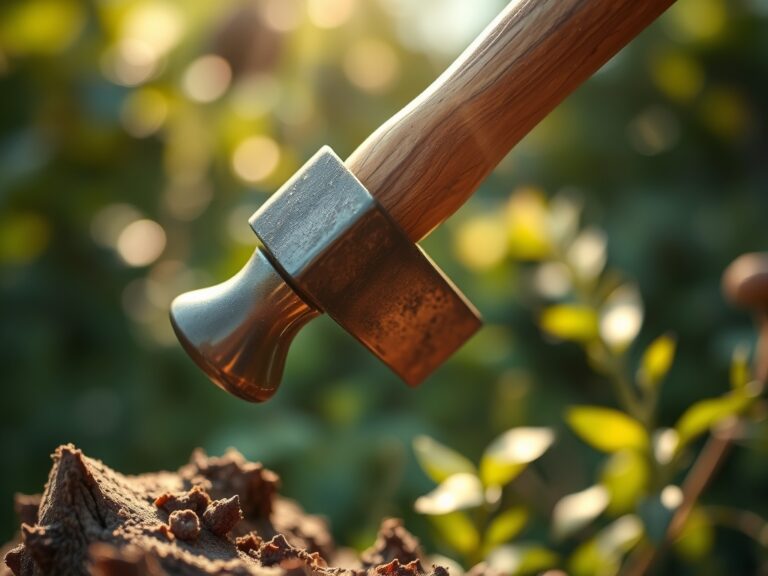
Establishing the Protective Layer
After the blade is bone dry, plunge it into a bucket filled with sand and a small amount of vegetable based oil. This abrasive action polishes the metal while the oil creates a hydrophobic barrier. This barrier prevents oxygen from reaching the steel surface during storage.
Pro-Tip: A smooth, oiled blade reduces the "drag" on the tool. This conservation of energy allows the gardener to work longer without causing excessive soil compaction, which can lead to auxin suppression in plants due to restricted root gas exchange.
The Clinic:
When a spade is neglected, the garden suffers through indirect physiological disorders.
- Symptom: Ragged root cuts on transplanted shrubs.
Solution: A dull spade tears the xylem and phloem rather than slicing them. Use a whetstone to restore a 45 degree angle to the leading edge.
- Symptom: Sudden onset of wilt in a previously healthy row.
Solution: This is often a sign of pathogen transfer. Sanitize the spade with a 10 percent bleach solution or 70 percent isopropyl alcohol to kill soilborne bacteria.
- Symptom: Handle splintering or snapping.
Solution: Wooden handles suffer from desiccation. Rub the handle with boiled linseed oil twice a year to maintain flexibility and prevent structural failure.
Fix-It: If your plants show Nitrogen chlorosis (yellowing of older leaves), ensure your cleaning process does not involve detergents that could alter the soil pH or kill nitrifying bacteria when the tool is reintroduced to the garden.
Maintenance:
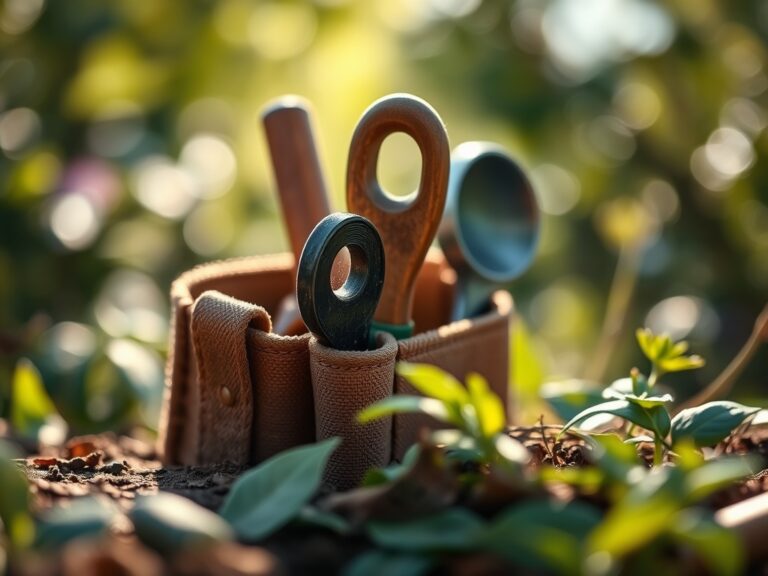
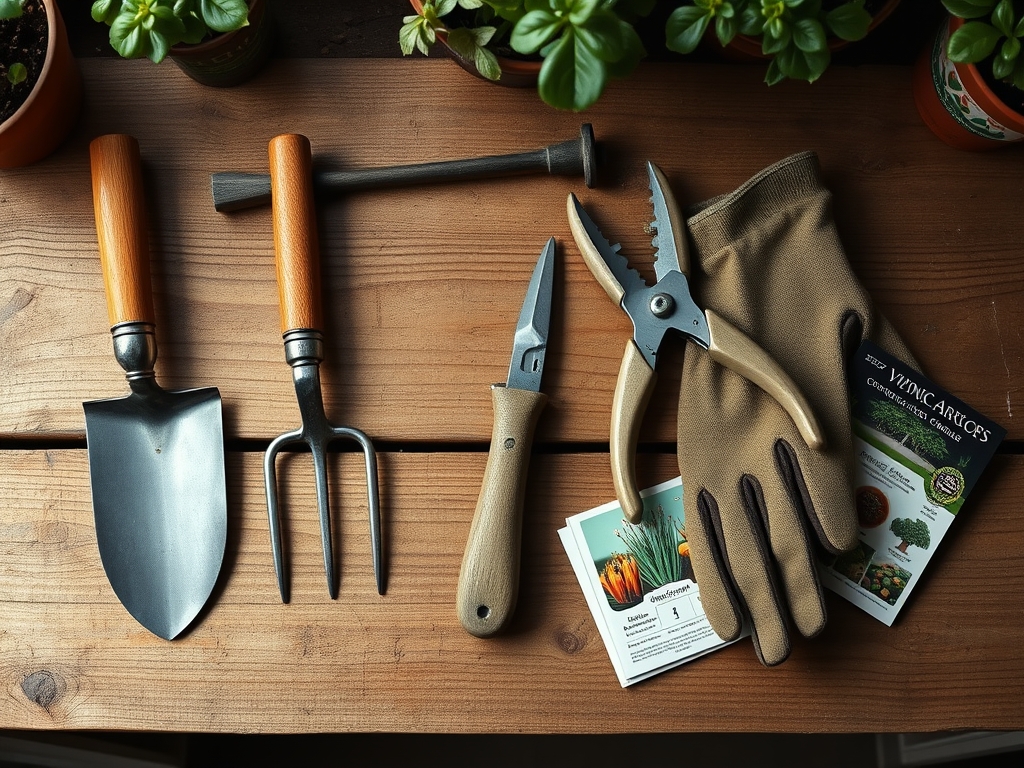
A professional grade spade requires a specific maintenance schedule to remain an extension of the gardener's arm. Check the handle for cracks every 30 days. Ensure the blade is sharpened to a point where it can easily slice through a 1 inch thick surface mulch layer. In the field, use a soil moisture meter to ensure you are not digging in saturated conditions; digging in soil with more than 35 percent moisture content leads to severe compaction and "clogging" of the spade surface. When not in use, store the spade vertically in a dry shed. For precision work around perennials, supplement your spade with a hori-hori knife for weeding and bypass pruners for root pruning.
The Yield:
While a spade is a preparation tool, its cleanliness directly impacts the yield of root crops like carrots or parsnips. A clean, sharp spade allows for deep, straight trenches that facilitate the downward growth of taproots. For flowers, a clean edge ensures the crown of the plant is not crushed during division. When harvesting tubers, a clean spade reduces the risk of nicking the skin; a clean cut heals faster than a jagged tear, ensuring "day-one" freshness and a longer shelf life in cold storage.
FAQ:
Why is sand used for cleaning garden tools?
Sand acts as a mild abrasive to remove rust and dried sap. When mixed with oil, it cleans and coats the metal simultaneously, preventing oxidation and reducing the manual labor required for deep cleaning.
Can I use motor oil to coat my spade?
No. Motor oil contains heavy metals and petroleum compounds that are toxic to soil microbes and earthworms. Always use food grade mineral oil or linseed oil to protect the rhizosphere from chemical contamination.
How often should I sharpen my garden spade?
Sharpen the blade every 10 to 15 hours of heavy use. A sharp edge reduces the physical force needed for penetration, which prevents user fatigue and ensures clean cuts through root systems and organic matter.
How do I prevent the wooden handle from rotting?
Keep the handle dry and store it away from direct contact with the ground. Apply a thin coat of linseed oil annually to seal the grain, preventing moisture from infiltrating the wood fibers and causing fungal decay.