8 Tropical Steps to Prepare a High-Light Plant Shelf
Turgor pressure dictates the structural integrity of a tropical canopy; when a leaf is fully hydrated, its cells press against the walls with a force that creates a crisp, rigid texture. This physiological state is the hallmark of a successful indoor ecosystem. Achieving this level of health requires mastering the specific environmental variables of your indoor space. Learning how to prepare a plant shelf for high light involves more than just placing a rack near a window. It requires a calculated calibration of photon flux density, humidity levels, and substrate composition to prevent leaf scorch and dehydration. You must treat the shelf as a microclimate where every inch of vertical space is optimized for photosynthetic efficiency. By managing the intersection of light intensity and transpiration rates, you ensure that your specimens do not merely survive but thrive with the aggressive growth patterns seen in equatorial regions. This guide provides the technical framework to transform a standard shelving unit into a high output botanical engine.
Materials:
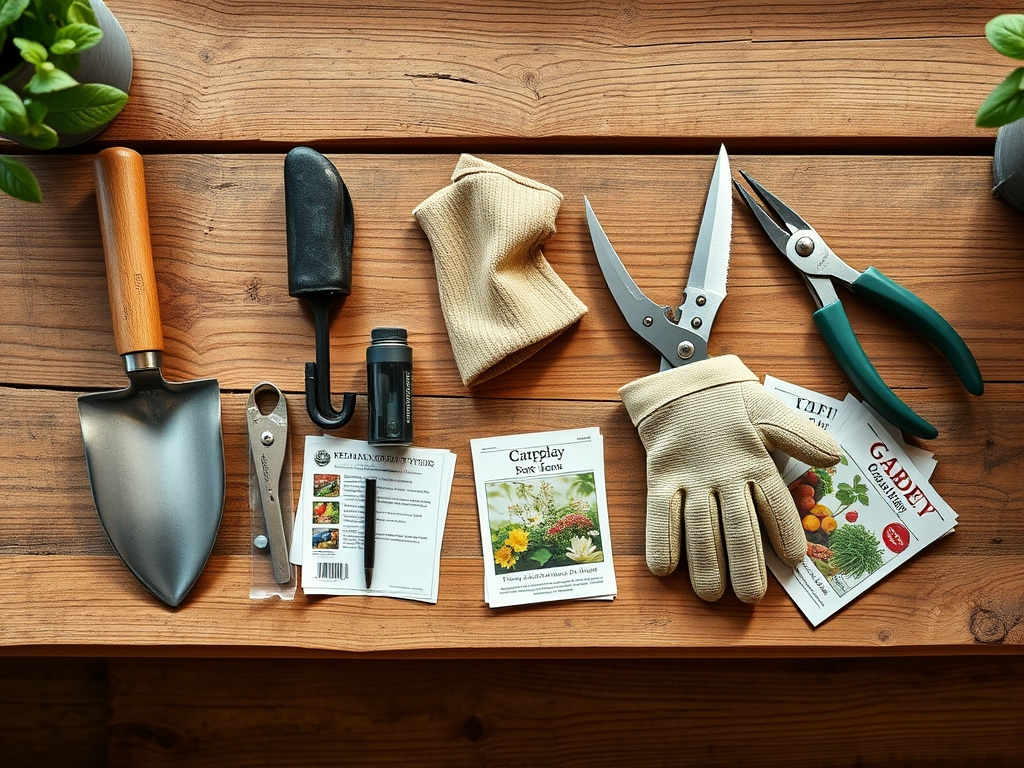
High light environments accelerate metabolic rates, necessitating a substrate with a high Cation Exchange Capacity (CEC) to retain essential nutrients. The ideal substrate is a friable loam consisting of 40 percent coco coir, 30 percent perlite, and 30 percent worm castings. This mixture ensures a pH range of 5.8 to 6.5, which is the optimal window for nutrient bioavailability in most tropical species.
For fertilization, utilize a water soluble NPK ratio of 3-1-2 for vegetative growth. High light triggers rapid cell division, requiring higher nitrogen levels to support chlorophyll production. You will also need LED grow lights capable of delivering a Photosynthetic Photon Flux Density (PPFD) of 400 to 600 micromoles per square meter per second at the leaf surface. Reflective Mylar sheeting or white semi-gloss paint on the shelf surfaces will minimize light loss and ensure lower foliage receives adequate photons.
Timing:
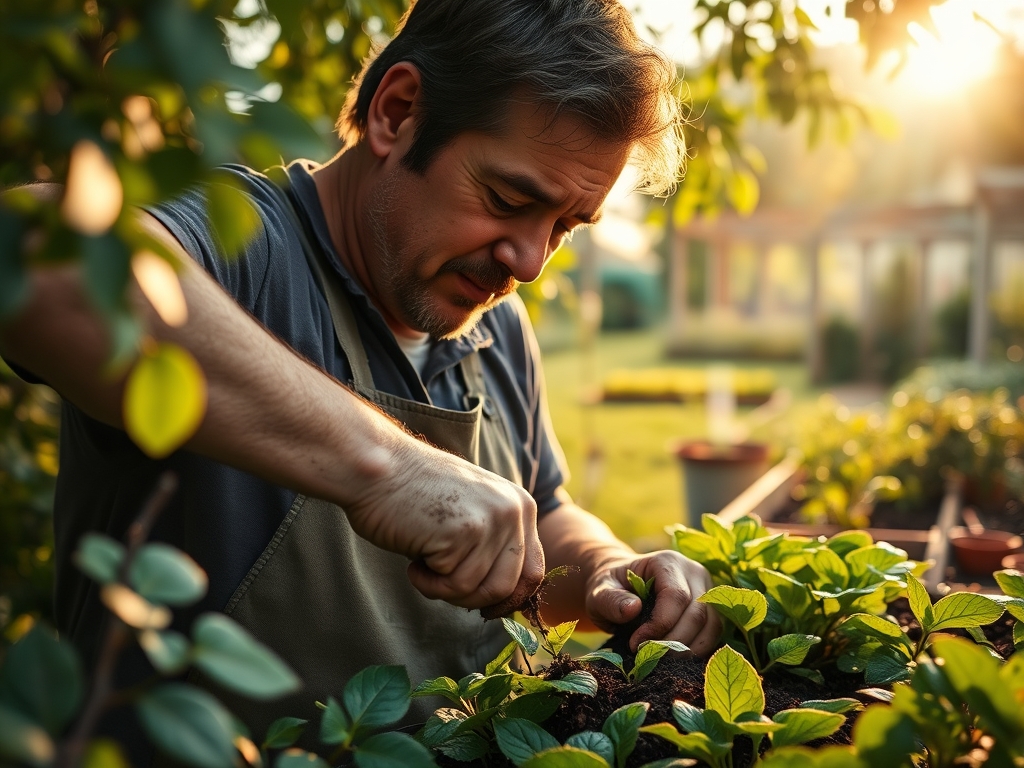
While indoor shelves are shielded from external weather, they remain tethered to the biological clock of the species they house. In Hardiness Zones 8 through 11, the transition from winter dormancy to the active vegetative stage typically occurs when ambient day lengths exceed 12 hours. For those in northern zones, this transition must be artificially induced by adjusting the photoperiod on your shelf timers.
The most critical window for shelf preparation is the four week period preceding the spring equinox. During this time, the increase in solar radiation through windows, combined with supplemental lighting, can cause a sudden spike in transpiration. If the root system is not established or the substrate is too compacted, the plant will suffer from acute desiccation. Monitor the "Biological Clock" by observing the apical meristem; once new leaf primordia appear, the plant has officially entered its high demand growth phase.
Phases:
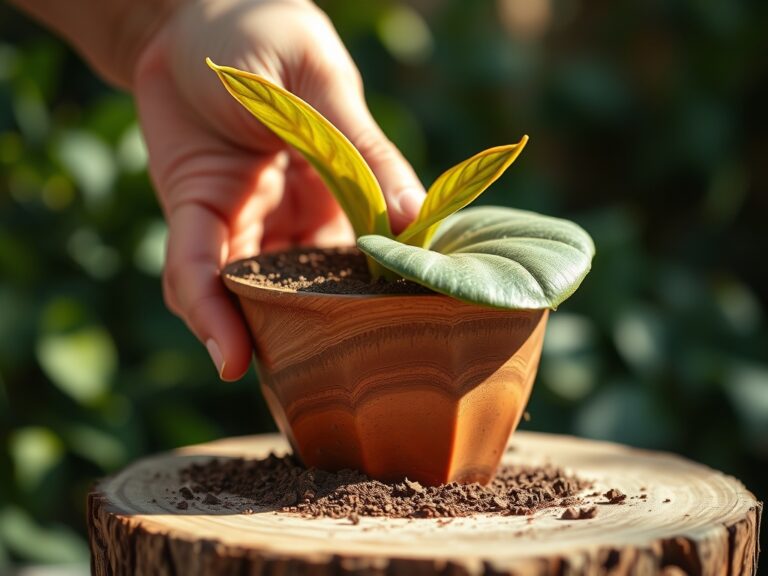
Sowing and Propagation
When starting seeds or cuttings for a high light shelf, use a sterile seed starting mix with zero initial fertilizer. Maintain a consistent root zone temperature of 72 to 75 degrees Fahrenheit using a waterproof heat mat. Ensure the humidity remains above 70 percent to prevent the delicate tissues from drying out under the intense light arrays.
Pro-Tip: Utilize a humidity dome to maintain high turgor pressure in unrooted cuttings. The biological why involves auxin suppression; high light can sometimes degrade auxins (growth hormones) in young tissues, so providing a stable, humid environment allows the plant to focus energy on basal root initiation rather than moisture retention.
Transplanting
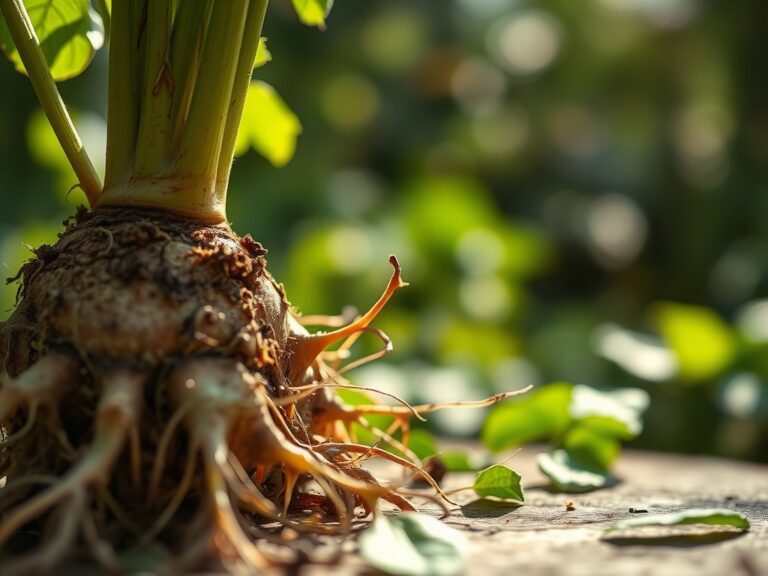
Move specimens into their permanent containers once the secondary root system is visible. Use containers with multiple drainage ports to prevent anaerobic conditions in the rhizosphere. When handling the root ball, avoid compressing the soil; a loose, airy structure is vital for oxygen exchange.
Pro-Tip: Dust the root ball with mycorrhizal fungi during the move. The biological why is mycorrhizal symbiosis; these fungi extend the reach of the root system, increasing the surface area for water and phosphorus absorption, which is critical when the plant is under the metabolic stress of high intensity light.
Establishing
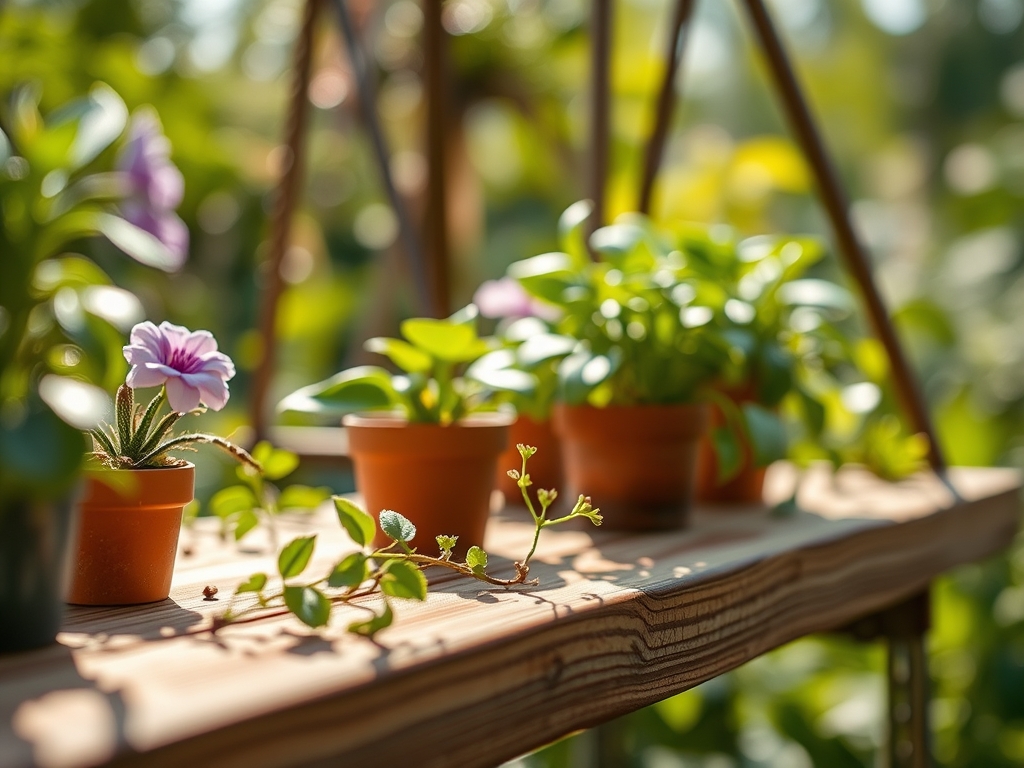
Once transplanted, place the plants on the lower rungs of the shelf where light intensity is naturally lower, then gradually move them upward over a 10 day period. This process, known as hardening off, allows the leaf cuticle to thicken and develop protective pigments.
Pro-Tip: Rotate the pots 90 degrees every week. The biological why is phototropism; plants naturally grow toward the light source due to the elongation of cells on the shaded side of the stem. Regular rotation ensures a balanced, upright growth habit and prevents the plant from becoming "leggy" or leaning.
The Clinic:
High light environments can lead to specific physiological disorders if the balance of water and nutrients is not maintained.
Symptom: Interveinal chlorosis (yellowing between green leaf veins) on new growth.
Solution: This indicates an Iron or Magnesium deficiency. Check the soil pH; if it is above 7.0, the plant cannot uptake these minerals. Lower the pH using a sulfur based acidifier.
Symptom: Leaf "bleaching" or white, papery patches on the uppermost leaves.
Solution: This is photo-oxidation (sunburn). Increase the distance between the light source and the canopy by 4 to 6 inches or install a thin shade cloth.
Symptom: Brown, crispy leaf margins despite regular watering.
Solution: This is often caused by low ambient humidity or "salt burn" from fertilizer buildup. Flush the substrate with distilled water and increase local humidity to 50 percent or higher.
Fix-It for Nitrogen Chlorosis: If older leaves are turning uniformly pale yellow, apply a liquid fertilizer with a high Nitrogen (N) number immediately. Nitrogen is a mobile nutrient; the plant will pull it from old leaves to support new growth if the substrate is depleted.
Maintenance:
Consistency is the primary driver of success on a high light shelf. Use a soil moisture meter daily to check the top 2 inches of the substrate. Most tropicals require a thorough saturation until water exits the drainage holes, followed by a drying period where the top inch becomes parched. On average, expect to provide 1.5 inches of water per week, delivered directly to the soil surface to avoid wetting the foliage under hot lights.
Keep a hori-hori knife available for removing spent soil or separating root bound plants during repotting. Use bypass pruners to remove any necrotic (dead) tissue or to perform "pinch cuts" on the apical buds to encourage lateral branching. Every 30 days, wipe the dust off the leaves with a damp cloth; dust buildup can block up to 30 percent of incoming photons, significantly reducing photosynthetic output.
The Yield:
If your high light shelf is dedicated to flowering tropicals or edible herbs, the harvest window is determined by the peak concentration of essential oils or pigments. For herbs, harvest in the morning when the turgor pressure is highest and the volatile oils are most concentrated. Use sharp snips to take no more than one third of the plant's total biomass at a time.
Post harvest, immediately submerge the cut stems in 40 degree Fahrenheit water to "shock" the vascular system into closing, which preserves day one freshness. For flowering plants, remove spent blooms (deadheading) to prevent the plant from entering senescence (the aging and seed production phase), thereby extending the vegetative and blooming cycle.
FAQ:
How far should lights be from the plants?
Maintain a distance of 12 to 18 inches for high output LEDs. If you observe leaf curling or bleaching, increase the distance. Use a light meter to ensure the PPFD remains within the 400 to 600 range.
What is the best humidity for a high light shelf?
Aim for 50 to 70 percent relative humidity. High light increases the rate of transpiration; if the air is too dry, the plant will lose water faster than the roots can replace it, leading to cellular collapse.
Can I use tap water for my tropical shelf?
It depends on the Total Dissolved Solids (TDS). If your tap water is "hard" (high mineral content), salts will build up in the soil, causing root burn. Use filtered or rainwater if your TDS exceeds 200 ppm.
How often should I fertilize?
During the active growth phase, fertilize every two weeks at half strength. This prevents nutrient leaching while ensuring a steady supply of Nitrogen, Phosphorus, and Potassium to support the high metabolic rate induced by the lights.