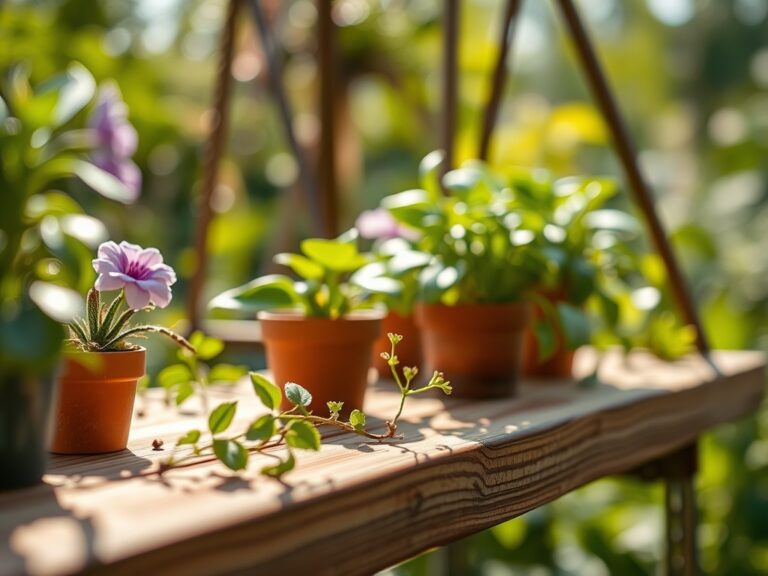
7 Best Grow Lights for Indoor Herbs Year-Round
Turgor pressure dictates the structural integrity of a Mediterranean herb; without it, the cellular walls collapse and the aromatic oils dissipate. Achieving that crisp, upright posture in an indoor environment requires more than a sunny windowsill. To maintain a consistent harvest of basil, rosemary, and thyme through the winter, you must master the photon flux density. Selecting the best plant lights for indoor herbs involves balancing the Photosynthetically Active Radiation (PAR) with the specific metabolic needs of each species. High-intensity discharge lamps or modern LED arrays provide the necessary energy to drive the Calvin cycle when natural solar radiation falls below the required 30 to 50 mol/m2/day. The smell of crushed cilantro and the sight of thick, lignified rosemary stems are the rewards of a controlled environment. Success depends on the intersection of light spectrum, soil chemistry, and precise irrigation.
Materials:
The substrate is the foundation of the rhizosphere. For indoor herbs, you require a **friable loam** with a high Cation Exchange Capacity (CEC) to ensure nutrient availability. The ideal soil pH for most culinary herbs sits between **6.0 and 7.0**.
- Heavy Feeders (Basil, Parsley): Utilize a substrate with an NPK ratio of 10-10-10. These plants require higher nitrogen levels to sustain rapid vegetative growth and leaf surface area expansion.
- Woody Perennials (Rosemary, Thyme, Sage): These prefer a leaner environment with an NPK ratio of 5-10-10. Excessive nitrogen in these species leads to "leggy" growth and diminished essential oil concentration.
- Soil Texture: Incorporate 20 percent perlite or coarse sand to ensure rapid drainage. Standing water at the root zone triggers anaerobic conditions, leading to root rot (Phytophthora).
Timing:
While indoor gardening bypasses traditional Hardiness Zones (typically targeting Zones 3 through 10 for indoor safety), the biological clock remains tethered to the photoperiod. Most herbs are "long-day" plants, requiring 14 to 16 hours of light to prevent premature senescence or bolting.
The transition from the vegetative stage to the reproductive stage (flowering) is triggered by light quality and duration. For a continuous harvest, you must suppress the reproductive phase by maintaining a consistent light cycle. If you are starting from seed indoors, aim for a "frost-date window" that aligns with your desired harvest peak; typically 6 to 8 weeks before you intend to utilize the full canopy. Monitoring the soil temperature is critical; germination for basil occurs most efficiently at 70 to 75 degrees Fahrenheit.
Phases:
Sowing
Place seeds at a depth of double their diameter in a sterile seed-starting mix. Maintain a consistent moisture level without saturation. Use a heat mat to stabilize bottom heat, which accelerates metabolic activity in the embryo.
Pro-Tip: Proper light placement prevents etiolation. If seedlings stretch toward the source, they are experiencing low photon density. Position your LED panels 6 to 12 inches above the soil to suppress auxin accumulation in the stems, which keeps the plants compact and sturdy.
Transplanting
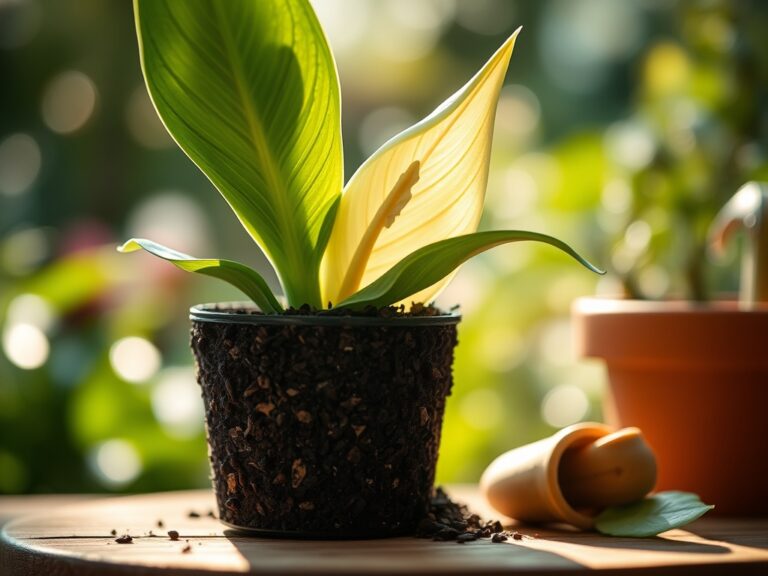
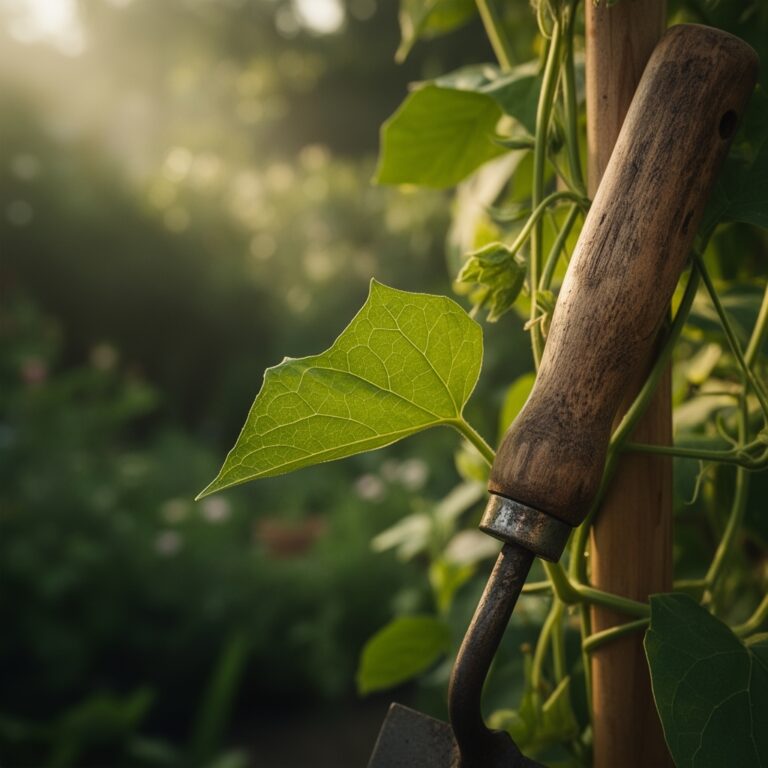
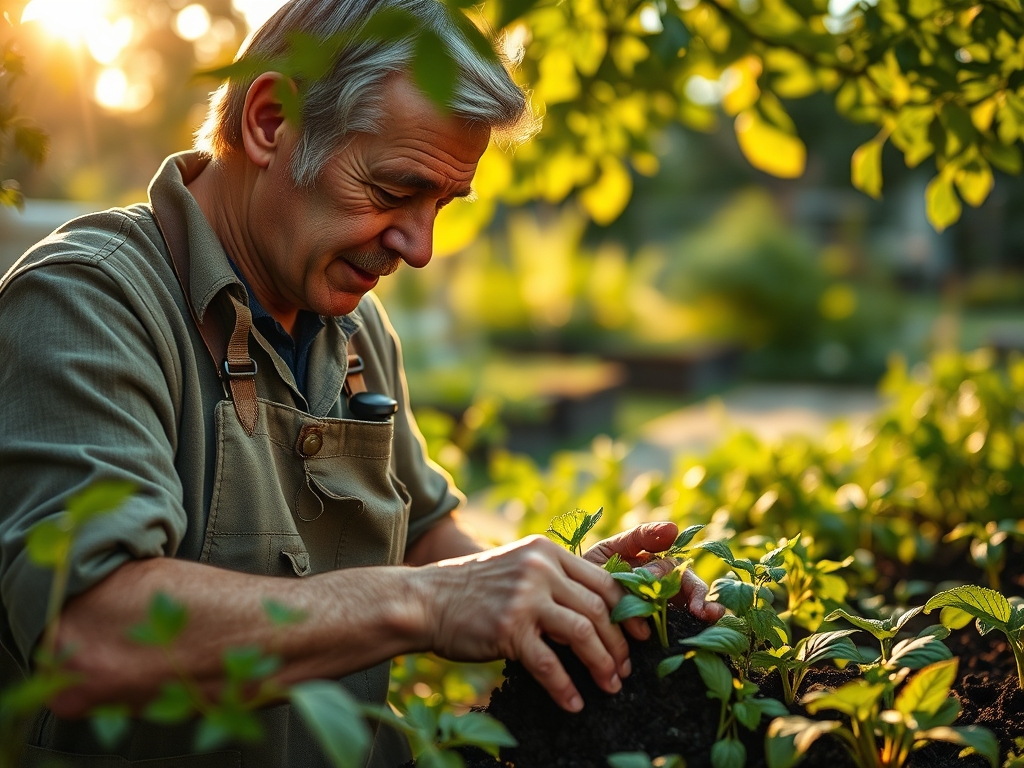
Move seedlings once they develop two sets of true leaves. Use a hori-hori knife to gently lift the root ball, ensuring the delicate root hairs remain intact. Transition them into their permanent containers with the friable loam mixture described above.
Pro-Tip: Inoculate the new substrate with mycorrhizal fungi. This symbiotic relationship increases the effective surface area of the root system, enhancing the uptake of phosphorus and micronutrients through the fungal hyphae.
Establishing
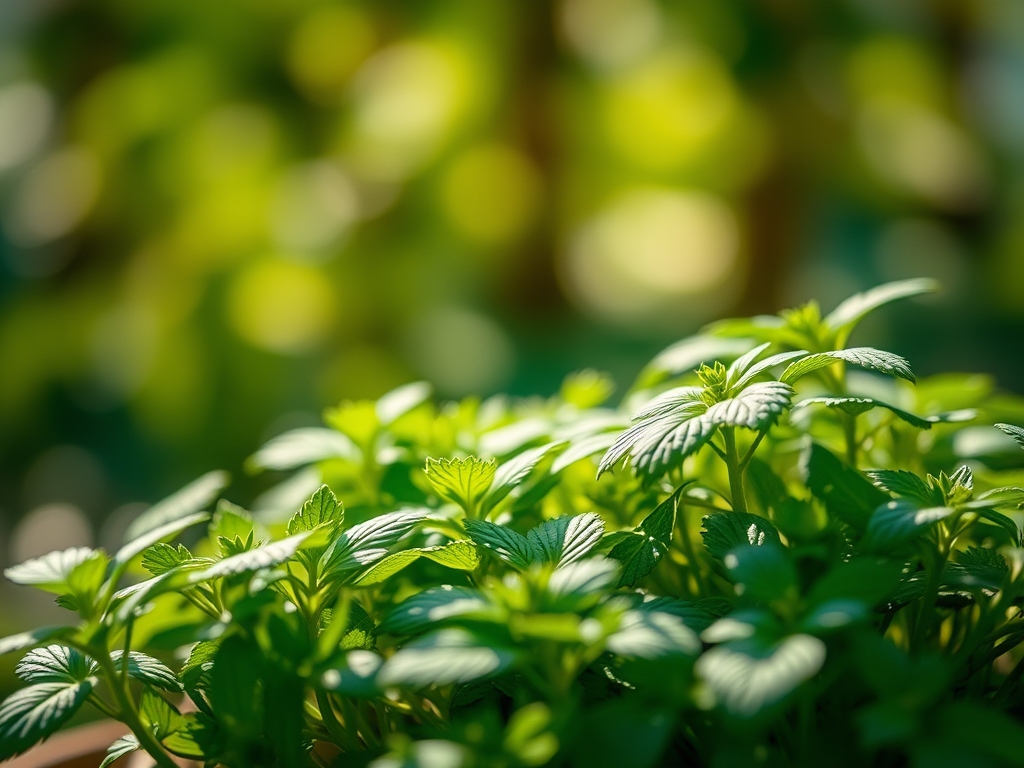
Once transplanted, the herbs enter a rapid vegetative state. This is when the best plant lights for indoor herbs prove their value. Full-spectrum LEDs with a peak in the 450nm (blue) and 660nm (red) wavelengths are optimal. The blue light inhibits internodal elongation, resulting in a bushier plant.
Pro-Tip: Implement apical pruning by pinching off the terminal bud. This disrupts apical dominance and redirects growth hormones to the lateral buds, doubling your harvestable stems through a process called "branching."
The Clinic:
Physiological disorders often mimic infectious diseases. Accurate diagnosis is required before intervention.
- Symptom: Interveinal Chlorosis. The leaves turn yellow while the veins remain green.
Solution: This indicates a Magnesium deficiency. Apply a foliar spray of Epsom salts (1 tablespoon per gallon of water) to restore chlorophyll production. - Symptom: Leaf Tip Burn. The edges of the leaves turn brown and crispy.
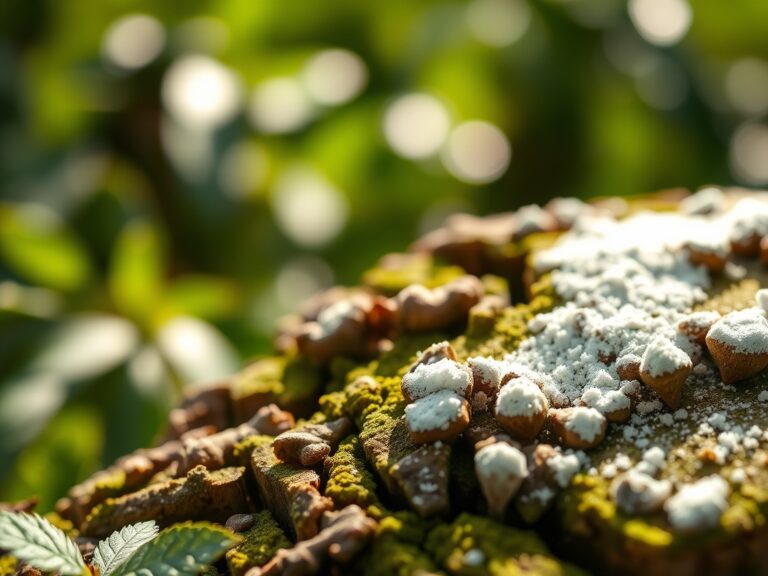
Solution: This is often caused by salt accumulation from synthetic fertilizers. Flush the soil with three times the pot volume of distilled water to leach out excess salts. - Symptom: Edema. Small bumps or blisters appear on the underside of leaves.
Solution: This is a water management issue where the roots take up water faster than the leaves can transpire it. Increase airflow with a small fan and reduce watering frequency. - Fix-It: Nitrogen Chlorosis. If the entire plant turns a pale lime green, it lacks nitrogen. Apply a liquid kelp or fish emulsion with a 5-1-1 NPK ratio for immediate uptake.
Maintenance:
Precision is the hallmark of a master horticulturist. Use a soil moisture meter daily. Do not water on a schedule; water based on the volumetric water content of the soil. Most herbs require the top 1 inch of soil to dry out before the next irrigation cycle.
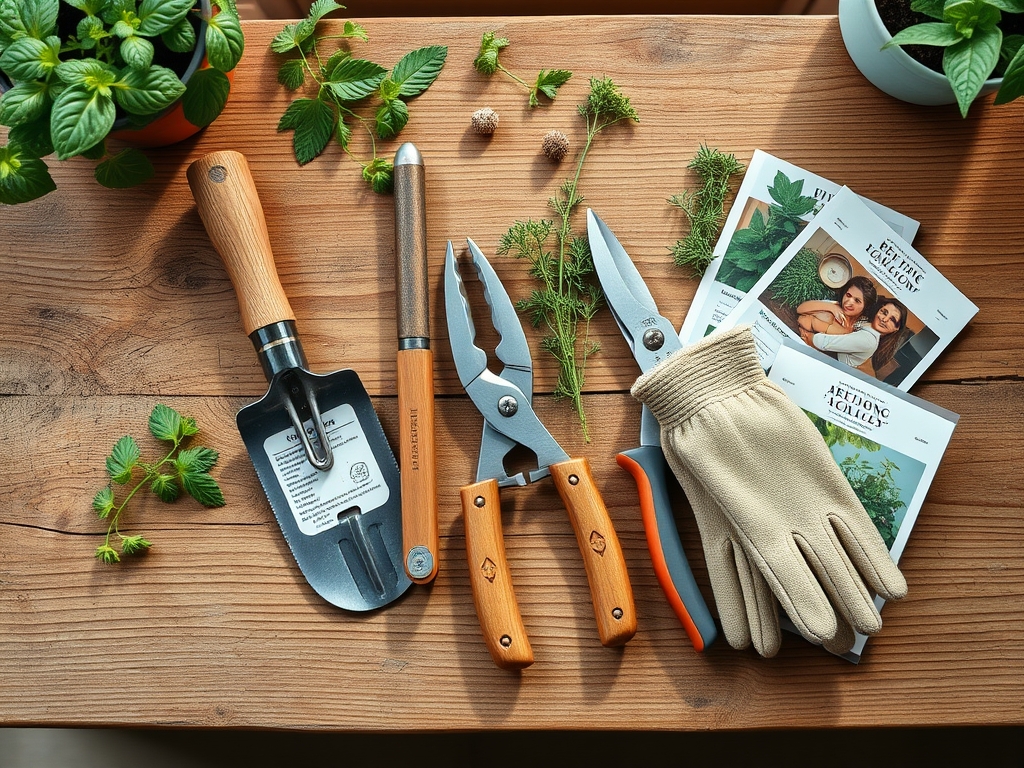
When watering, provide approximately 1.5 inches of water per week, delivered directly to the soil surface to avoid wetting the foliage, which can invite fungal pathogens. Use bypass pruners for harvesting to ensure clean cuts that heal quickly. Dull blades crush the vascular tissue (xylem and phloem), creating an entry point for disease. Every 30 days, rotate your pots 90 degrees to ensure even light distribution and prevent phototropism from leaning the plants too far in one direction.
The Yield:
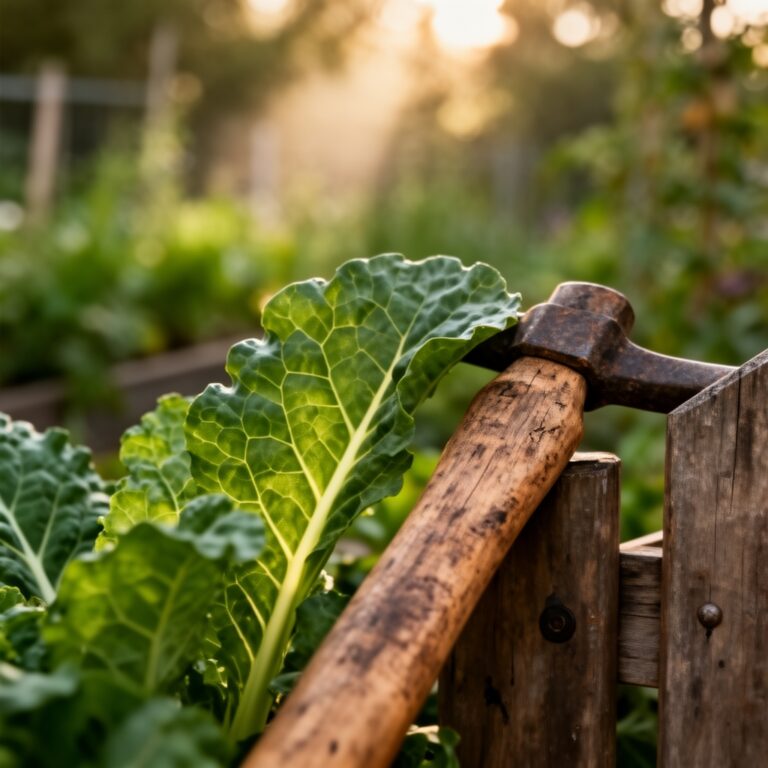
Harvesting should occur in the morning when essential oil concentration is at its peak. For leafy herbs like basil, never remove more than one-third of the total canopy at a single time to avoid shocking the plant into dormancy.
For woody herbs, harvest the top 2 to 3 inches of soft green growth. To maintain "day-one" freshness post-harvest, place the stems in a glass of water at room temperature or wrap them in a damp paper towel and refrigerate at 40 degrees Fahrenheit. This slows the rate of respiration and prevents the degradation of volatile organic compounds.
FAQ:
How far should LED lights be from herbs?
Keep full-spectrum LEDs 6 to 12 inches above the herb canopy. High-intensity lights may require 18 to 24 inches to prevent thermal stress or leaf bleaching. Adjust the height as the plants grow to maintain consistent PAR levels.
How many hours of light do indoor herbs need?
Most culinary herbs require a photoperiod of 14 to 16 hours per day. Using a digital timer ensures consistency. Providing less than 12 hours of light can trigger dormancy or result in weak, spindly growth.
Can I use regular light bulbs for herbs?
Standard incandescent bulbs lack the necessary spectral range and produce excessive heat. Use full-spectrum LED or T5 fluorescent bulbs specifically rated for plant growth to provide the blue and red wavelengths required for photosynthesis.
What is the best soil pH for indoor herbs?
Aim for a pH range of 6.0 to 7.0. This range ensures maximum bioavailability of essential macronutrients and micronutrients. Use a digital pH probe to test the soil every four weeks and adjust with lime or sulfur.
Why are my herb leaves turning yellow?
Yellowing, or chlorosis, typically indicates a Nitrogen deficiency or overwatering. Check soil moisture with a meter. If the soil is dry, apply a high-nitrogen organic fertilizer to restore the green pigment and support vegetative expansion.