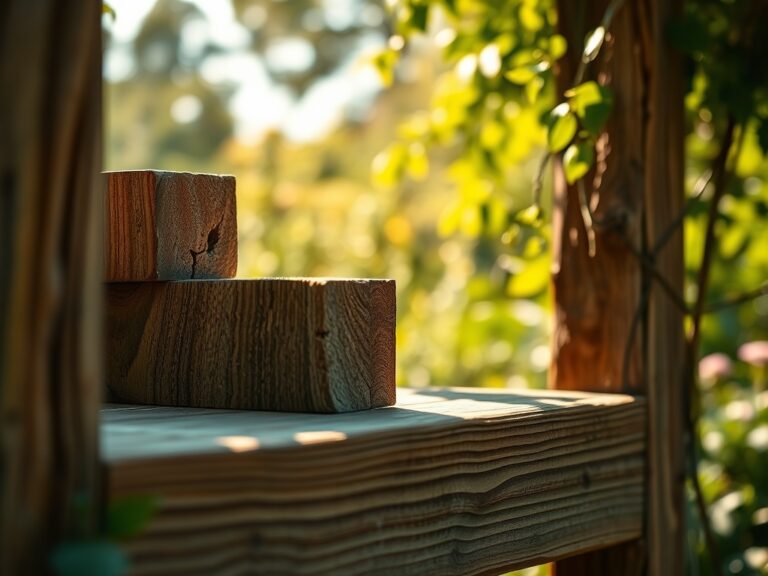
7 Steps to Prepare a Scenic Backyard Garden Bench Site
The smell of damp earth after a saturation event signals a shift in the soil microbial activity. When you press your thumb against a leaf, the turgor pressure should resist your touch; a sign of healthy vascular hydration. Successful landscaping requires more than aesthetic placement. Learning how to prepare a site for a garden bench involves managing soil compaction and ensuring the rhizosphere remains undisturbed. A bench is a heavy static load. If the substrate is not properly stabilized, the weight will compress the soil pores, shearing the delicate mycorrhizal networks that support nearby root systems. Professional site preparation demands an understanding of soil physics and load distribution. You are not just placing furniture; you are engineering a structural footprint within a living biological system. Proper preparation prevents the bench from sinking into the A-horizon during the spring thaw. This guide details the technical requirements for site stabilization, drainage management, and botanical integration to ensure your garden seating remains level while the surrounding flora thrives through every stage of its phenological cycle.
Materials:
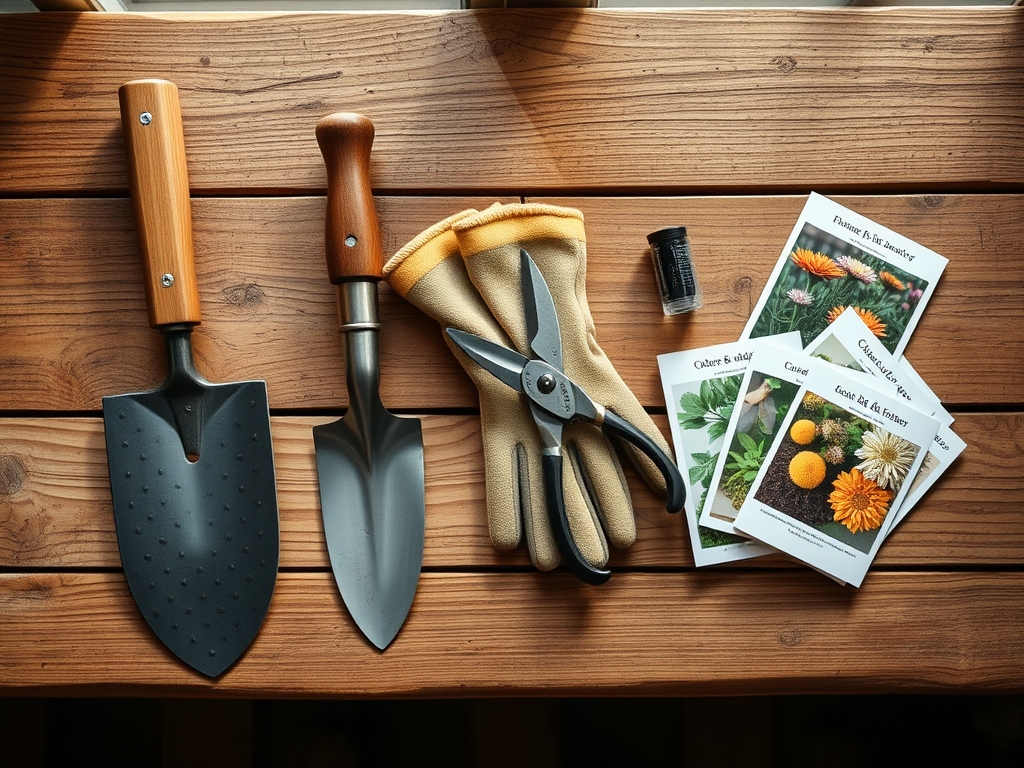
The ideal substrate for a garden bench site is a **friable loam** with a high Cation Exchange Capacity (CEC). This ensures that the surrounding soil can hold and exchange essential nutrients like calcium and magnesium. For the base layer, use a **crushed limestone or 3/4-inch minus gravel** to facilitate drainage. If you are planting ornamental species around the bench, the soil pH should be maintained between **6.0 and 7.0**.
Incorporate a slow-release fertilizer with an NPK ratio of 5-10-5 into the surrounding beds to encourage root development without overstimulating vegetative growth. High nitrogen levels (the first number) can lead to succulent growth that is susceptible to frost damage. Phosphorus (the middle number) is critical for ATP production and cellular energy transfer during the establishment phase. Potassium (the final number) regulates stomatal opening and water use efficiency. Ensure you have a heavy-duty geotextile fabric to separate the aggregate base from the native subsoil, preventing the migration of fines that leads to settling.
Timing:
Hardiness Zones 4 through 8 offer the best windows for site preparation. You must schedule your excavation during the "dormant window," typically between the first hard frost of autumn and the spring thaw. In Zone 6, this occurs from late October to mid-March. Avoid working the soil when it is saturated; doing so collapses the macropores and destroys soil structure.
The biological clock of your garden dictates the timing of the surrounding plantings. Transitioning from the vegetative stage to the reproductive stage requires specific photoperiods. For example, short-day plants require 12 hours or more of darkness to initiate flowering. Prepare the bench site at least four weeks prior to the local "last frost date" to allow the ground to settle before the spring growth flush begins. This ensures that when the soil temperature reaches 55 degrees Fahrenheit, the site is ready for the transplanting of surrounding perennials.
Phases:
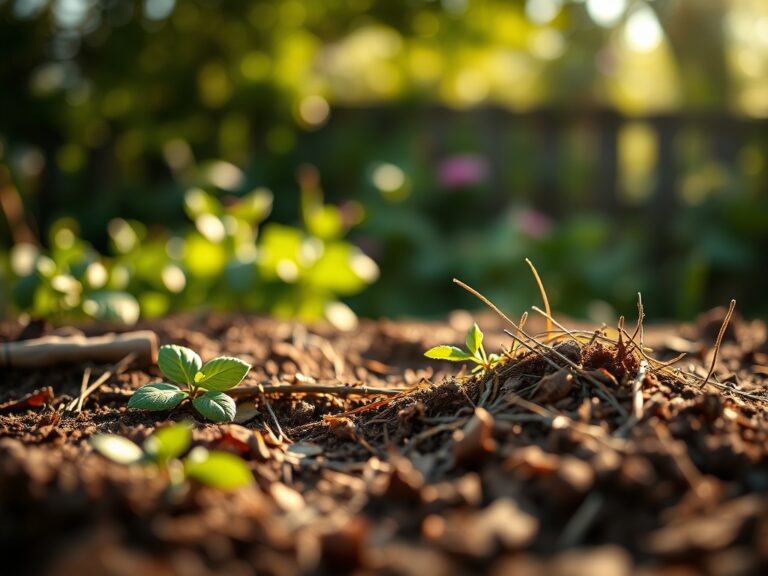
Sowing and Site Clearing
Begin by removing all organic debris and turf from a 4-foot by 6-foot area. Excavate to a depth of 6 inches. This depth allows for a 4-inch aggregate base and a 2-inch leveling layer of stone dust or sand. Use a hand tamper to achieve a compaction rate of 95 percent Proctor density.
Pro-Tip: Removing competing vegetation reduces auxin suppression. When you clear the site, you remove the apical dominance of weeds, allowing the surrounding desired plants to receive more unfiltered sunlight, which stimulates lateral bud development through increased red-to-far-red light ratios.
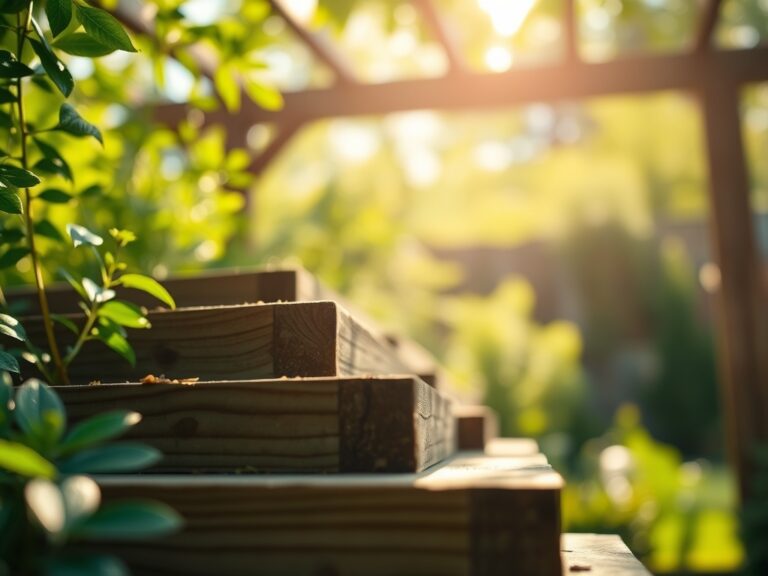
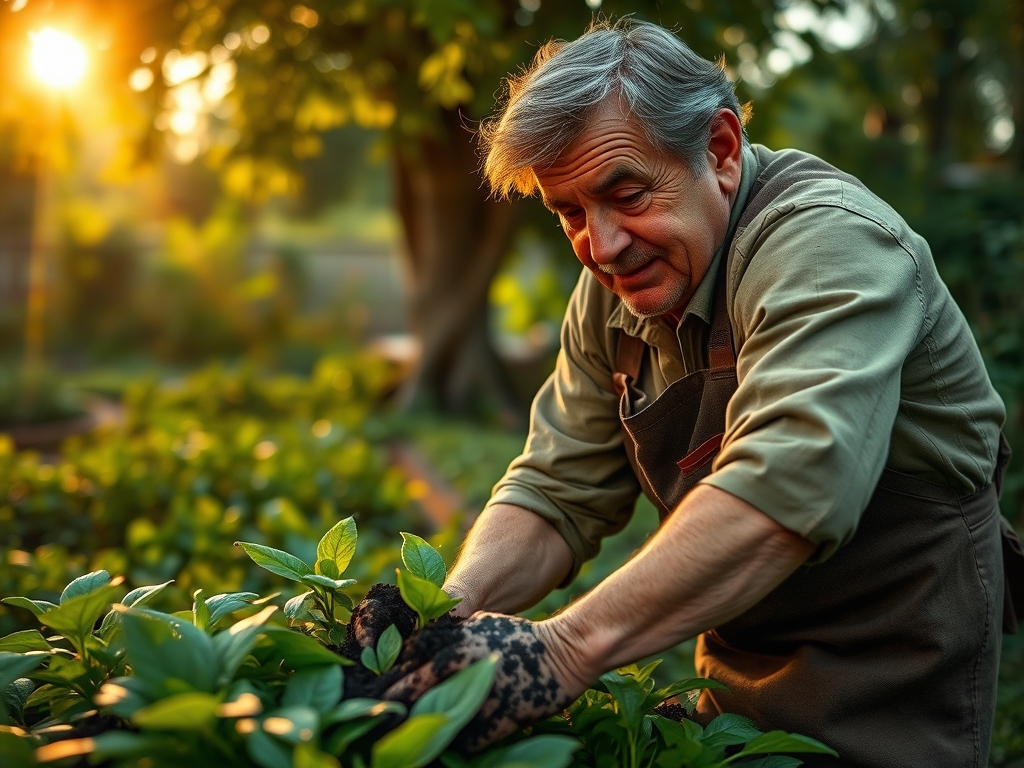
Transplanting and Anchoring
When placing the bench, ensure the feet rest on solid masonry pavers or concrete piers buried flush with the grade. If you are planting shrubs like Buxus or Taxus nearby to frame the view, dig holes twice as wide as the root ball but no deeper. This prevents the crown from sinking and developing stem-girdling roots.
Pro-Tip: Inoculate the transplant holes with endomycorrhizal fungi. This biological symbiosis extends the root surface area by up to 1,000 percent, significantly increasing the plant's ability to uptake phosphorus and water during periods of environmental stress.
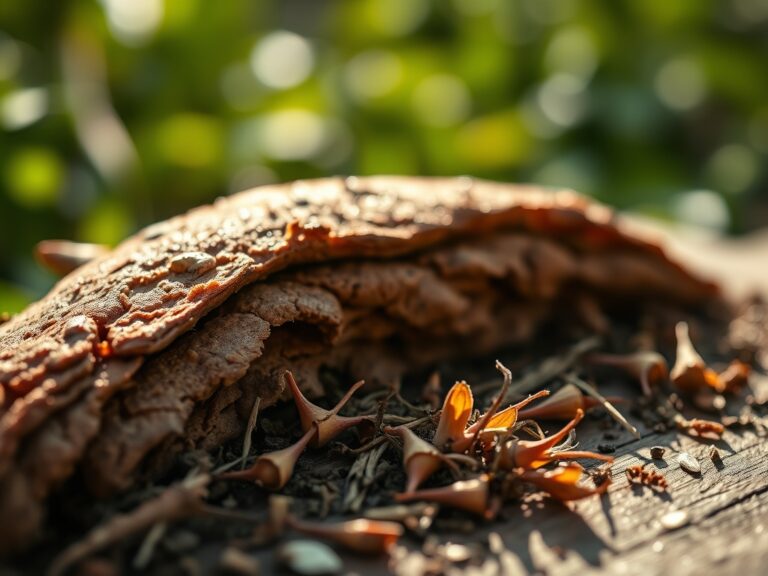
Establishing and Mulching
Apply a 3-inch layer of organic arborist wood chips around the perimeter of the bench site. Keep the mulch 2 inches away from the base of any plant stems to prevent fungal pathogens from colonizing the bark. Water the area deeply to settle the soil around the bench footings.
Pro-Tip: Maintaining a consistent mulch layer prevents phototropism in weeds. By blocking light from reaching the soil surface, you prevent the germination of weed seeds that require specific light wavelengths to break dormancy.
The Clinic:
Physiological disorders often manifest when site preparation is handled incorrectly. Monitor your surrounding plants for these specific symptoms:
-
Symptom: Interveinal Chlorosis. The leaves turn yellow while the veins remain green. This indicates a Manganese or Iron deficiency, often caused by a soil pH above 7.5.
- Fix-It: Apply elemental sulfur to lower the pH or use a chelated iron foliar spray for immediate relief.
-
Symptom: Marginal Leaf Burn. The edges of the leaves appear scorched. This is often a sign of Potassium deficiency or high salt accumulation from de-icing agents used near the bench.
- Fix-It: Flush the soil with 2 inches of fresh water and apply a sulfate of potash supplement.
-
Symptom: Stunted Growth and Purpling. Older leaves turn a dark purple hue. This is a classic Phosphorus deficiency, common in cold, wet soils where root uptake is inhibited.
- Fix-It: Improve drainage by adding perlite or coarse sand to the soil mix and apply a bone meal amendment.
-
Symptom: Leaf Epinasty. Leaves curl downward and stems appear twisted. This is often caused by soil compaction restricting oxygen to the roots (hypoxia).
- Fix-It: Use a broadfork or core aerator to introduce oxygen into the rhizosphere without overturning the soil profile.
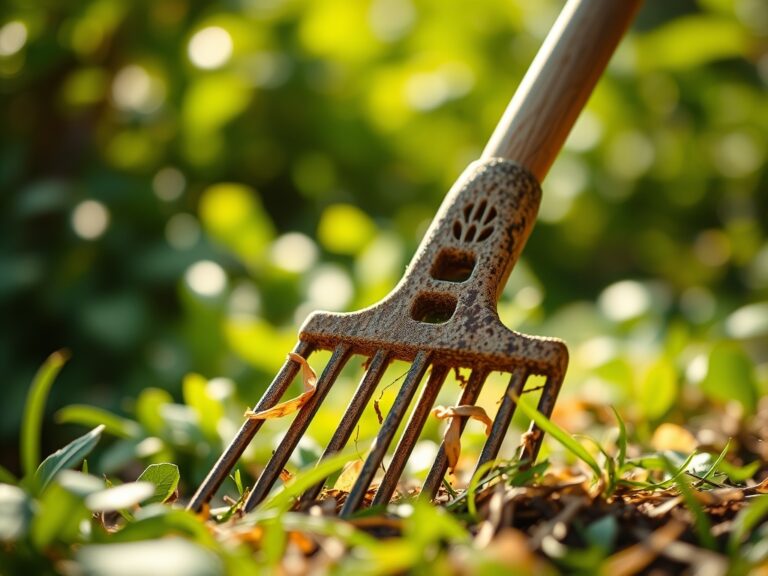
Maintenance:
A professional maintenance routine ensures the longevity of both the bench and the site. Use a soil moisture meter twice weekly to check the hydration levels at a 6-inch depth. The goal is to provide 1.5 inches of water per week at the drip line of surrounding plants.
Use a hori-hori knife to extract deep-rooted perennial weeds like dandelion (Taraxacum officinale) by the taproot to prevent regrowth. For woody ornamentals framing the bench, use bypass pruners to remove dead, damaged, or diseased wood (the "3 Ds"). Always make your cuts at a 45-degree angle just above a lateral bud to encourage outward growth. Check the level of the bench annually; if the site has shifted more than 0.5 inches, use a pry bar to lift the low side and backfill with additional stone dust.
The Yield:
If your garden bench site includes cut flowers like Zinnia or Echinacea, harvest them when the petals are just beginning to unfurl but before the pollen is visible on the central disc. This stage ensures maximum vaselife. Use a sharp knife to cut the stems at an angle under water to prevent air embolisms from blocking the xylem.
For medicinal herbs like Lavandula, harvest in the early morning after the dew has evaporated but before the sun's heat dissipates the essential oils. Post-harvest, keep the plant material in a cool, shaded environment at approximately 60 degrees Fahrenheit to maintain "day-one" freshness and cellular integrity.
FAQ:
What is the best base material for a garden bench?
Use 3/4-inch minus crushed limestone. This material packs tightly to create a stable, level surface while allowing for vertical drainage. It prevents the bench legs from sinking into the soil and rotting or tilting over time.
How deep should I dig for a bench foundation?
Excavate to a depth of 6 to 8 inches. Fill the first 4 inches with compacted aggregate and the remaining 2 inches with leveling sand or pavers. This depth ensures the foundation sits below the organic duff layer.
How do I prevent weeds from growing under the bench?
Install a heavy-duty non-woven geotextile fabric over the excavated soil before adding your gravel base. Top the gravel with a layer of stone dust or decorative pebbles to block sunlight from reaching the soil surface.
Can I put a bench directly on the grass?
No. Placing a bench directly on turf leads to soil compaction and anaerobic conditions. The grass will die due to lack of light and oxygen, and the bench feet will sink, leading to structural instability and wood rot.