7 Steps to Build a Winding Backyard Garden Path
The smell of damp earth after a heavy rain signals the peak of microbial activity within the rhizosphere. When you walk through a garden, the turgor pressure of the surrounding foliage should resist the air; it should feel rigid and structurally sound. To achieve this level of botanical health while maintaining accessibility, you must master the steps for building a garden path. This process is not merely about aesthetics. It is a structural intervention that prevents soil compaction and protects the delicate mycelial networks beneath your feet. A well-designed winding path directs foot traffic away from sensitive root zones while managing water runoff across the site. By following precise engineering and horticultural principles, you can install a permanent transit system that integrates seamlessly with the biological needs of your landscape.
Materials:

The foundation of any garden path begins with the substrate. You must analyze the soil Cation Exchange Capacity (CEC) before selecting your base materials. For a stable path, the surrounding soil should ideally be a **friable loam** with a **pH between 6.0 and 7.0**. If the soil is heavy clay, the CEC will be high, leading to significant expansion and contraction during hydration cycles.
To stabilize the area adjacent to the path, incorporate a balanced 10-10-10 NPK ratio fertilizer into the top 6 inches of soil to support the root systems of border plants. Use a base of 2 inches of crushed limestone or coarse sand. This material provides the necessary drainage to prevent anaerobic conditions in the soil below. Avoid fine silts that compact too tightly. The physical texture should be gritty and sharp to allow for optimal water infiltration rates of at least 1 inch per hour.
Timing:
Timing your installation is critical to avoid disrupting the biological clock of your garden. In Hardiness Zones 5 through 7, the ideal window for construction is late autumn or early spring, specifically 3 to 4 weeks before the first or last frost. During these periods, most perennial plants are entering or exiting senescence.
This timing ensures that you are not disturbing plants during their peak reproductive stages when energy is diverted to flowering or seed production. By working when the plants are in a vegetative or dormant state, you minimize the risk of transplant shock or root desiccation. Monitor the soil temperature using a probe; construction should ideally occur when the ground is between 45 and 55 degrees Fahrenheit.
Phases:

Sowing the Border
Once the path is excavated to a depth of 4 to 6 inches, focus on the vegetative borders. If you are planting groundcovers along the edges, sow seeds at a density of 15 to 20 seeds per square inch depending on the species. Ensure the seed-to-soil contact is firm to facilitate imbibition.
Pro-Tip: Maintain consistent moisture to trigger germination. Biological Why: Seeds require a specific water potential to break dormancy and activate the enzymes necessary for cellular respiration.
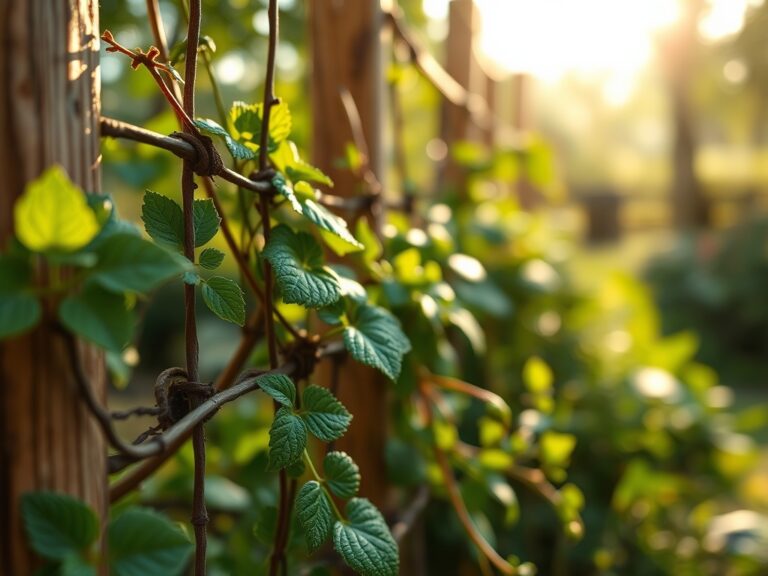
Transplanting Specimen Plants
Move larger plants into position along the curves of the winding path. Dig holes twice the width of the root ball but no deeper than the original container. Backfill with native soil to ensure the plant acclimates to the local mineral profile.
Pro-Tip: Do not bury the root flare. Biological Why: Deep planting can lead to stem girdling and limits the oxygen availability to the fine feeder roots located in the upper 8 inches of the soil profile.
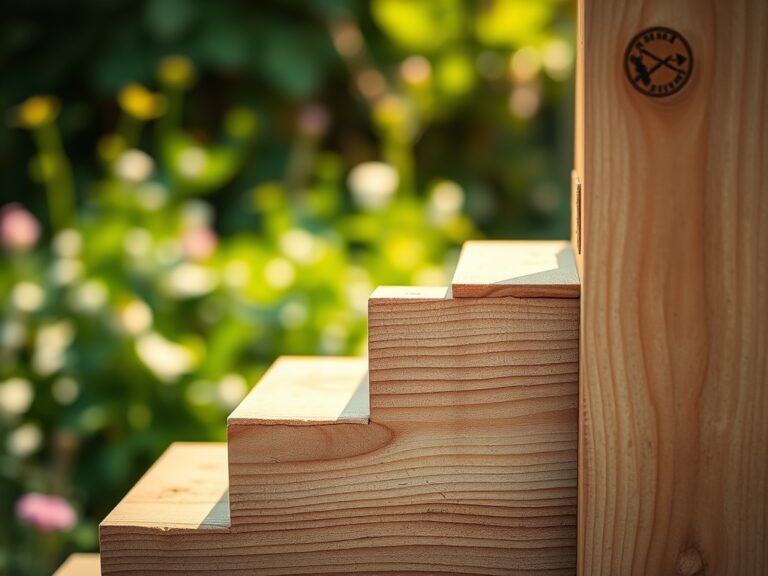
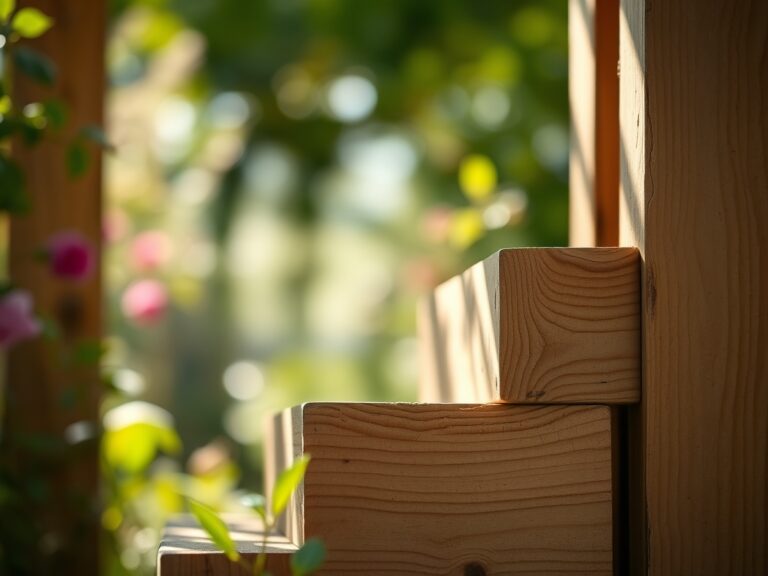
Establishing the Path Surface
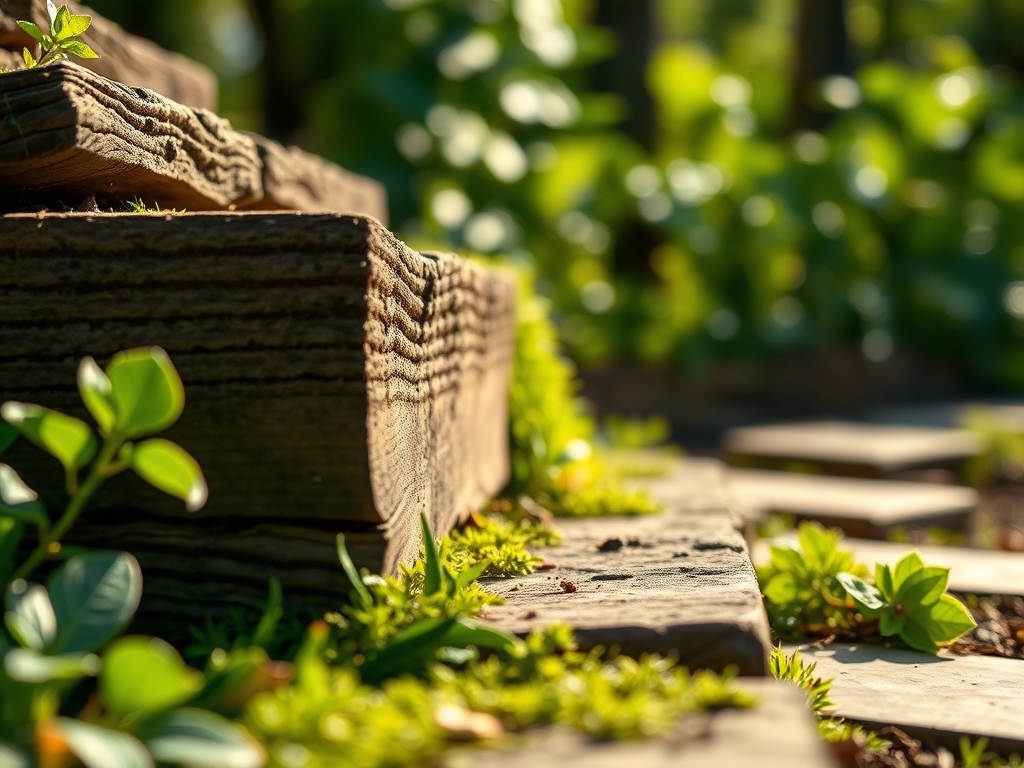
Lay your chosen material, such as flagstone, pavers, or wood chips, over the prepared base. Ensure a slight crown in the center of the path, rising approximately 0.5 inches per foot of width, to facilitate lateral water shedding.
Pro-Tip: Leave gaps of 1 to 2 inches between stones for creeping thyme or moss. Biological Why: These interstitial plants utilize mycorrhizal symbiosis to exchange carbohydrates for phosphorus, further stabilizing the soil structure around the path.
The Clinic:
Physiological disorders often manifest near high-traffic areas due to soil compaction or chemical runoff.
- Symptom: Nitrogen Chlorosis. Leaves show a uniform yellowing starting from the older, lower foliage.
- Solution: Apply a high-nitrogen supplement with an NPK of 21-0-0 (Ammonium Sulfate) to rapidly increase chlorophyll production.
- Symptom: Interveinal Chlorosis (Iron Deficiency). New growth appears yellow while veins remain dark green. This is common in soils with a pH above 7.5.
- Solution: Apply chelated iron or lower the soil pH using elemental sulfur at a rate of 5 pounds per 100 square feet.
- Symptom: Marginal Leaf Burn. The edges of the leaves appear scorched or brown, often indicating salt accumulation or potassium deficiency.
- Solution: Flush the soil with 2 inches of water to leach excess salts and apply a 0-0-50 potassium sulfate fertilizer.
Fix-It: For general soil compaction near the path, use a broadfork to aerate the soil to a depth of 12 inches without overturning the horizons.
Maintenance:
Precision is the hallmark of a professional horticulturist. Your garden path requires a strict irrigation and pruning schedule to remain functional. Deliver exactly 1.5 inches of water per week at the drip line of border plants. Use a soil moisture meter to ensure the volumetric water content remains between 20% and 30%.
Utilize a hori-hori knife to remove deep-rooted taproots from the path edges without disturbing the surrounding soil structure. For woody perennials, use bypass pruners to make clean, 45-degree cuts just above a lateral bud. This practice manages auxin suppression, encouraging bushier growth rather than leggy vertical extension. Inspect the path surface monthly for settling; add additional aggregate as needed to maintain a level walking surface.
The Yield:
If your path winds through an edible landscape, harvesting must be timed to maximize nutrient density. For leafy greens, harvest in the early morning when turgor pressure is at its highest. This prevents wilting and preserves the cellular structure. Use a sharp blade to cut the foliage, leaving at least 1 inch of growth above the crown to allow for a second vegetative cycle.
For flowering species, harvest when the first two florets on a spike have opened. Immediately submerge the stems in 110-degree Fahrenheit water to remove air bubbles from the xylem. This technique, known as pulsing, ensures the vascular system remains open for maximum hydration. Store harvested materials in a cool, dark environment at 35 to 40 degrees Fahrenheit to slow the rate of respiration and delay senescence.
FAQ:
What is the best base for a garden path?
A 2 to 4-inch layer of compacted crushed stone or coarse sand is ideal. This provides a stable foundation with high porosity, ensuring drainage and preventing the anaerobic conditions that lead to root rot in adjacent plants.
How do I prevent weeds on a path?
Install a heavy-duty geotextile fabric beneath your surface material. This physical barrier prevents weed seeds in the soil from receiving the light required for germination while still allowing for the downward movement of water and dissolved nutrients.
Can I build a path over tree roots?
Avoid cutting any roots larger than 2 inches in diameter. Instead, use a "floating" path design with a thick layer of organic mulch or gravel to allow for gas exchange and moisture infiltration to the tree's root system.
How wide should a garden path be?
A primary garden path should be 36 to 48 inches wide to allow two people to pass or to accommodate a wheelbarrow. Secondary paths can be narrower, typically 18 to 24 inches, for single-file maintenance access.