7 Steps to Prepare a Solid Backyard Garden Shed Base
Crushing a handful of damp, friable loam reveals the structural integrity of your land; the earthy scent of geosmin indicates active microbial life. Before any structure can stand, the ground must be stabilized to prevent subsidence and rot. Learning how to prepare a site for a garden shed requires more than a shovel. It demands an understanding of soil compaction, drainage physics, and the underlying geology. A poorly prepared base leads to door misalignment and floor failure within three seasons. Success begins with a level, well-drained substrate that isolates the structure from the constant moisture of the rhizosphere.
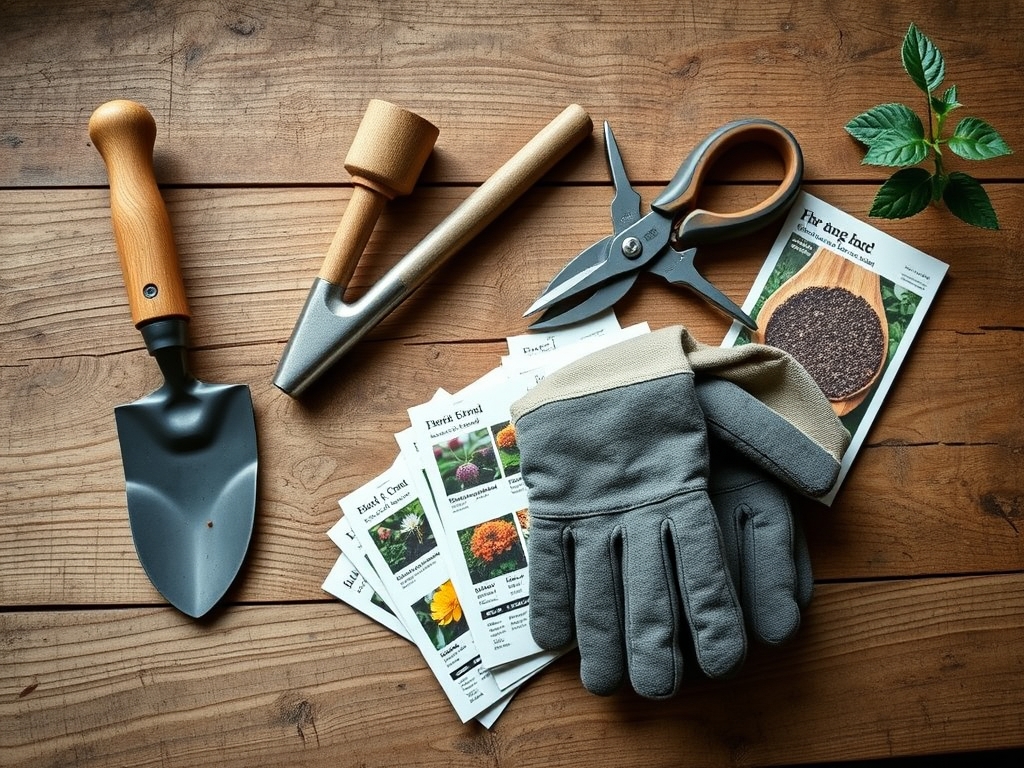
Materials:
The foundation site must be cleared of all organic matter to prevent fungal decay. The ideal substrate is a **compacted subsoil with a pH between 6.0 and 7.5** to minimize corrosive reactions with metal fasteners. For the surrounding perimeter, maintain a **10-10-10 NPK ratio** in the topsoil to support stabilizing groundcovers. You will need **3/4-inch clean crushed stone** for the drainage layer. Unlike rounded pea gravel, crushed stone provides angular interlocking strength. For a concrete pad, ensure a **4-inch depth of 4,000 PSI mix** reinforced with rebar. If using a timber frame, select **Ground Contact (UC4A) pressure-treated 4×4 skids**. The physical texture of the base must be non-plastic and non-expansive; avoid heavy clay which swells when saturated.
Timing:
Construction should occur during the dormant season or early spring when the soil moisture content is between 15% and 20%. In Hardiness Zones 4 through 7, wait for the ground to thaw completely to avoid frost heave. The "Biological Clock" of the surrounding flora is critical; excavate before the spring "flush" of growth when the plant's energy is stored in the roots rather than the foliage. This timing prevents unnecessary stress on the vascular systems of nearby trees. Ensure the project is completed at least four weeks before the first autumn frost to allow any disturbed perennial root systems to re-establish their osmotic balance before senescence.
Phases:

Sowing the Perimeter
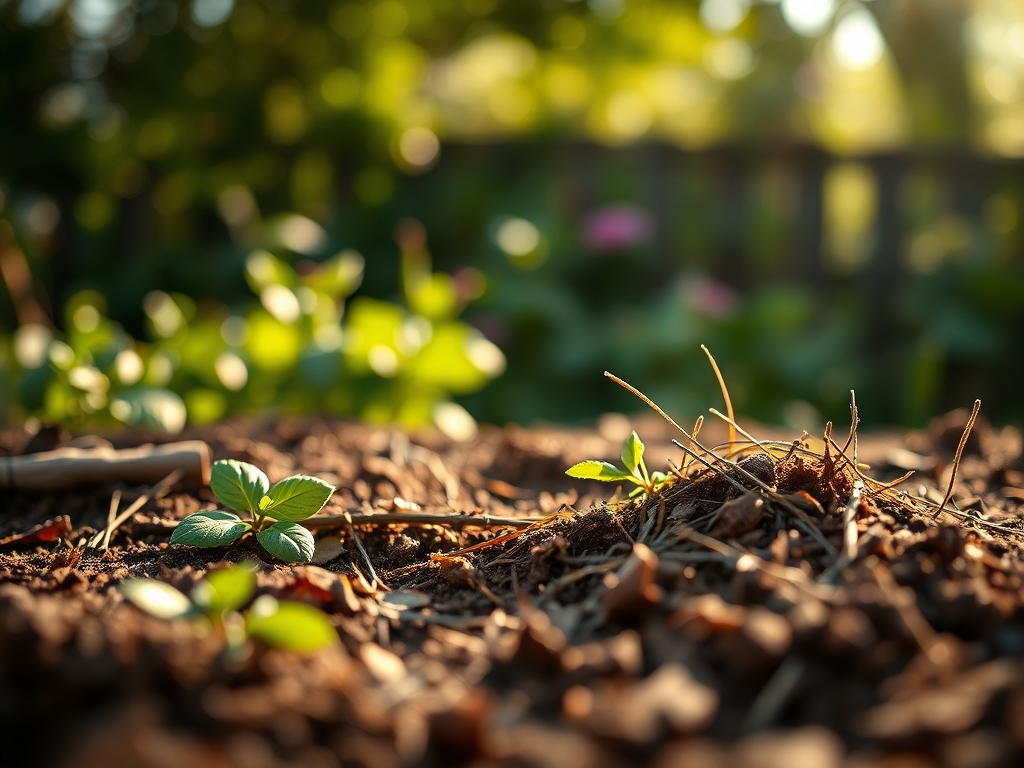
Once the footprint is excavated to a depth of 6 inches, stabilize the surrounding disturbed earth. Apply a low-nitrogen seed mix to the edges to prevent erosion. Use a soil moisture meter to ensure the area remains at 25% volumetric water content during germination.
Pro-Tip: Utilize mycorrhizal inoculants during perimeter planting. The Biological Why is simple: these fungi form a symbiotic relationship with roots, extending the reach of the root system to improve phosphorus uptake and soil structural stability through the secretion of glomalin.
Transplanting and Leveling
If the shed site displaces existing shrubs, move them during their vegetative rest. Dig a root ball three times the diameter of the stem. Backfill the new site with native soil to maintain consistent Cation Exchange Capacity (CEC). For the shed base, pour the gravel in 2-inch lifts, compacting each layer with a plate compactor to reach 95% Proctor density.
Pro-Tip: Avoid adding high-nitrogen fertilizers to transplants. The Biological Why involves auxin suppression; high nitrogen stimulates rapid canopy growth which the compromised root system cannot support, leading to desiccation and vascular collapse.
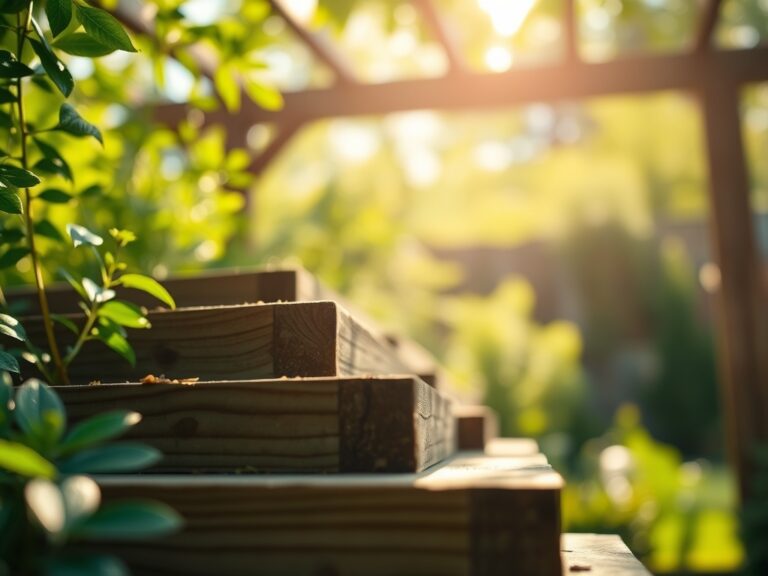
Establishing the Base
The final phase involves setting the runners or pouring the slab. Ensure a 1% slope away from the center of the site to facilitate hydraulic runoff. The shed must be elevated at least 6 inches above the grade to allow for atmospheric gas exchange and to prevent the accumulation of moisture that triggers wood-decay fungi.
Pro-Tip: Maintain a clear 12-inch "air gap" of gravel around the shed. The Biological Why is to prevent phototropism from drawing weeds toward the shed walls, where they would trap moisture against the siding and create a bridge for wood-boring insects.
The Clinic:
Physiological disorders in the surrounding landscape often signal site preparation errors.
- Symptom: Marginal leaf burn on nearby shrubs. Solution: Test for high salinity. Construction runoff can alter soil pH. Flush the area with 2 inches of water to leach excess salts.
- Symptom: Stunted growth and yellowing (Chlorosis). Solution: This indicates Nitrogen deficiency or soil compaction. Use a broadfork to aerate the soil and apply a slow-release 12-4-8 fertilizer.
- Symptom: Root rot (Phytophthora) in adjacent plants. Solution: Improve drainage. The shed base is likely diverting water into a low spot. Install a French drain using perforated pipe and aggregate.
Fix-It: If you observe interveinal chlorosis on young leaves, it is a sign of Iron or Manganese deficiency caused by high pH. Apply elemental sulfur to lower the pH to a range of 6.0 to 6.5.
Maintenance:
A shed base is not a "set and forget" feature. Inspect the perimeter monthly. Ensure the drip line of the roof is clear of vegetation to prevent splash-back. Use a hori-hori knife to remove deeply rooted taproot weeds that can penetrate the gravel sub-base. Maintain 1.5 inches of water per week at the drip line of surrounding ornamental plants to compensate for the "rain shadow" effect created by the shed roof. Use bypass pruners to keep branches at least 24 inches away from the structure to ensure proper airflow and prevent the growth of lichen and moss.
The Yield:
While a shed base does not produce a harvest, the surrounding "foundation garden" can. If planting herbs like Rosemary or Lavender in the well-drained gravel edges, harvest during the morning when terpene concentration is highest. Use sharp shears to cut above a node to encourage lateral branching. For "day-one" freshness, immediately place stems in a cool, shaded environment to reduce the respiration rate and preserve cellular turgor.
FAQ:
How deep should I dig for a shed base?
Excavate to a depth of 6 to 8 inches. This allows for a 4-inch compactable sub-base of crushed stone and ensures the shed sits above the moisture-heavy organic layer of the soil.
Can I build a shed on top of grass?
No. Grass and organic matter will decompose, causing the shed to settle unevenly. This decomposition also releases moisture and methane, which accelerates the rot of wooden floor joists and attracts pests.
What is the best gravel for a shed foundation?
Use 3/4-inch crushed stone (often called #57 stone). Unlike smooth river rocks, the angular edges of crushed stone lock together under pressure, providing a stable, non-shifting surface with excellent hydrostatic drainage properties.
How do I stop weeds from growing under my shed?
Install a heavy-duty geotextile fabric (weed barrier) between the soil and the gravel layer. This prevents weed emergence while allowing water to permeate, maintaining the soil's natural hydraulic conductivity without allowing plant growth.