9 Best Decorative Stones for Professional Home Landscaping
The scent of damp, mineral-rich earth signals a high cation exchange capacity in the soil. When you crush a handful of friable loam, the structural integrity of the particles dictates how water moves through the rhizosphere. Selecting the best stones for home landscaping requires more than an aesthetic eye; it demands an understanding of thermal mass and drainage physics. Proper stone placement regulates soil temperature and prevents the loss of turgor pressure in nearby vascular plants during peak solar radiation.
Professional landscaping is an exercise in geological and biological management. A stone is not merely a decorative element. It is a mulch substitute that alters the microclimate of the root zone. By selecting materials with specific albedo ratings and porosities, a gardener can manipulate the rate of evaporation and the metabolic activity of soil microbes. High-density aggregates provide stability for heavy foot traffic while porous lavas offer aeration for moisture-sensitive succulents. Integrating these elements requires a technical approach to soil chemistry and physics.
Materials:

The substrate beneath your stone layer must be a friable loam with a pH between 6.0 and 7.0 to ensure nutrient availability. Before installation, amend the soil based on specific NPK requirements for the surrounding flora. For nitrogen-heavy vegetative growth, aim for a 10-5-5 ratio. If the area focuses on flowering perennials, a 5-10-10 ratio supports root development and reproductive health.
- Crushed Granite: High durability; acidic profile (pH 5.0 to 6.0).
- Pea Gravel: Smooth, 3/8 inch diameter; neutral pH.
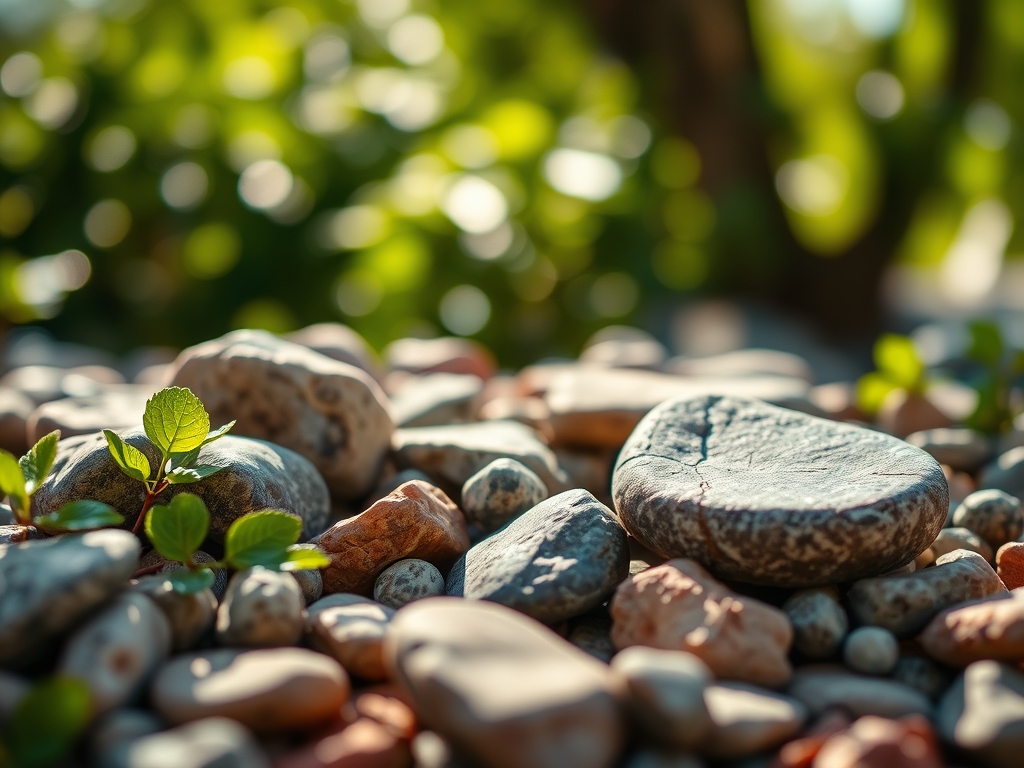
- River Rock: Varied sizes (1 to 5 inches); excellent for drainage swales.
- Lava Rock: Highly porous; high surface area for beneficial bacteria.
- Slate Chips: Flat geometry; prevents soil compaction.
- Decomposed Granite: Gritty texture; ideal for high-traffic pathways.
- Limestone: Alkaline profile (pH 8.0+); use only for calcium-loving plants.
- Marble Chips: High albedo; reflects light to prevent soil overheating.
- Basalt: High thermal mass; retains heat for zone-pushing in cooler climates.
Timing:
Installation should occur during the dormant season or early spring before the "Biological Clock" triggers the transition from vegetative to reproductive stages. In Hardiness Zones 4 through 7, the ideal window is between the last hard frost and the first surge of osmotic pressure in the spring. In Zones 8 through 11, installation is best performed in late autumn to avoid the physiological stress of high-heat evaporation.
Monitoring the photoperiod is essential. As day length increases, plants exit senescence and require stable soil moisture. Installing stone mulch during this transition ensures that the root zone remains insulated against the fluctuating temperatures of early spring. Aim for a soil temperature of at least 55 degrees Fahrenheit before laying heavy stone to avoid trapping deep-seated frost in the lower soil horizons.
Phases:
Sowing and Preparation
Clear the area of all organic debris and weeds. Excavate to a depth of 3 to 4 inches. Compact the subsoil to prevent settling, which can disrupt the drainage profile. Lay a professional-grade geotextile fabric to separate the stone from the soil, ensuring the fabric has a high flow rate to allow gas exchange.
Pro-Tip: Use the fabric to maintain a distinct boundary between the stone and the rhizosphere. This prevents the "sinking" effect caused by earthworm activity and soil settling, which can lead to anaerobic conditions if the stone becomes embedded in the dirt.
Transplanting and Edging
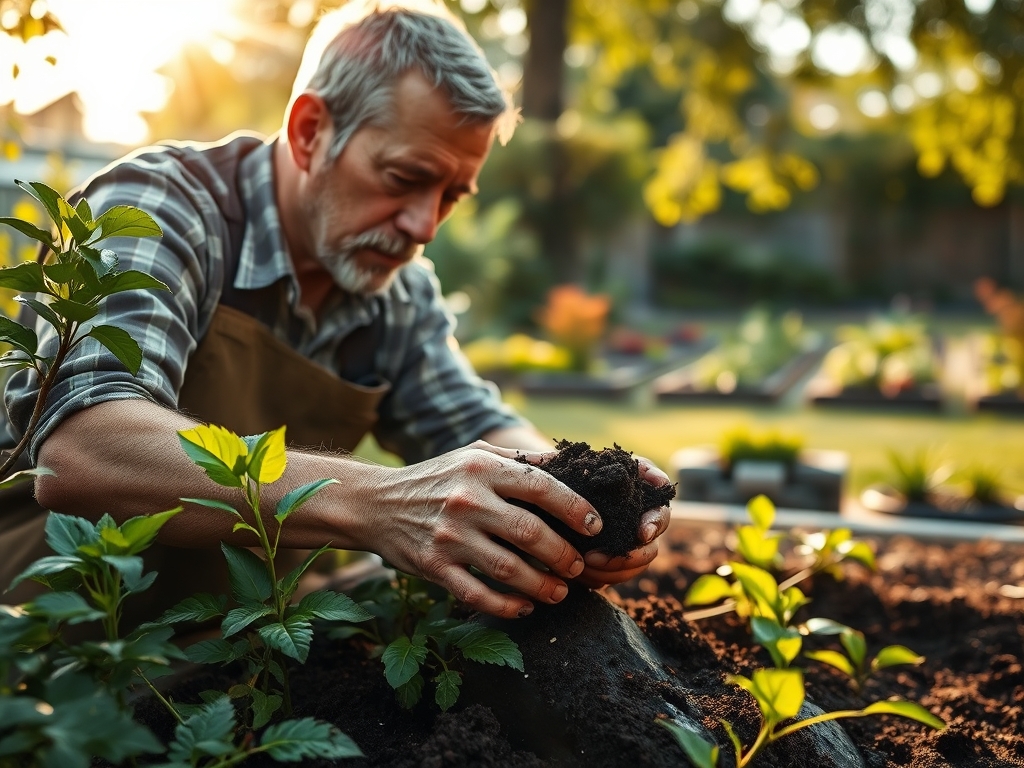
When placing plants within a stone landscape, cut an "X" in the landscape fabric. Dig a hole twice the width of the root ball. Ensure the crown of the plant sits 0.5 inches above the stone line to prevent crown rot. Backfill with a blend of native soil and organic compost to maintain a high cation exchange capacity.
Pro-Tip: Maintain a 2-inch gap between the plant stem and the stone mulch. This prevents heat transfer from the stone to the tender cambium layer of the plant, avoiding localized tissue necrosis and allowing for proper gas exchange at the base.
Establishing and Settling
Spread the stone evenly at a depth of 2 to 3 inches. For smaller aggregates like pea gravel, a 2-inch depth is sufficient. For larger river rocks, 4 inches may be required to fully obscure the underlying fabric. Water the area thoroughly to settle the dust and allow the stones to find their natural angle of repose.
Pro-Tip: Observe the turgor pressure of the plants for the first 14 days. Stone mulch can increase the soil temperature by 5 to 10 degrees Fahrenheit via thermal conduction. Increased transpiration may require a temporary adjustment in irrigation frequency until the plant acclimates to the new microclimate.
The Clinic:
Symptom: Interveinal Chlorosis
Solution: This is often a sign of Iron (Fe) or Magnesium (Mg) deficiency. In stone-heavy landscapes, alkaline stones like limestone can raise soil pH, locking out micronutrients.
Fix-It: Apply a chelated iron foliar spray or lower the pH with elemental sulfur to reach a 6.5 target.
Symptom: Marginal Leaf Burn
Solution: Excessive heat reflection from light-colored stones (high albedo) can scorch leaf edges.
Fix-It: Increase irrigation volume or replace high-albedo stones with darker materials like basalt to absorb rather than reflect UV radiation.
Symptom: Root Rot (Phytophthora)
Solution: Excessive stone depth or lack of permeable fabric can trap moisture, leading to anaerobic soil conditions.
Fix-It: Remove excess stone to ensure the layer is no deeper than 3 inches. Verify that the underlying soil is not compacted.
Maintenance:
Effective maintenance requires precision tools. Use a soil moisture meter twice weekly to ensure the root zone receives 1.5 inches of water per week at the drip line. Stone mulch hides the soil surface; you cannot rely on visual cues for moisture. Use a hori-hori knife to extract any opportunistic weeds that penetrate the stone layer before they develop a deep taproot.
Pruning should be performed with sharp bypass pruners to ensure clean vascular cuts that heal quickly. Remove any leaf litter that falls onto the stones immediately. Decomposing organic matter on top of stones creates a nutrient-rich medium for weed seeds to germinate, bypassing the protective fabric layer. Every three years, use a high-pressure water stream to clear accumulated silt from the gaps between stones to maintain high infiltration rates.
The Yield:
For landscapes featuring flowering perennials or ornamental shrubs, harvest blooms during the "cool of the morning" when turgor pressure is at its peak. Use a sharp blade to cut stems at a 45-degree angle to maximize the surface area for water uptake.
Post-harvest handling is critical for longevity. Immediately submerge the cut ends in 110-degree Fahrenheit water to break any air embolisms in the xylem. Store the clippings in a cool, dark environment for two hours before moving them to a display. This "hardening off" process ensures day-one freshness by stabilizing the plant's metabolic rate.
FAQ:
Which stone is best for drainage?
River rock and crushed granite are superior for drainage. Their irregular shapes and varied sizes create large interstitial spaces. This allows water to move rapidly through the aggregate layer into the soil, preventing surface runoff and erosion.
How deep should landscaping stones be?
Maintain a depth of 2 to 3 inches for most applications. If the layer is too thin, the weed barrier is exposed to UV degradation. If it is too thick, it can restrict oxygen flow to the rhizosphere.
Does stone mulch affect soil pH?
Yes. Limestone and marble chips are alkaline and will raise the soil pH over time. Conversely, granite and slate are relatively inert. Always match the stone's chemical profile to the specific pH requirements of your plant species.
How do I prevent weeds in stone beds?
Install a heavy-duty, woven geotextile fabric beneath the stone. This provides a physical barrier against weed emergence while allowing for gas and water exchange. Regularly remove organic debris from the stone surface to prevent a secondary growing medium from forming.