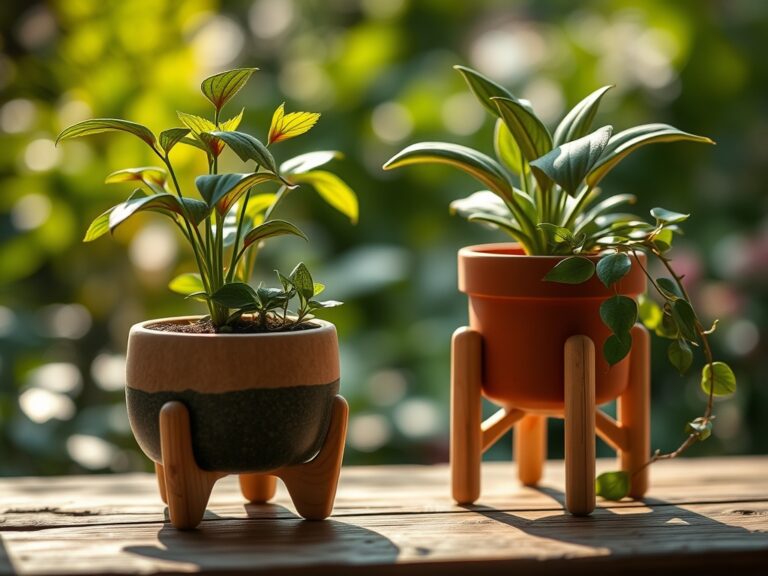
9 Steps to Prepare a Sturdy Modern DIY Plant Stand
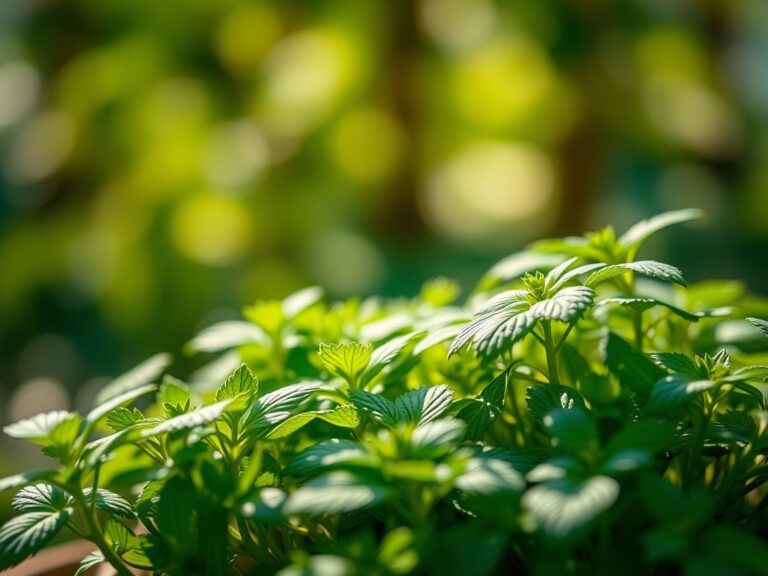
The scent of damp humus and the turgor pressure of a fully hydrated cell wall define the success of an indoor garden. To maintain this physiological health, your containers must be elevated to ensure proper drainage and airflow within the rhizosphere. Learning how to prepare a DIY plant stand requires more than basic carpentry; it involves understanding structural load and the environmental requirements of your botanical collection. A sturdy stand prevents soil compaction by allowing gravity to facilitate the downward movement of excess water through the drainage holes. Without this elevation, perched water tables can lead to root rot and anaerobic conditions. Proper positioning on a custom stand also optimizes light interception, ensuring that the plant maximizes its photosynthetic rate. By constructing a platform that accounts for the weight of saturated soil and the specific dimensions of your pots, you create a controlled microclimate that supports long term vegetative vigor and structural integrity.
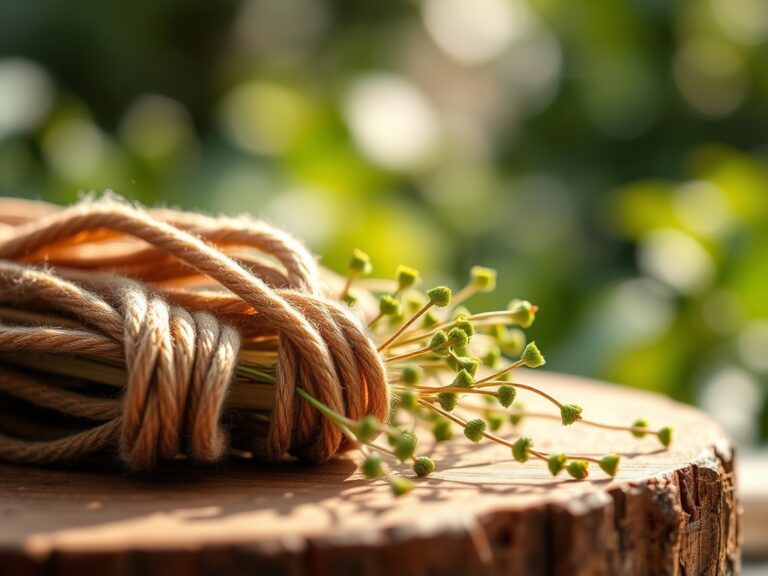
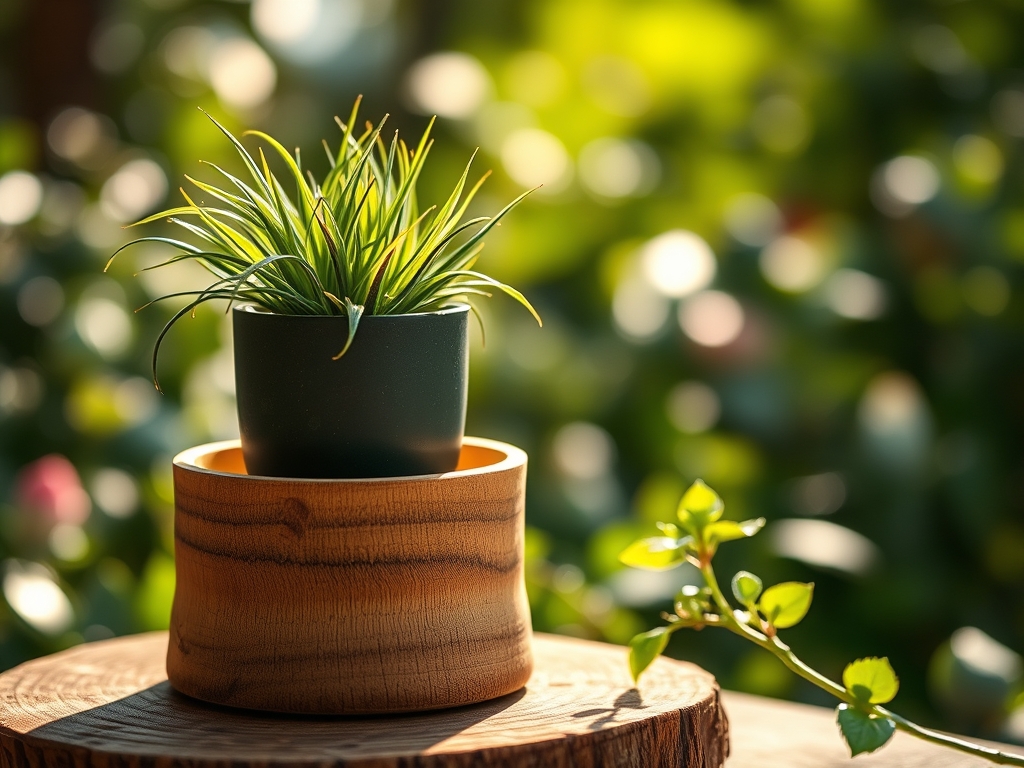
Materials:
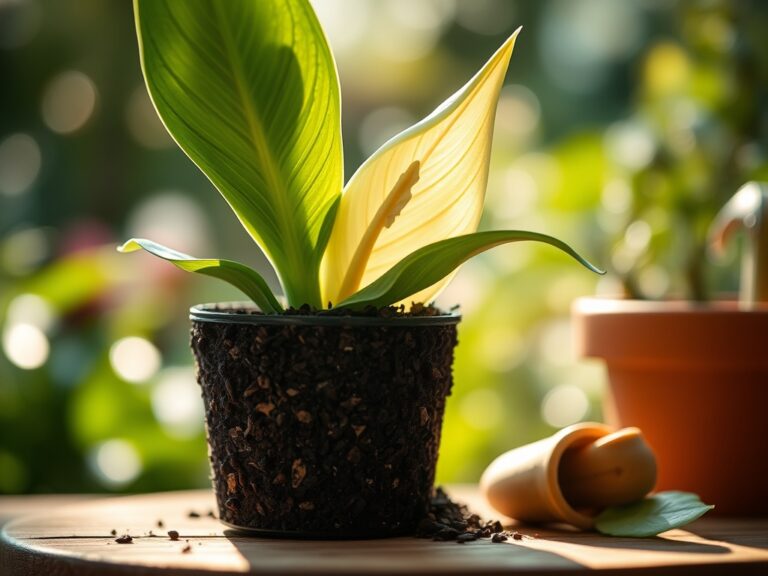
A professional plant stand must support a container filled with a high quality substrate. For most tropicals and indoor ornamentals, use a **friable loam** with a **pH range of 6.0 to 6.5**. This substrate should be amended with a slow release fertilizer featuring an **NPK ratio of 10-10-10** for balanced growth or **20-10-20** for heavy feeders in high light environments. The stand itself should be constructed from rot resistant wood like cedar or powder coated steel to withstand the high humidity levels of the transpiration zone. Ensure you have a **Cation Exchange Capacity (CEC)** testing kit to monitor the soil’s ability to hold essential nutrients like potassium and magnesium. The physical texture of your potting media should be porous; use a mix of 40 percent peat moss, 30 percent perlite, and 30 percent pine bark to prevent salt buildup and maintain oxygen levels.
Timing:
Timing your project depends on the Hardiness Zone and the biological clock of your specimens. In Zones 7 through 10, the transition from vegetative to reproductive stages often occurs as the photoperiod shifts in late summer. You should prepare your DIY plant stand before the first frost date, typically between October 15 and November 15 in temperate regions, to bring sensitive plants indoors. Constructing the stand during the dormant winter months allows you to have a stabilized environment ready for the spring growth flush. Monitoring the biological clock is essential; once a plant enters its active growth phase in the spring, its water requirements increase by up to 50 percent, necessitating a stand that can handle the increased weight of frequent irrigation.
Phases:
Sowing and Structural Planning
Begin by measuring the diameter of your largest pots. The base of the stand must be at least 2 inches wider than the pot to ensure a stable center of gravity. If you are starting from seed, ensure the stand height places the seedlings within 6 to 12 inches of a supplemental light source.
Pro-Tip: Account for phototropism by making the stand easy to rotate. Plants naturally grow toward light sources due to the elongation of cells on the shaded side of the stem; regular rotation ensures symmetrical structural development.
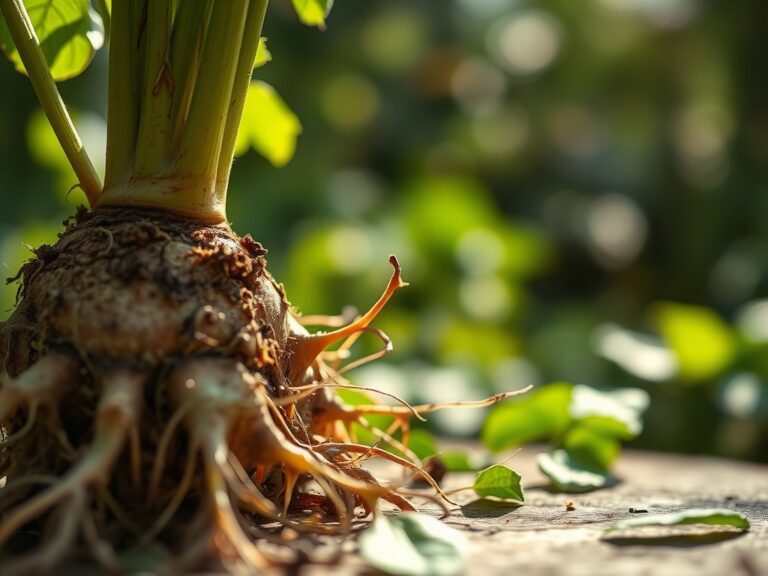
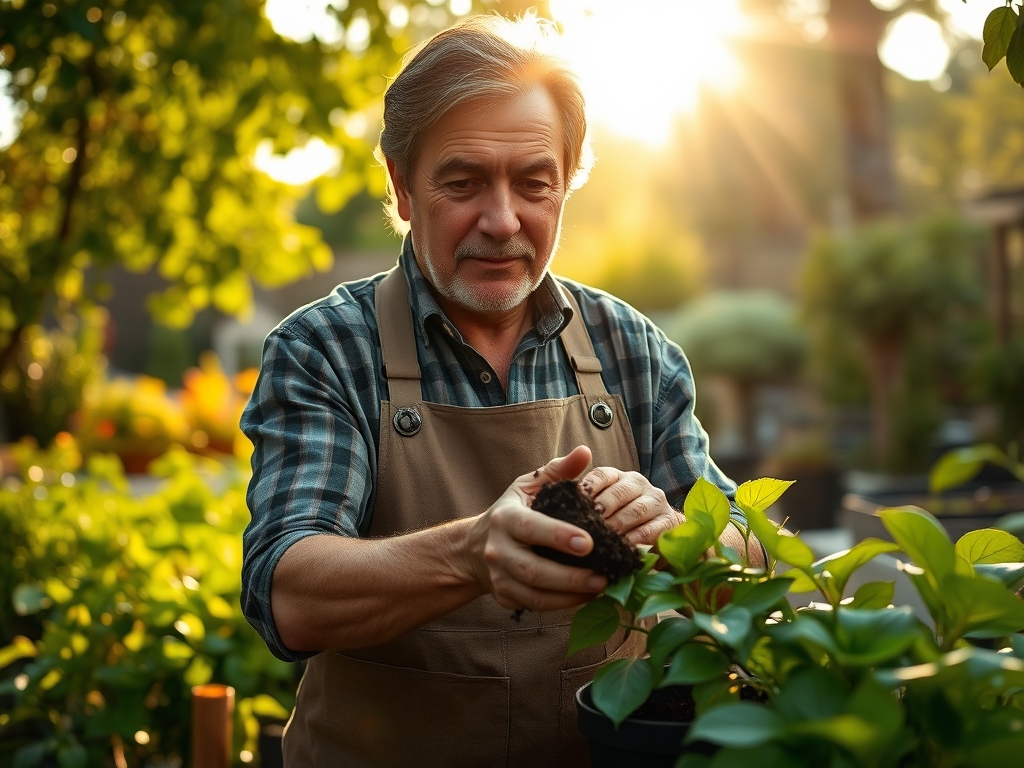
Transplanting and Load Testing
When moving a plant to the stand, check for root binding. Use a hori-hori knife to loosen the root ball if necessary. The stand must be leveled using a spirit level to prevent uneven water distribution within the pot, which can lead to localized dry spots and root death.
Pro-Tip: Utilize mycorrhizal symbiosis by inoculating the soil during the move. These beneficial fungi expand the root system's surface area, improving the uptake of phosphorus and water, which helps the plant recover from the stress of relocation.
Establishing and Acclimation
Once the plant is situated, monitor the turgor pressure of the leaves. If wilting occurs despite moist soil, the plant may be experiencing transplant shock or a sudden change in humidity. Maintain a consistent ambient temperature between 65 and 75 degrees Fahrenheit during the first two weeks on the new stand.
Pro-Tip: Practice auxin suppression by pinching back the terminal buds of leggy plants once they are on the stand. This redirects hormonal flow to lateral buds, encouraging a bushier growth habit and a more compact, stable center of gravity.
The Clinic:
Physiological disorders often manifest when environmental conditions are suboptimal.
Symptom: Interveinal chlorosis on young leaves.
Solution: This typically indicates an Iron deficiency, often caused by a soil pH above 7.0. Lower the pH using sulfur or chelated iron drench.
Symptom: Necrotic leaf margins and "tip burn."
Solution: This is often a sign of Boron toxicity or high salinity from tap water. Flush the container with three times the volume of the pot with distilled water to leach excess salts.
Symptom: Lower leaves turning uniform yellow.
Solution: Nitrogen chlorosis occurs when the plant translocates nitrogen from old growth to new growth. Apply a water soluble fertilizer with a high first digit in the NPK ratio.
Fix-It Section: For Magnesium deficiency, which appears as mottled yellowing on older leaves, apply a solution of one tablespoon of Epsom salts per gallon of water. Ensure your soil moisture meter reads in the "Moist" range before applying any liquid fertilizers to avoid root burn.
Maintenance:
A professional maintenance schedule is non-negotiable for plant longevity. Deliver 1.5 inches of water per week at the drip line of the container; do not pour water directly against the main stem to avoid crown rot. Use a soil moisture meter to verify that the top 2 inches of substrate have dried before re-irrigating. Every six months, use bypass pruners to remove any dead or senescing foliage, which reduces the risk of fungal pathogens. Check the structural integrity of your DIY stand monthly; tighten any fasteners that may have loosened due to wood contraction or weight stress. If using wood, reapply a food safe sealant every two years to prevent moisture penetration and structural failure.
The Yield:
For those growing herbs or flowering species on their stands, harvest timing is critical for chemical potency. Harvest herbs just before anthesis (flowering) when essential oil concentrations are at their peak. Use sharp snips to make clean cuts at a 45 degree angle just above a node. To maintain "day-one" freshness, immediately place the stems in a vessel of cool water or a high humidity crisper at 40 degrees Fahrenheit. For flowering plants, remove spent blooms (deadheading) to prevent the plant from diverting energy into seed production, thereby extending the blooming period and maintaining the aesthetic value of your display.
FAQ:
What is the best wood for a DIY plant stand?
Use cedar, redwood, or teak. These species contain natural oils and tannins that resist rot and fungal decay in high humidity environments. Treated lumber is an alternative but must be sealed to prevent chemical leaching into the soil.
How much weight can a basic wooden stand hold?
A standard tripod stand made of 1×2 inch hardwood can typically support 50 pounds. Always calculate the weight of the pot, the plant, and the fully saturated soil, which can weigh 10 to 12 pounds per gallon.
How do I prevent the stand from tipping?
Ensure the base width is at least 25 percent of the total height. For top heavy plants like Ficus lyrata, use a weighted base or anchor the stand to a wall to prevent accidents caused by shifting centers of gravity.
Does stand height affect plant growth?
Yes. Higher stands increase air circulation around the foliage, reducing the boundary layer and increasing the transpiration rate. Ensure you adjust your irrigation frequency to account for the faster drying times associated with elevated positions.